1997 5.4 Exhuast Flange Stud Replacement

Disclaimer: Links on this page pointing to Amazon, eBay and other sites may include affiliate code. If you click them and make a purchase, we may earn a small commission.

OP
OP
tinkering

tinkering

Full Access Members
Joined
Jul 19, 2016
Posts
251
Reaction score
28
Location
Alberta Canada
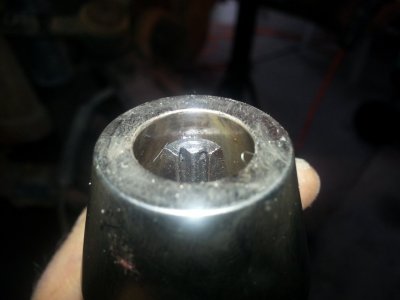
It works similar to a drill chuck but tightens in reverse direction. the jaws inside have teeth on them. It works way better than the old style with the eccentric cam grip, and it is not so bulky for tight spots.
20170118_114345.jpg


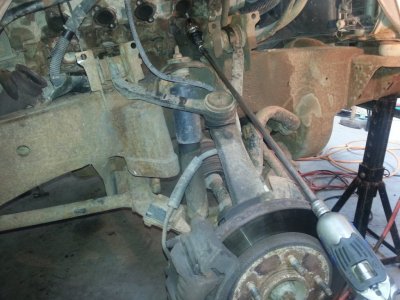
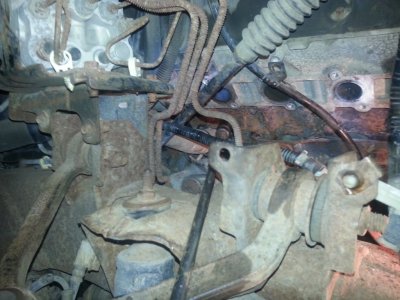
The next 2 pictures simply demonstrate that all of the exhaust manifold studs can be reached by threading the appropriate extension and socket/flex in various ways, from the side and from underneath the vehicle.
20170118_120731.jpg 20170118_114549.jpg


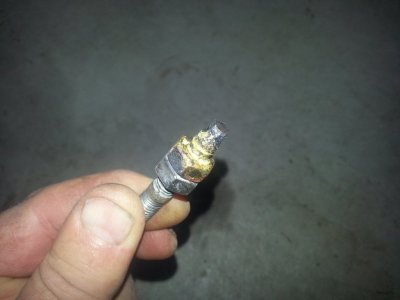
Before I purchased the stud remover I tried to extract the studs that were left behind in the head, by 'locking' 2 nuts together on the stud, and backing them out. The nuts slipped even after maximum tightening together. I brazed the end of the stud and nut which worked great.
20170118_122423.jpg

Here the stud broke when I locked the two nuts together using too much torque. Again I brazed the nut and stud. It worked but this is when I decided to buy the stud remover.
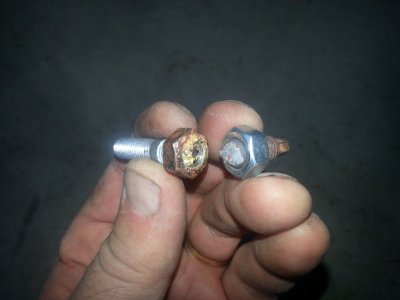
20170118_122519.jpg
 
Last edited:
OP
OP
tinkering

tinkering

Full Access Members
Joined
Jul 19, 2016
Posts
251
Reaction score
28
Location
Alberta Canada
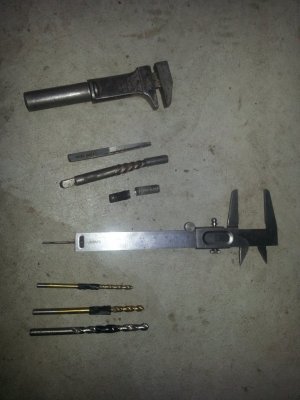
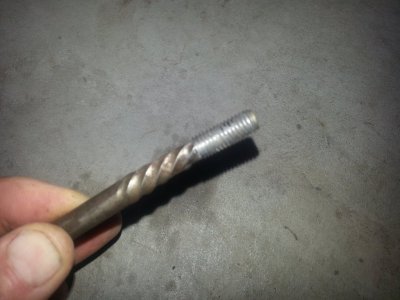
It shows the 3 graduating drill bits I used and the 2 graduating easy outs. Eventually it was the 15/64 drill bit and the corresponding easy out that did it... carefully... not starting with too small of a drill bit that might BREAK :0 in the stud.
I measured the depth of the holes in the head witrh the caliper shaft, and taped off the drill bits accordingly, to avoid drilling into the HEAD!:O
20170118_122330.jpg


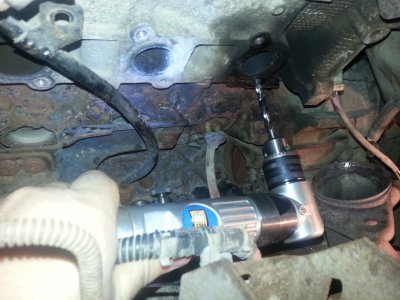
This is my new air angle drill. It provided the room to be able to line the bit up straight and square to the head. I had to use a mirror on the crowded ones in order to check how my pilot hole drill bit was centering on the stud.
20170118_112520.jpg


Voila!
20170118_122247.jpg

See the carbon patch on the head and block exposing the extent of the leak from the rear port, driver's side.
20170118_112303.jpg
 
Last edited:
OP
OP
tinkering

tinkering

Full Access Members
Joined
Jul 19, 2016
Posts
251
Reaction score
28
Location
Alberta Canada
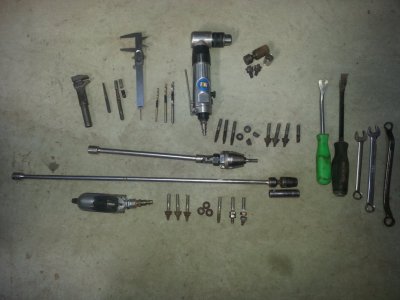
This is a picture of most all the tools I used for the whole job, except a few times I employed a 1/2 inch impact wrench on low power settings.


20170118_122135.jpg
 
Last edited:
OP
OP
tinkering

tinkering

Full Access Members
Joined
Jul 19, 2016
Posts
251
Reaction score
28
Location
Alberta Canada
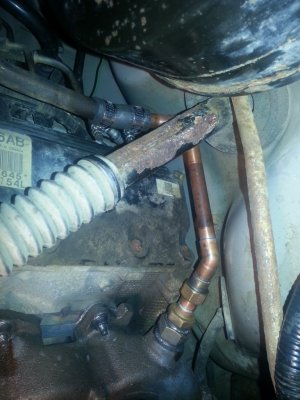
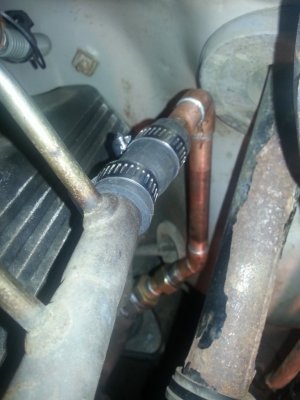
How about the egr tube that screws into the exhaust manifold drivers side ??? mine looks crusty as shit even after soaking it,flaking the rust of,using compressed air and re soaking it with pb blaster,it didnt want to come loose using a decent size adjustable wrench,i have no hot wrench :(
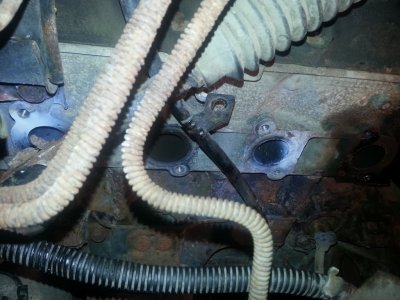
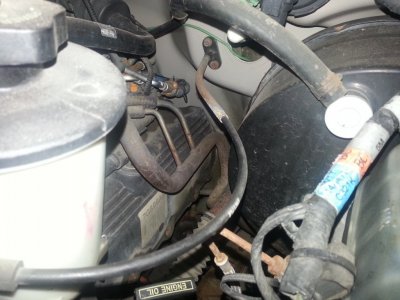
I wound up cutting the EGR tube off just above the fittings at the exhaust manifold, and building a new section to tie into the good EGR tube up top. I got the plumbing parts out and soldered a brass union in so the thing can be separated at a later date if needed. See three pictures above.
 
Last edited:
OP
OP
tinkering

tinkering

Full Access Members
Joined
Jul 19, 2016
Posts
251
Reaction score
28
Location
Alberta Canada
Probably easier to disconnect the EGR at the EGR valve and pull the exhaust manifold. I took mine to a local machine shop and they trued them up for 40 bux a peice. Cheaper than buying new ones.

Get two packs of Dorman manifold studs. One set for each side, pull them and get them trued up and reinstalled. You'll probably see the truck run better since you won't have an exhaust leak.
I bought both manifolds new at $120 $130 CAD from an online auto parts store (amazon had them). The engine indicator light on the dash went out pronto after the job was done. It feels like a new vehicle too; like it has more power... wishful thinking? :)
 
OP
OP
tinkering

tinkering

Full Access Members
Joined
Jul 19, 2016
Posts
251
Reaction score
28
Location
Alberta Canada
I put anti-seize on the gaskets and all threads upon assembly. I was able to reach all the fasteners with the torque wrench.

That's all I can remember right now:33:
 
OP
OP
tinkering

tinkering

Full Access Members
Joined
Jul 19, 2016
Posts
251
Reaction score
28
Location
Alberta Canada
Ford Truck exhaust manifold repair kit Hush studfix 8001. This is what you need. 25 bucks or so on ebay. These will replace the flange bolts without and cutting or drilling.

These look like a handy product if all you need to deal with is rotted exhaust flange studs but I had to go way farther than that as you can see in the contents of this thread. When it was all apart anyway, it was easy to remove the rotten flange studs with that nifty stud remover I pictured. Thanks for the link to that solution.
 
Top