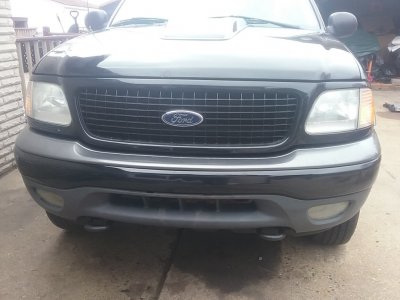
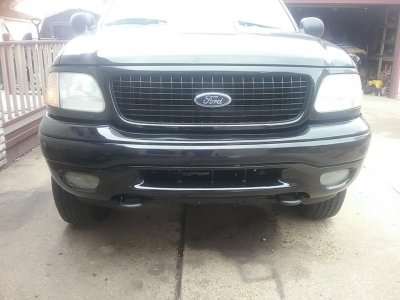
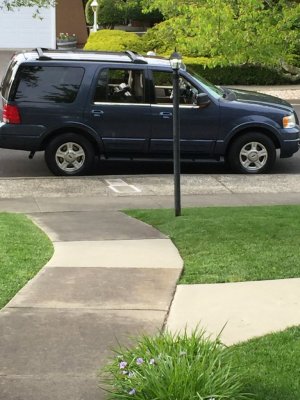
After painting my trim pieces black, I didn't like how the lower valance looked, so I decided to paint it black also. This is how I got to the point of painting the lower valance.
Note:
I will assume anyone trying this, knows how to paint and wet sand, so I will spare the details and just show the steps I took.
Steps:
#1- wash the part with soap and water, let it air dry completely.
#2- wipe the part with rubbing alcohol, cleans all contaminates from part.
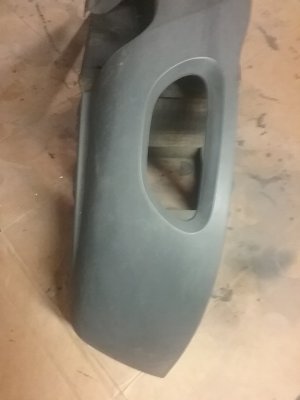
#3- sprayed 3 light coats of Bulldog adhesion promotor, can instructions
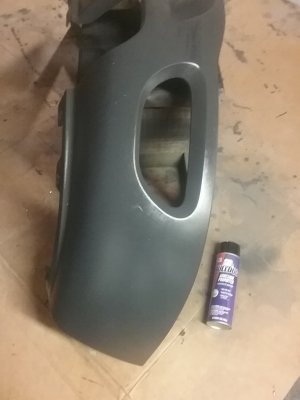
#4- sprayed 3 coats of high build, sandable primer, wet sanded between coats
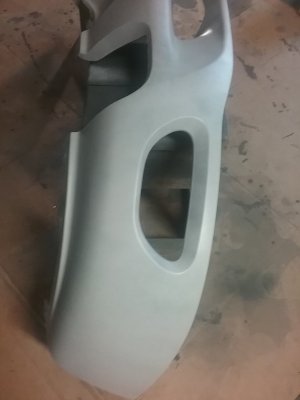
#5- sprayed 3 coats of black base color, wet sanded between coats
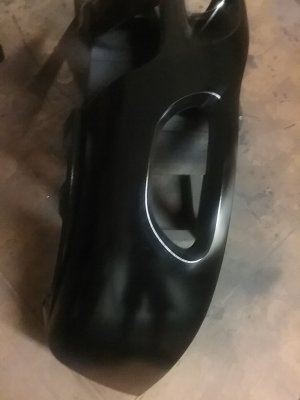
#6- sprayed 3 coats of clear, wet sanded between coats
#7- sprayed 1 coat of clear, done
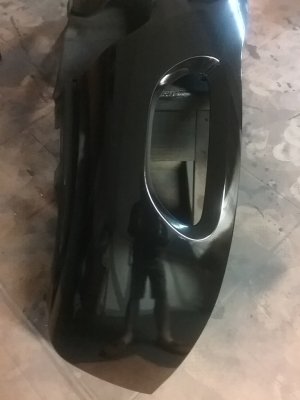
#8- wet sand and rub out, waiting for atleast 30 days, this will ensure paint is completely cured
The lower valance still has that textured look up close, but when you slide your hand across it, it has a very smooth feeling.
Note:
I will assume anyone trying this, knows how to paint and wet sand, so I will spare the details and just show the steps I took.
Steps:
#1- wash the part with soap and water, let it air dry completely.
#2- wipe the part with rubbing alcohol, cleans all contaminates from part.

#3- sprayed 3 light coats of Bulldog adhesion promotor, can instructions

#4- sprayed 3 coats of high build, sandable primer, wet sanded between coats

#5- sprayed 3 coats of black base color, wet sanded between coats

#6- sprayed 3 coats of clear, wet sanded between coats
#7- sprayed 1 coat of clear, done

#8- wet sand and rub out, waiting for atleast 30 days, this will ensure paint is completely cured
The lower valance still has that textured look up close, but when you slide your hand across it, it has a very smooth feeling.


