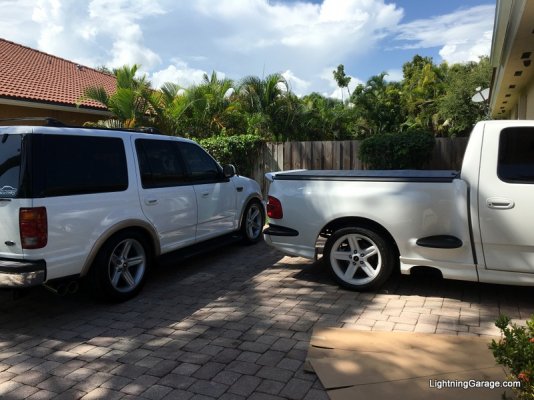
"Thunder" 1998 Expedition Build Thread .... fixed pics!!

Disclaimer: Links on this page pointing to Amazon, eBay and other sites may include affiliate code. If you click them and make a purchase, we may earn a small commission.

MISTERgadget

Full Access Members
Joined
Oct 14, 2014
Posts
227
Reaction score
201
Location
Miami
Since all the photo hosting of my last thread got wiped out and I can't edit older posts to fix it... here's a fresh one with all the pictures working, and all the hard work the last 2 years that wasn't in there yet. We have a runner now!

Inspired by the concept vehicle Ford built in 2000 and teased us with - following rave reviews in the press and then nothing from FoMoCo, I've decided to take many years of daydreams, a bunch of parts and experience from my 2003 Lightning and use my hoarder parts bin to make the SUV Ford should have! I have owned a Lightning since new in 2003 and accumulated a lot of the bits and pieces for this build over the years as the setup on that truck has evolved.
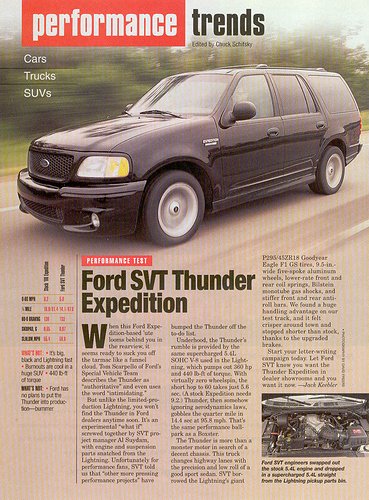
ThunderMotorTrend.jpg

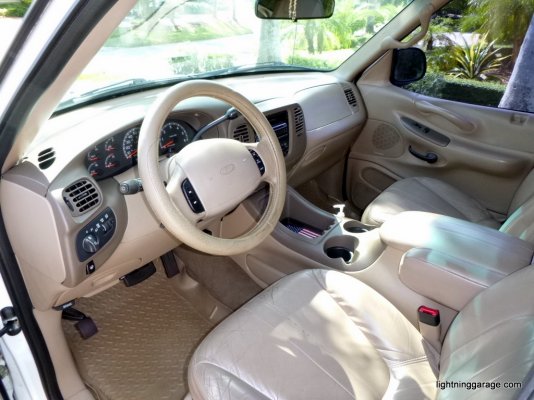
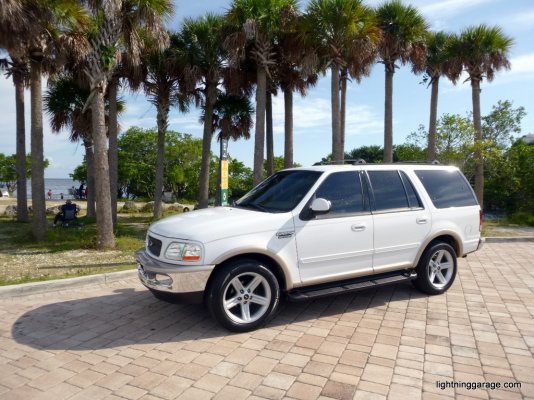
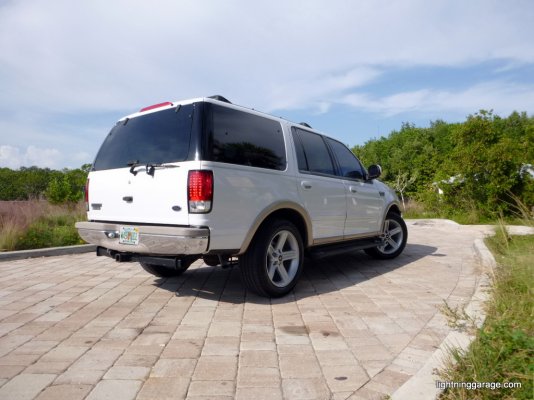
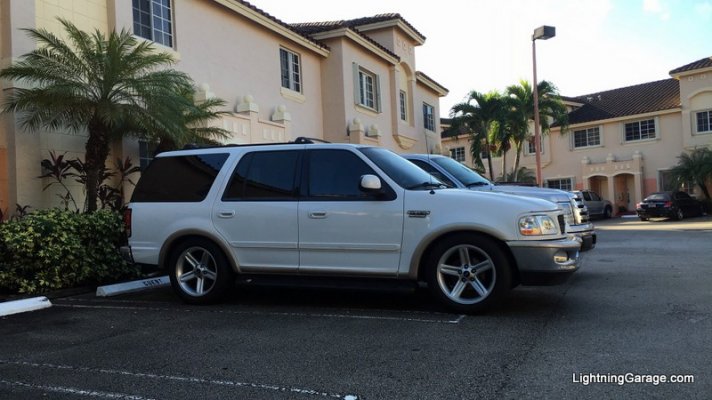
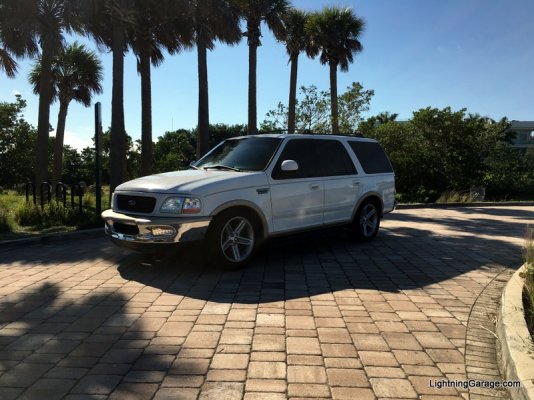
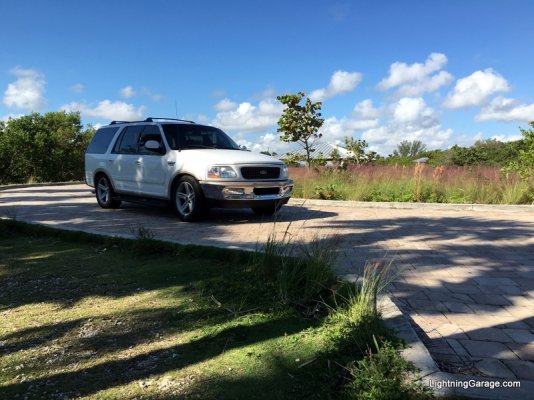
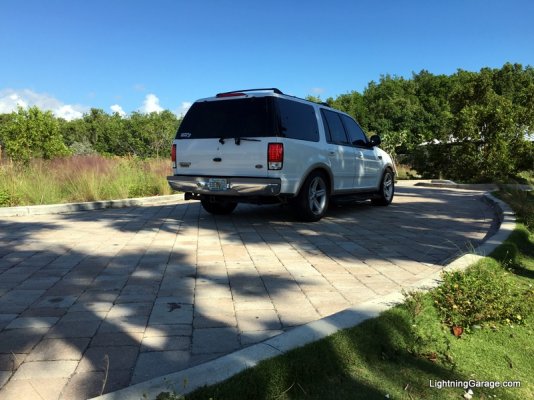
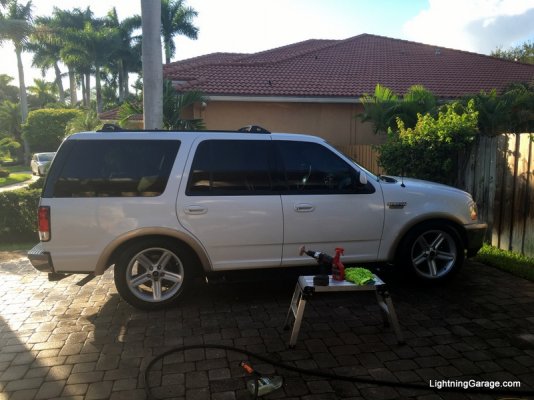
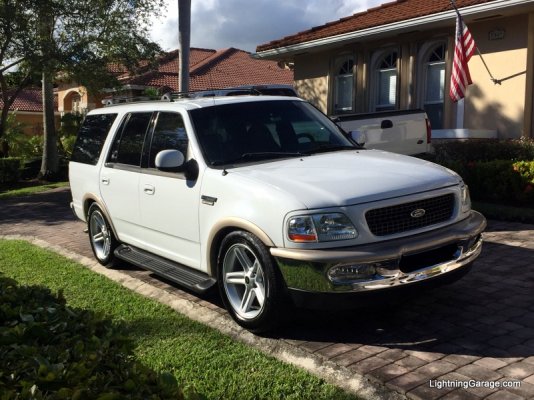
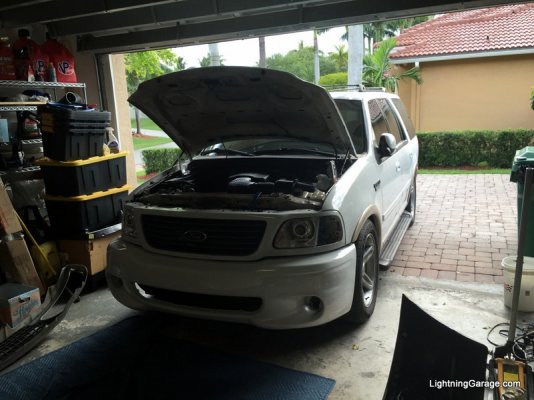
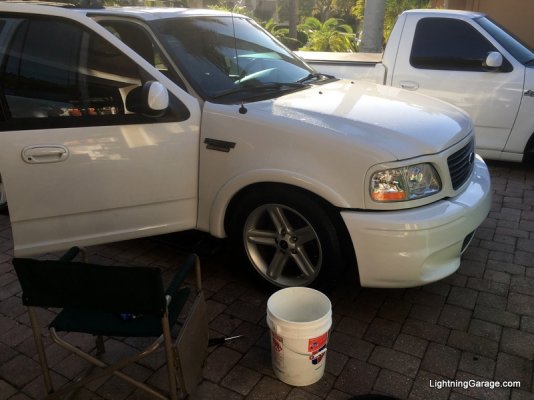
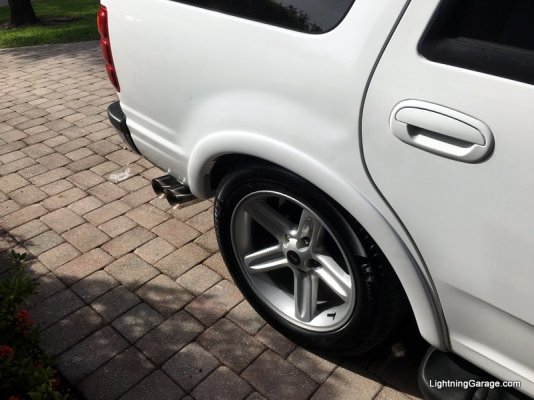
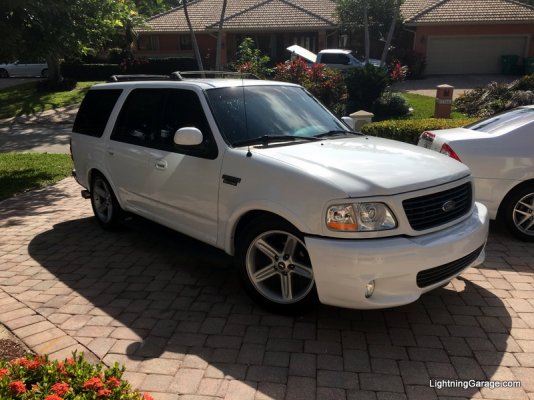
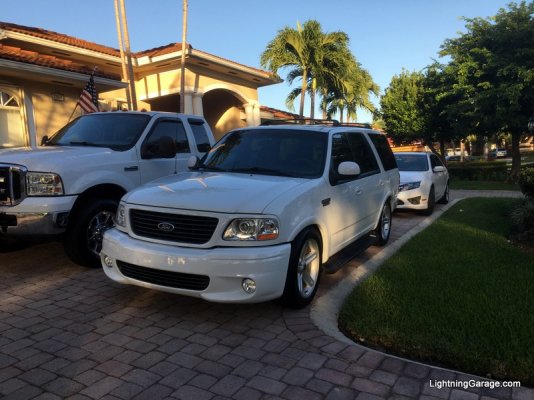
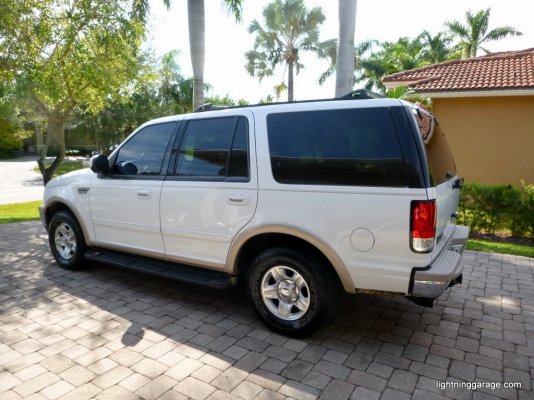
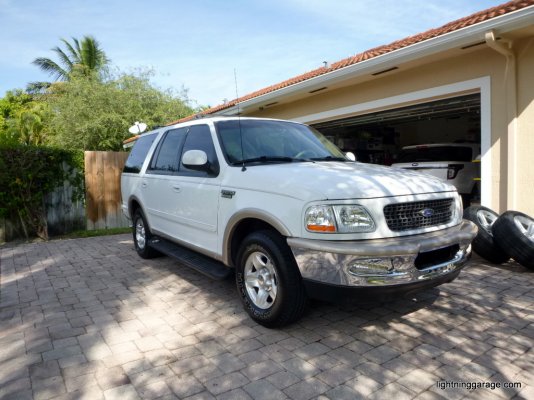
Our starting point - a 1998 Expedition EB, 2wd with just the right combination of options to get us the right hard parts we want - 5.4L, 4R100, 9.75" rear with 3.73s and a limited slip!

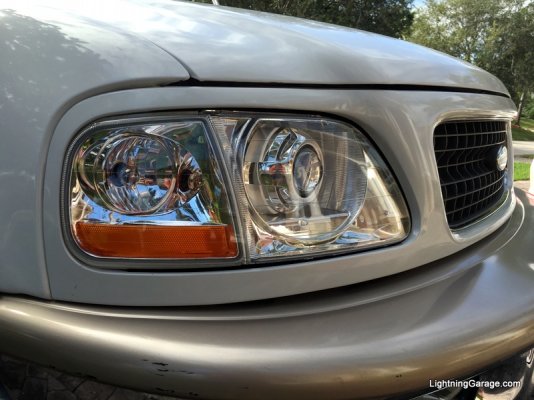
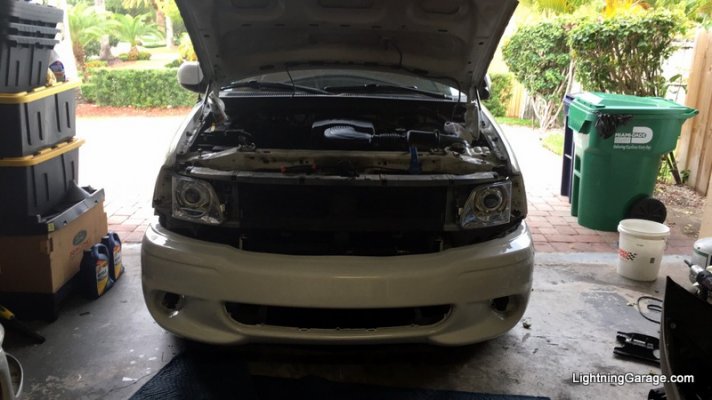
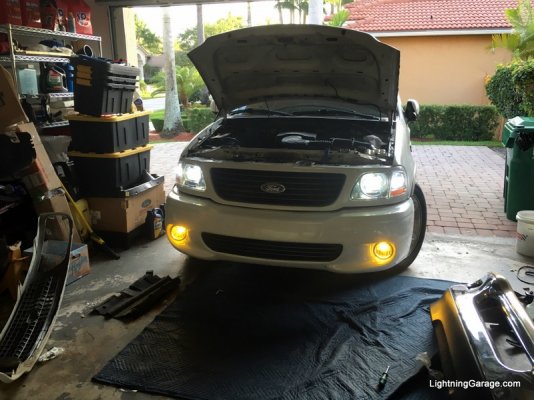
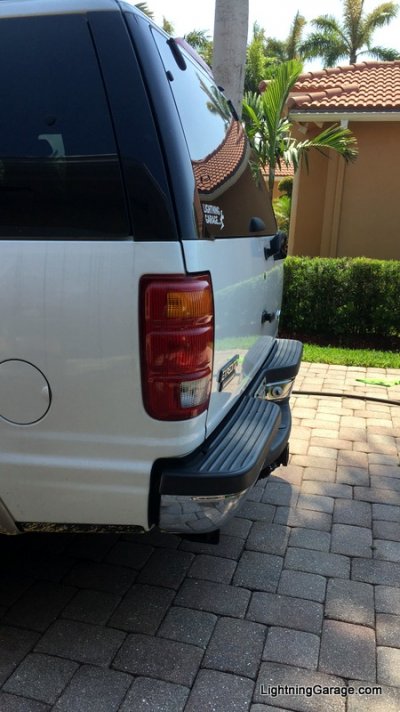
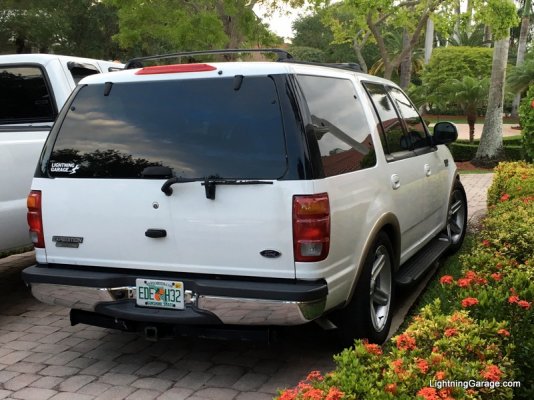
The truck has been in my family since new, and as pictured, you can see there's been just a few small updates over the years - LED taillights, Xenarc Headlights with Lightning corner markers, and a basic stereo upgrade.
P1010303.jpg

P1010307.jpg

P1010312.jpg

From here, the goals and order of things are pretty straightforward.

  • Make it handle and stop well
  • Get the chassis and driveline ready for power
  • Reliable 500rwhp
  • Make it look the part
Of course, opinions on what the "right" answer is for each of those questions will vary.

My plan for the build is to use a lot of the knowledge built up over years of modding the Lightning trucks and really make sure that good, practical solutions are for each one to ensure a fun, comfortable, and most importantly reliable ride.
 
OP
OP
MISTERgadget

MISTERgadget

Full Access Members
Joined
Oct 14, 2014
Posts
227
Reaction score
201
Location
Miami
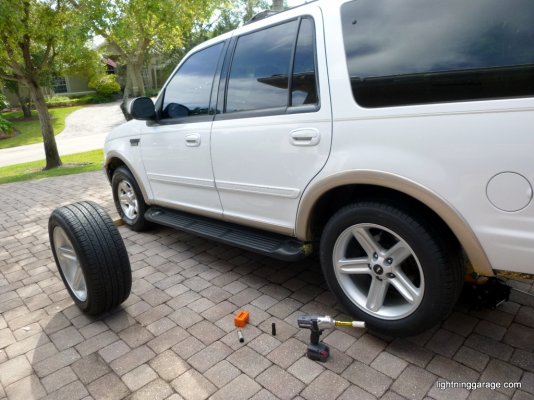
Step 1 - put my Sportmachines.net 20" 03-04 Lightning Replicas to good use on the Expedition.

There are a couple of wrinkles in the install that are good to know

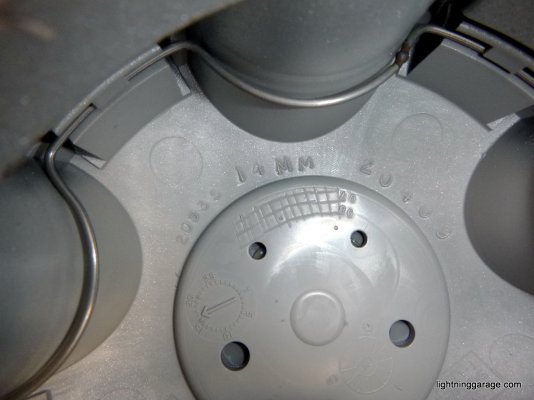
99-00 centercaps and 01-04 centercaps are different, the radius of the hole for the lugnuts changes. You need 01-04 centercaps which are marked with a "14mm" stamp inside, regardless of the lugnut size on the truck, so that the bores match the wheels.

P1010323.jpg

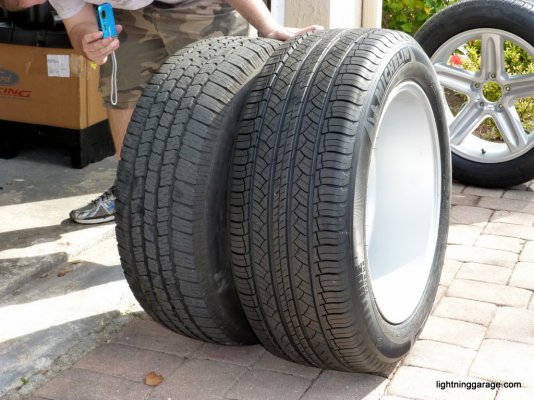
285/50-20 tires are much meatier than the OEM size!

P1080074.jpg

Can't wait to see how they look on all fours!

P1010319.jpg

mmm, much better!

P1010334.jpg

P1010332.jpg
 
Last edited:
OP
OP
MISTERgadget

MISTERgadget

Full Access Members
Joined
Oct 14, 2014
Posts
227
Reaction score
201
Location
Miami
Next steps were to get started on handling and braking.

Unfortunately, I can't find any pictures of the belltech swaybar installation or the swaybars themselves. Belltech sells a swaybar set, part # 9921 for Expeditions.

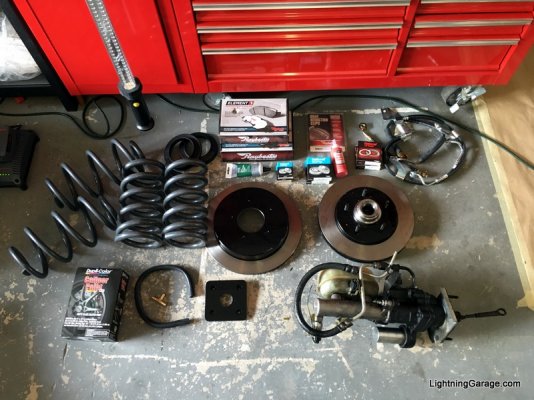
The next mod was a full slate of parts for maintenance and to keep few other parts you would expect to degrade on an 18-year old truck in check, as well as a hydroboost upgrade and some lowering springs!

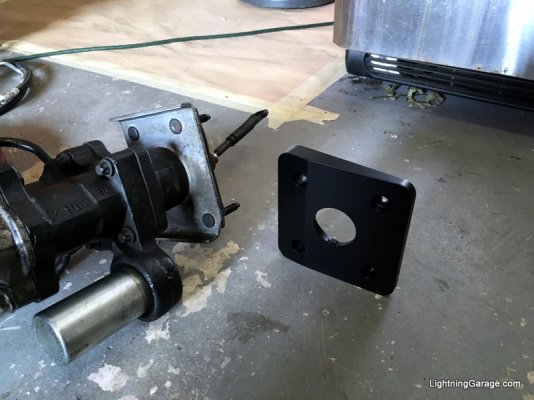
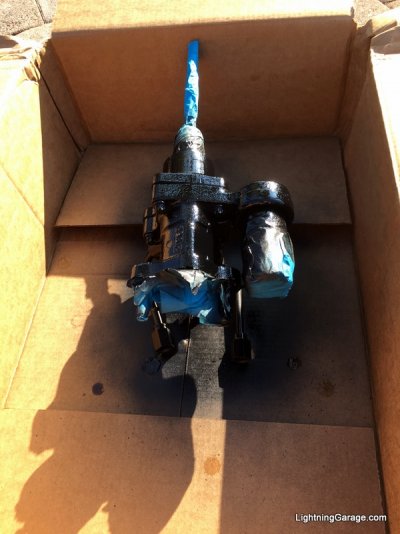
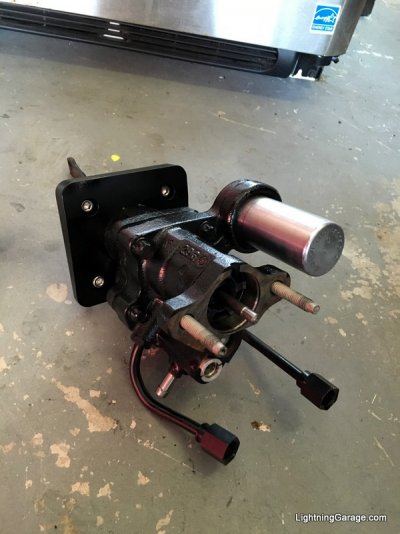
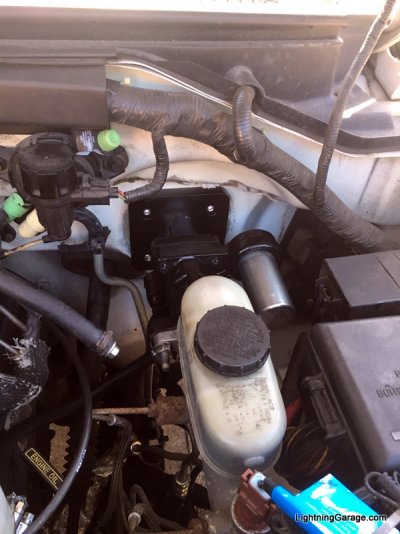
Used a junkyard hydroboost with a JC Customs adapter plate and a fresh coat of paint, along with raybestos brake rotors, pads and lines.

IMG_5074.jpg

IMG_5075.jpg

IMG_5077.jpg

IMG_5078.jpg

IMG_5084.jpg
 
Last edited:
OP
OP
MISTERgadget

MISTERgadget

Full Access Members
Joined
Oct 14, 2014
Posts
227
Reaction score
201
Location
Miami
Lowering was accomplished with Belltech 3" drop coil springs all around, #4804 in front and # 5308 springs in the rear. Now it's really starting to look like something! Stability, handling and responsiveness was greatly improved as well.

IMG_5166.jpg

IMG_5096.jpg

IMG_5100.jpg

IMG_5102.jpg

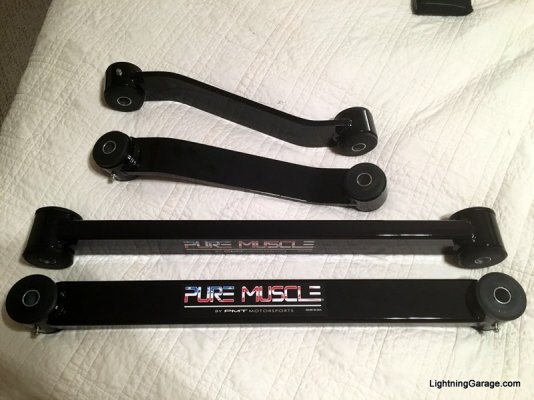
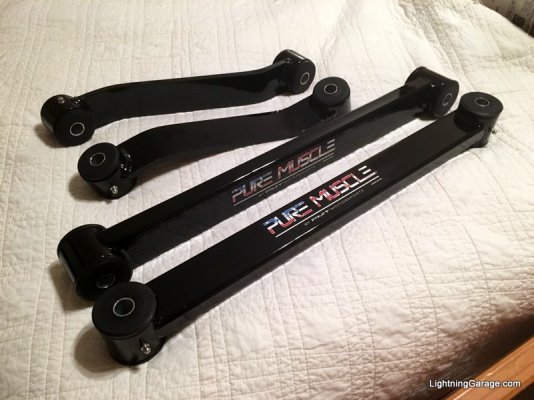
Ok, so now she's looking mean with the new stance, time to complement that by completing the rear suspension upgrades. Added these PMT upper and lower trailing arms with poly bushings in the rear.

The OEM trailing arms typically rust into junk in northern states, mine didn't have that issue as the truck has lived in Miami its whole life, but these sure did make the rear feel much more sure-footed and will help keep everything square and planted with the planned power upgrades.

In addition to the PMT arms, I will have my fabricator build a custom panhard bar down the road to clear a TA Performance rear-end girdle.
IMG_5323.jpg

IMG_5324.jpg
 
Last edited:
OP
OP
MISTERgadget

MISTERgadget

Full Access Members
Joined
Oct 14, 2014
Posts
227
Reaction score
201
Location
Miami
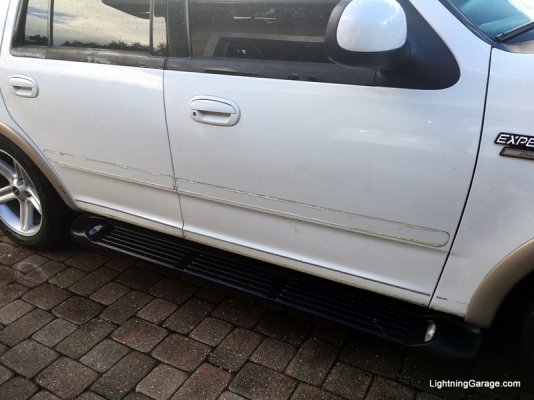
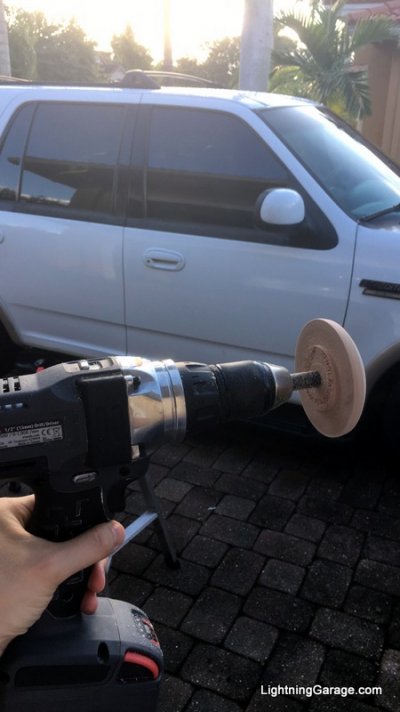
So, next step was some of the easy cosmetic tweaks. The door strips and Eddie Bauer trim on the doors are simply held on with double-sided tape and removing those greatly cleans up the sides so off they come! An eraser wheel made quick work of the cleanup.

IMG_5335.jpg

IMG_5337.jpg

IMG_5338.jpg

IMG_5340.jpg

Looking much sleeker with the clean flanks now :)

IMG_5467.jpg
 
Last edited:
OP
OP
MISTERgadget

MISTERgadget

Full Access Members
Joined
Oct 14, 2014
Posts
227
Reaction score
201
Location
Miami
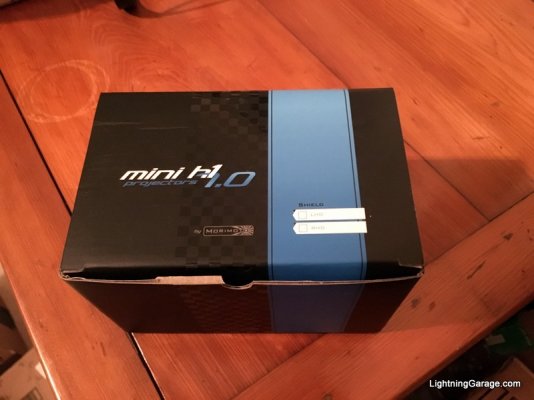
Ok, So my next step was not quite in the original plan, (at least not this early on) but who was I to say no to a great black friday sale from TRS right after Morimoto released the best Mini H1 projector to date?

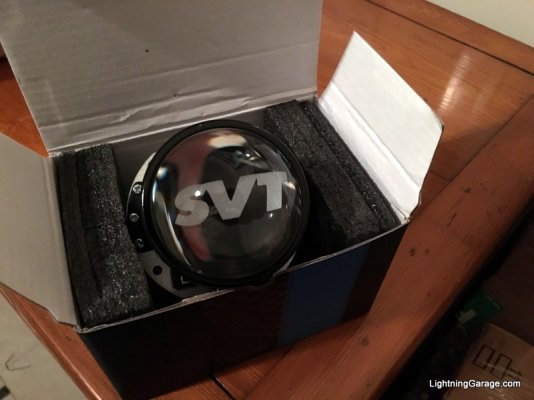
Unboxing, the internet's favorite thing!

IMG_5758.jpg

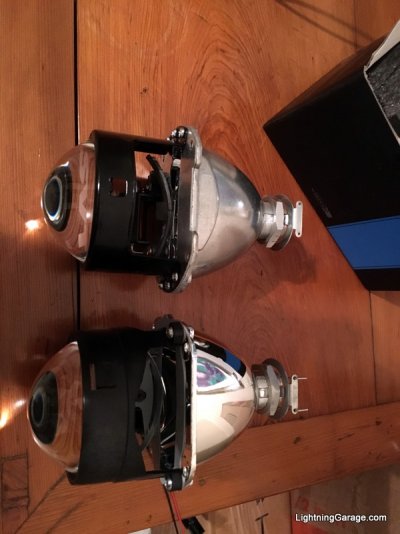
Very nice casting on the bowl with great fit and finish

IMG_5761.jpg

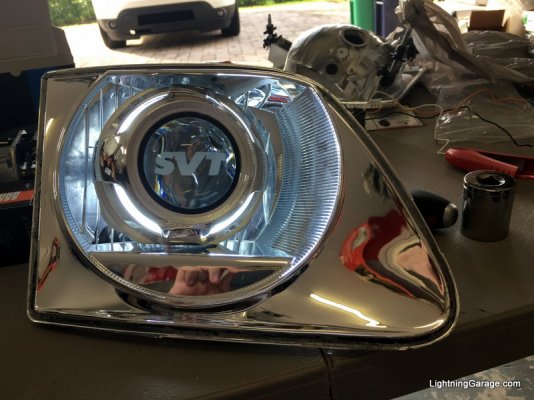
In keeping with the "OEM Plus" theme, I went with an SVT logo etching to match the SVT logo on the bulb covers of the OEM Lightning headlights.

IMG_5759%20(2).jpg

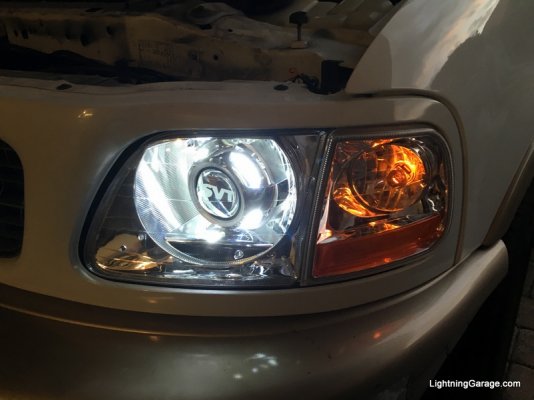
The base was a set of replica "Lightning" headlights, and it came together with some Apollo 2.0 D shrouds to finish them off, and XSB 2.0 switchback halos to finish off the lights with a modern look. Kept it chrome and fairly mild so it stayed within the "could've been factory" theme.

IMG_5775.jpg

IMG_5790.jpg

IMG_5779.jpg

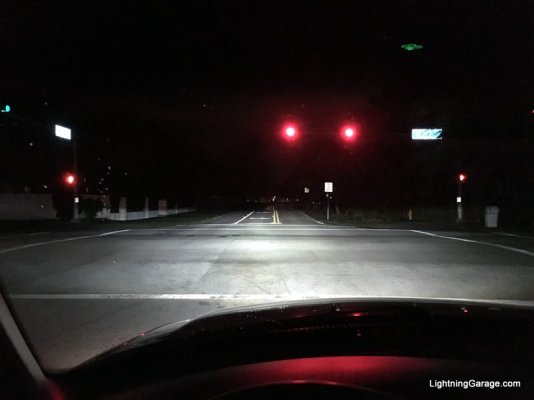
Low beam output shot here - even though it's a phone picture, easy to see the excellent output of the MIni H1 7.0 here. It really punches above its weight considering the compact size and ease of install.

IMG_5803.jpg
 
Last edited:
OP
OP
MISTERgadget

MISTERgadget

Full Access Members
Joined
Oct 14, 2014
Posts
227
Reaction score
201
Location
Miami
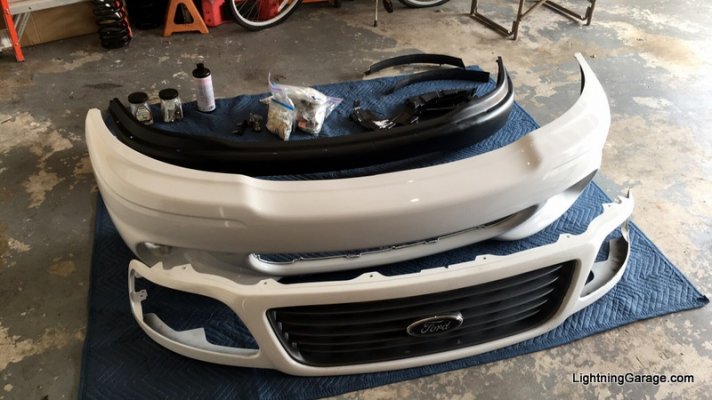
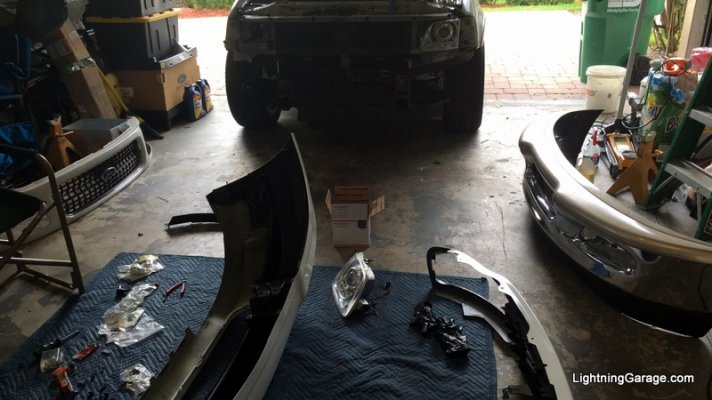
Next big mod was also out of order from the original plan, but since I have been collecting parts opportunistically, I ended up with all of this stuff taking up too much space so on it went... and yes, I did feel kind of bad for making it "look faster" before it had the muscle to back it up.

Here you can see all of the parts needed for the Lightning bumper cover - Since I'm starting with a 98 I needed a 99+ grill shell, behind it you can see the Lightning bumper cover (just the cover) and behind that, a 99-03 F-150 / Expedition steel bumper. I painted the steel bumper with black VHT epoxy paint to try and keep it from getting rusty or pitted down the road. Behind the bumper itself, towards the right, you can see the brackets and supports that bolt onto the steel bumper to give it the shape to support the lightning bumper cover.

IMG_7380.jpg

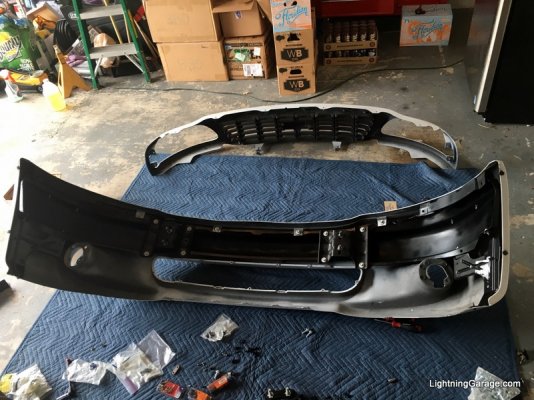
Here's a detailed look at what goes behind the Lightning bumper cover

IMG_7381.jpg

IMG_7383.jpg

IMG_7384.jpg

IMG_7385.jpg

I added switchback LED turnsignal bulbs and yellow foglight bulbs at the same time

IMG_7392.jpg

New taillights went on around the same time as well. These export tails are very rare and I haven't seen them on any other expedition on the road, so I jumped on a new in box set that popped up. It's also a much more subtle OEM look compared to the ebay special LED tails.

At the same time, I also used some SEM bumper-coater paint to refinish the tan-colored Eddie Bauer bumper pads, eventually the chrome will be painted white as well.

The inspiration for these was the 1999 SVT Cobra, those came with export tails to distinguish them from other models, so if an SVT Expedition had been released around that same time, it may have also come with export tails.

For now, the amber portion isn't wired in yet and the red bulbs are still serving as stop/turn/tail, I've got the wiring diagrams here so I'll tackle separating the stop and turn portions in the near future. The basic concept is to take the stop signal that goes to the third brake light to the brakes, and then separate the brake switch from the turn signal switch under the dash, and then the existing wiring for the brake lights and turn signals becomes the wiring for just turn signals.

IMG_7295.jpg

IMG_7373.jpg
 
Last edited:
OP
OP
MISTERgadget

MISTERgadget

Full Access Members
Joined
Oct 14, 2014
Posts
227
Reaction score
201
Location
Miami
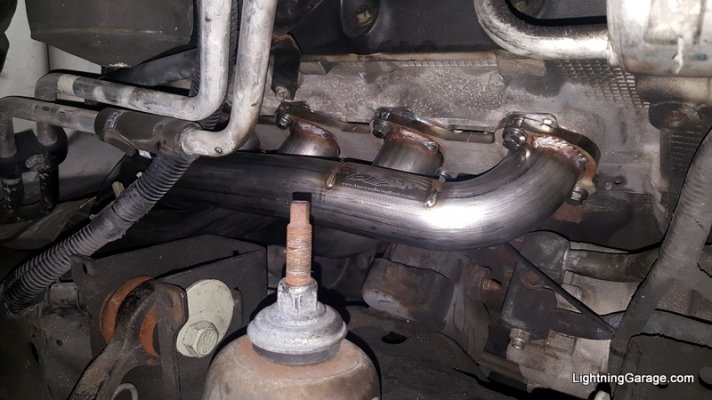
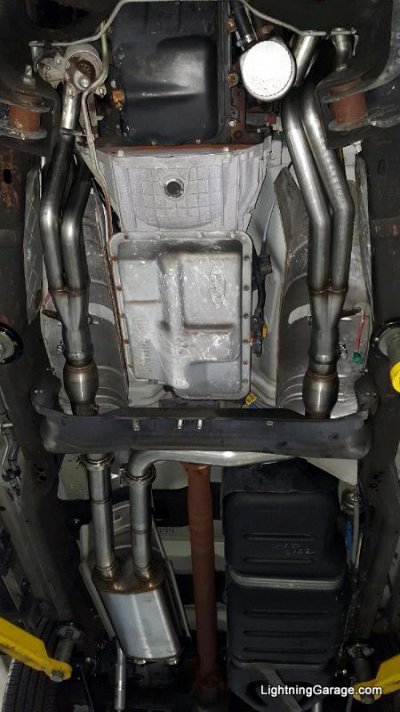
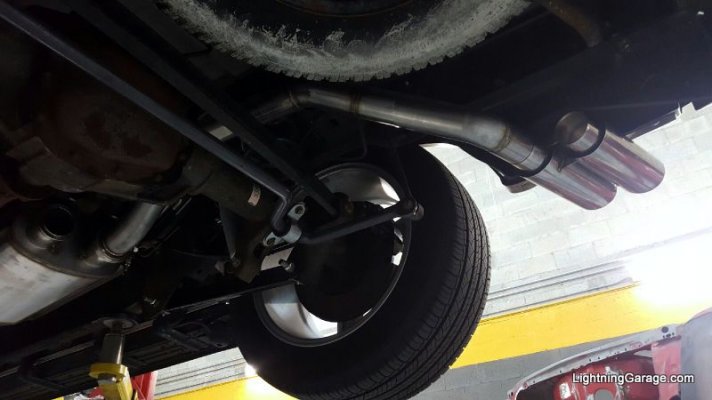
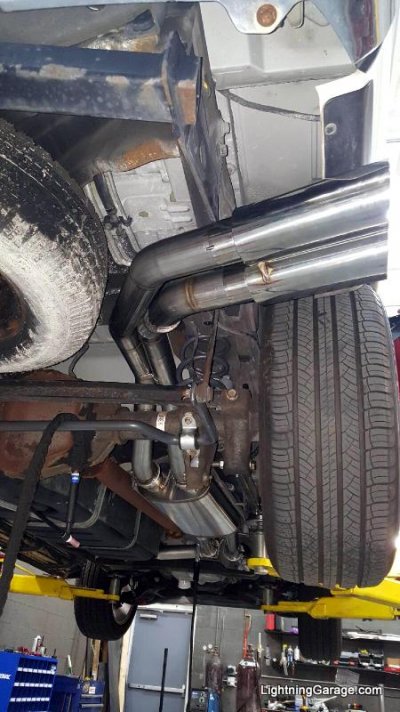
My Expedition is obviously still naturally aspirated and dog slow, but while the engine is at the builder (Ronnie Crawford) and the heads are out for porting (Performance CNC), I figured I could get a head start on the exhaust setup, one less thing to do at the same time as the motor swap. I also had a small leak at the manifold, so I might as well redo the entire exhaust to fix it.

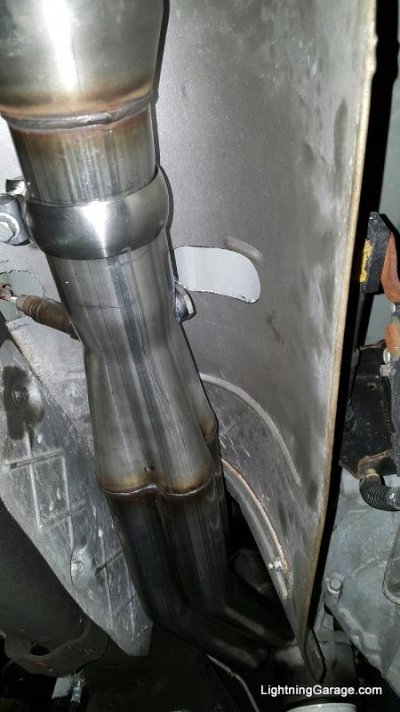
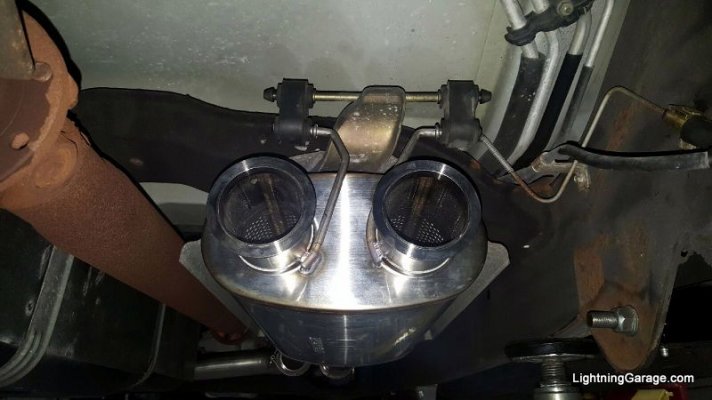
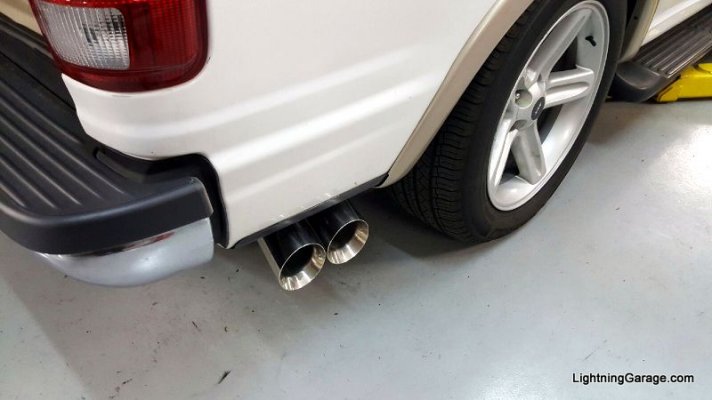
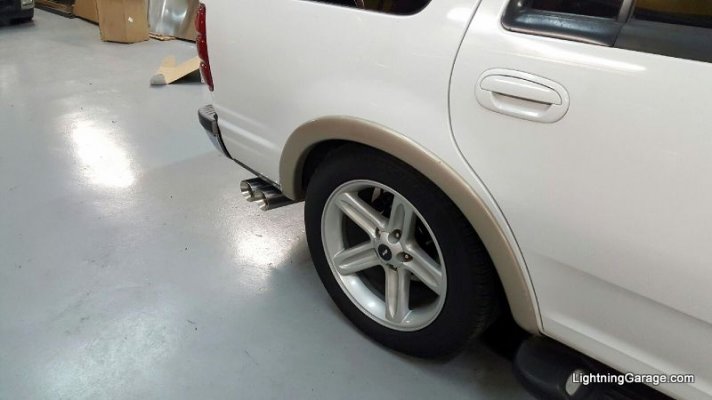
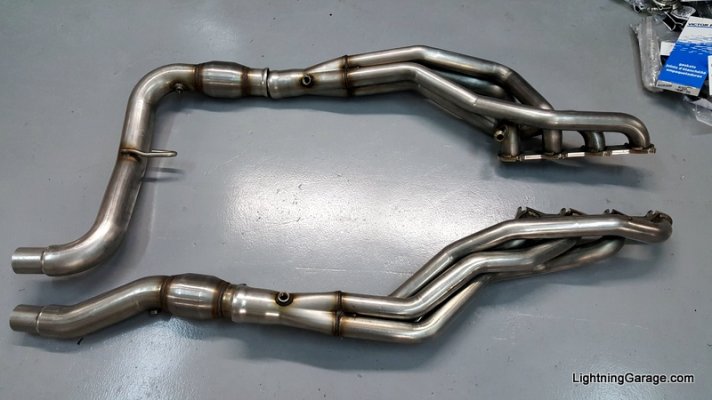
The idea was to future-proof the exhaust to make sure it would never be a bottleneck on power from day 1, so ARH headers with 1-3/4" primaries and dual 3" all the way back. Extra o2 bungs were added for a dual wideband down the road, along. with v-band connections for easy assembly and removal anytime. Since I don't want it too loud, it's catted, and I picked the Magnaflow 12599 muffler with an internal x-pipe, it's the largest 3" dual in/out muffler they make, which should keep it pretty mild. The exit is behind the tire as well to keep interior resonance at a minimum. Dual-wall 4" tips cap it off. I also used Vibrant's stainless steel OEM style hangers.

Danny Fernandez at South Florida Muscle Cars put the parts all together, he did great work and it looks fantastic.

20160713_124819.jpg

20160726_141258.jpg

IMG_8187.jpg

A second set of o2 bungs was added to the headers to allow for adding a dual wideband air/fuel gauge down the road.

IMG_8189.jpg

Here you can see the Vibrant hangers and v-bands on the exit of the Magnaflow muffler

IMG_8188.jpg

Tailpipes over the axle in progress

IMG_8212.jpg

All set!

IMG_8225.jpg

The tips turned out extremely nice as well - 4" double wall stainless with angle cut openings. A great ebay find!

IMG_8210.jpg

IMG_8211.jpg

aaaaand of course, the obligatory sound clip:


it's just what I wanted, aggressive and throaty when you're on the throttle, with a great timbre from the headers, unobtrusive and very subtle at idle and cruise.
 
Last edited:
OP
OP
MISTERgadget

MISTERgadget

Full Access Members
Joined
Oct 14, 2014
Posts
227
Reaction score
201
Location
Miami
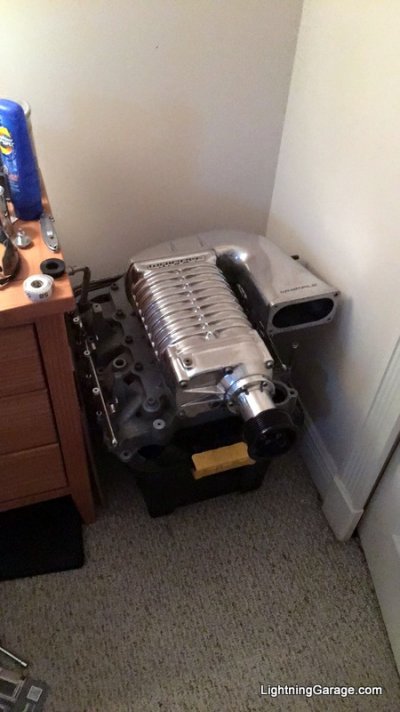
In the meantime this was my little parts hoard awaiting a proper engine to sit on.

IMG_8506.jpg

The polished blower isn't quite what I had in mind since it doesn't fit the "could have been stock" theme, but I just couldn't walk away from the deal I was able to get on it. Might still try and trade it for one of the black powdercoated superchargers or do a silver vein or similar powdercoated finish on this one.

Some minor updates, it's mostly "hurry up and wait" at this point on the cylinder heads to get back to the engine builder.

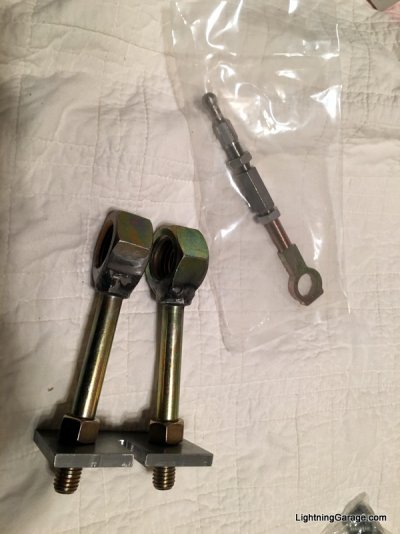
Finally stopped being lazy and after sitting on this guy for a few months, pulled the original short rod out of the hydroboost and replaced it with this adjustable unit from Tallon Hydraulics (no fun doing it once the HB was installed,I took the driver's seat out and laid on my back on the floor)

In the picture you see the new adjustable rod as well as the pulling tool for removing the fixed length rod.

IMG_8507.jpg

The superduty has a different geometry to the pedal setup so it uses a short rod from the hydroboost to the brake pedal. In an F-150/Expedition, this leads to a low brake pedal that sits below the accelerator pedal and feels like it doesn't have much room to go before hitting the floorboard. The longer rod brings the pedal back up, and having it threaded for adjustability lets you put it exactly where you want.

In months of driving the truck I never actually ran out of pedal travel, and perhaps it's just psychological, but once the pedal height was corrected, the brakes immediately felt even better and more confidence inspiring. Perhaps lifting the pedal back up corrects the geometry to give you more leverage. The pedal height feels right now and no need to adjust going from one truck to another. Now all 3 have the same pedal height and hydroboost, it's a real pleasure to drive.

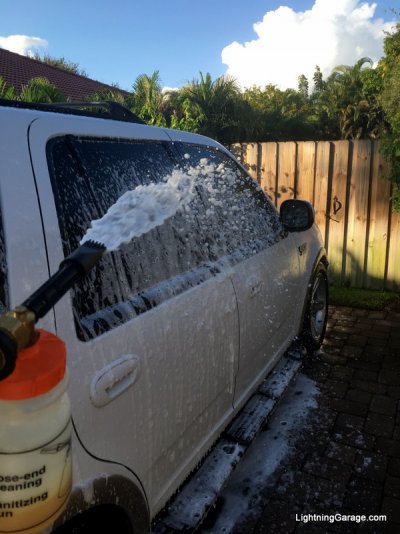
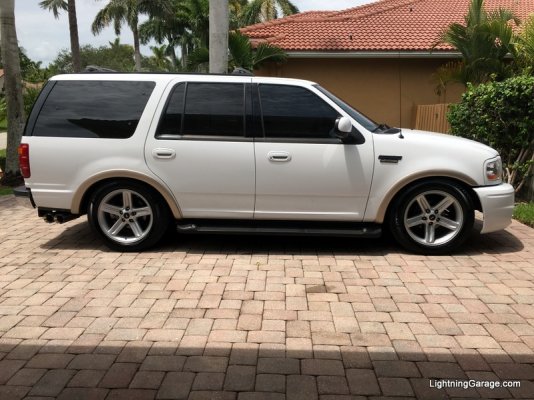
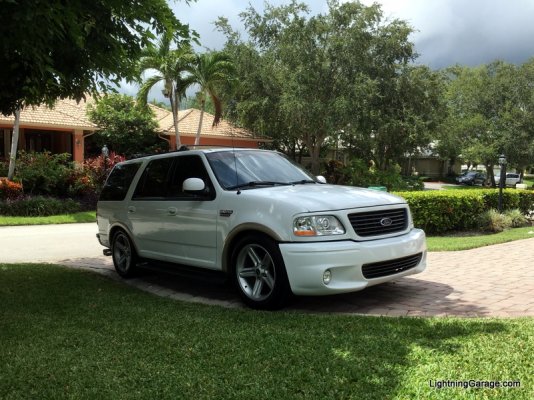
and just because, a few pictures of the around the house after a fresh coat of collinite insulator wax.....and yes, the EB flares desperately need to be color matched!

IMG_8894.jpg

IMG_8958.jpg

IMG_8923.jpg
 
Last edited:
OP
OP
MISTERgadget

MISTERgadget

Full Access Members
Joined
Oct 14, 2014
Posts
227
Reaction score
201
Location
Miami
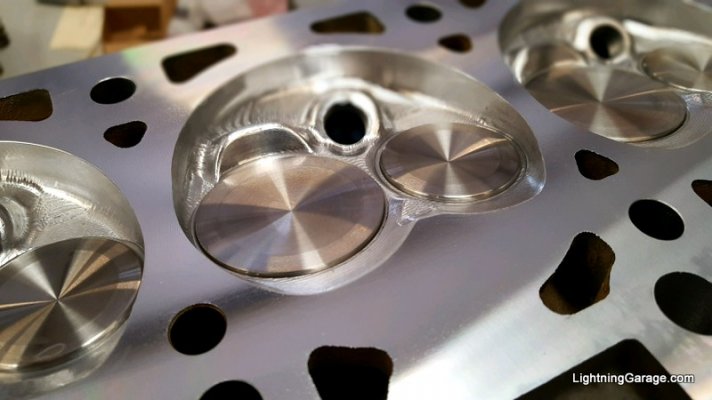
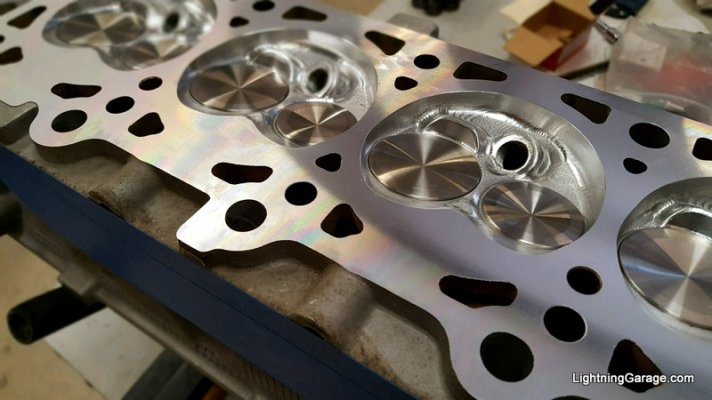
Got the heads back from the porting wizards at Performance CNC (cncport.com)

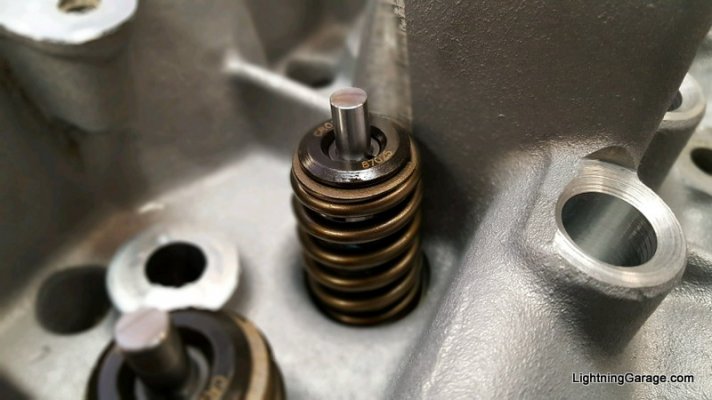
Fully CNC Ported exhaust/intake runners and combustion chambers, 1mm oversize valves, new valve seals, new guides, new valve seats, upgraded crower springs and retainers.

IMG_0168.jpg

IMG_0169.jpg

IMG_0170.jpg

Got the paint matched fender trim on, way overdue!! It totally transformed the look of the truck.

IMG_0453.jpg

IMG_0471.jpg

IMG_0472.jpg

IMG_0463.jpg

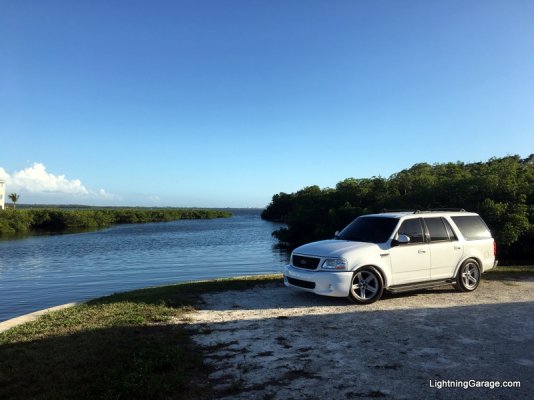
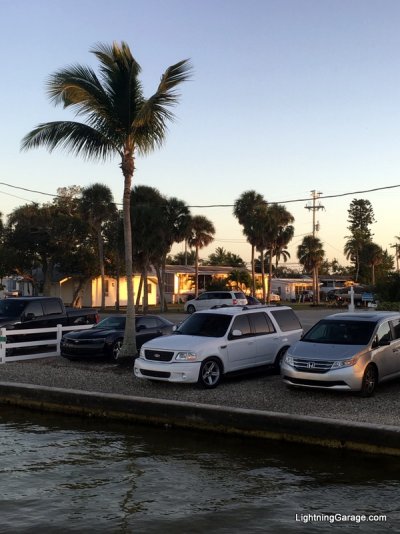
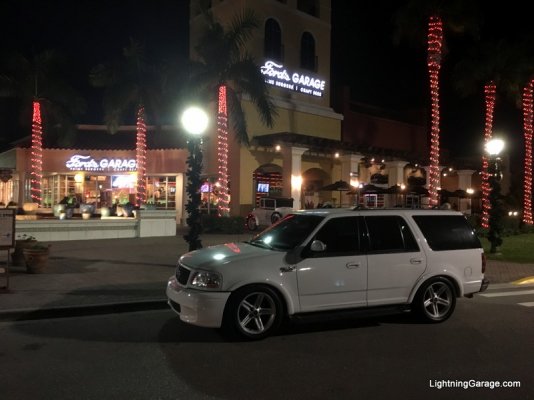
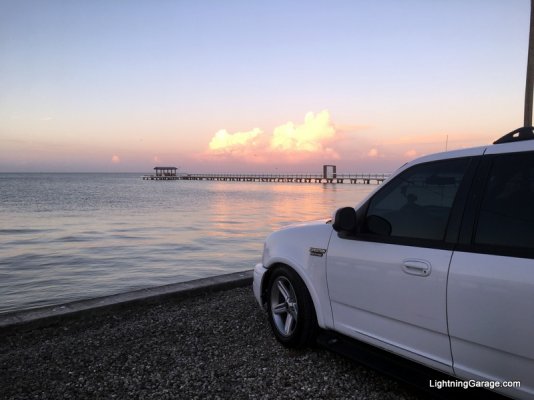
The Expy also took a trip with me to the West Coast of FL to see family over the holidays

IMG_0480.jpg

IMG_0484.jpg

IMG_0491.jpg

IMG_0487.jpg

Got a couple other small things ironed out

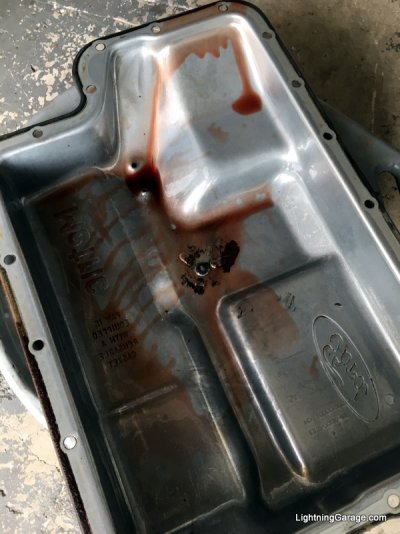
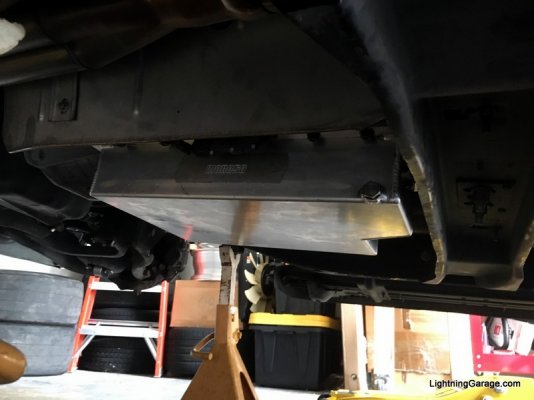
Installed a Moroso transmission pan (adds 2-3 quarts of capacity) along with fresh fluid and a new filter. Will look good with the matching Moroso oil pan :)

IMG_0653.jpg

IMG_0652.jpg

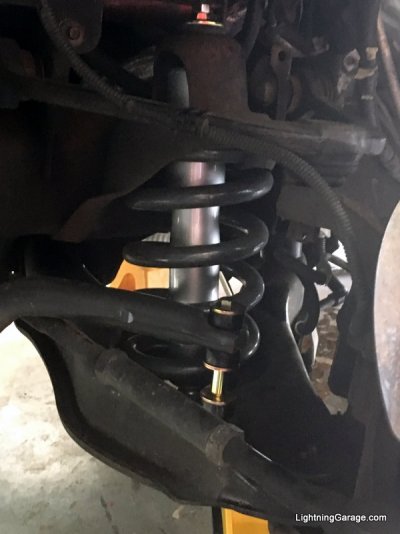
Got new front and rear swaybar endlinks and new front shocks on too. I had been driving around with stock length endlinks with a 3" drop, so the swaybars weren't sitting level. Used shorter OEM style endlinks up front and Hellwig adjustable endlinks in the rear, it's amazing how much flatter the truck corners just having everything setup correctly. Turn in felt improved as well.

6594daf32b03173a1384dcea350106af09206f9e.jpg
 
Last edited:
Top