03 navigator 5.4 32v tear down and rebuild project

Disclaimer: Links on this page pointing to Amazon, eBay and other sites may include affiliate code. If you click them and make a purchase, we may earn a small commission.

BlueStangGT

Full Access Members
Joined
Jun 14, 2005
Posts
101
Reaction score
47
Location
Oklahoma
Congrats on the new kiddo, it’s truly a life changer! Progress looks good on the motor... surprised about the timing chain, though. Weird that the new one would have so much slop. Was the timing gear set on the crank one piece or two pieces?
 

johnboneske

Full Access Members
Joined
Mar 30, 2010
Posts
759
Reaction score
169
Location
Ohio
Congrats on the baby! Nothing is better than being a dad! Love your writeup here on the engine.too.
 
OP
OP
A

Andy J

Well-Known Member
Joined
Apr 8, 2018
Posts
71
Reaction score
31
Location
San Jacinto, CA
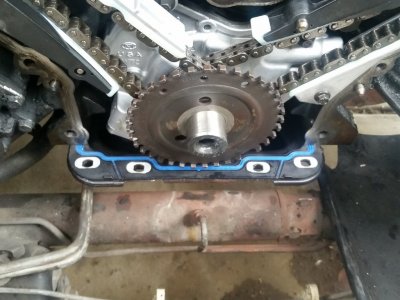
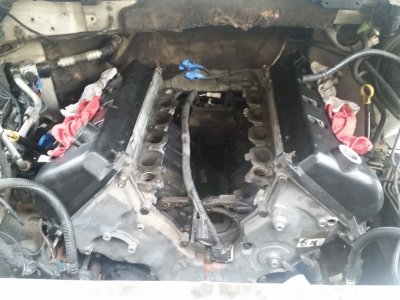
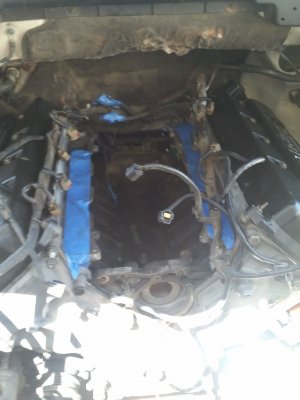
Made some more progress today. I got the timing cover the rest of the way prepped and ready to install. I replaced the front main seal. I used the felpro timing cover gaskets that came in the head set. I followed the pattern of which bolts go into what holes for the timing cover because some of the holes need to have a bolt with a stud end on them to mount cooler lines or wiring. Before you install the timing cover MAKE SURE TO INSTALL THE CRANK SENSOR WHEEL OR ELSE YOUR ENGINE WONT RUN!!

The wheel has a bunch of teeth on it, with one missing so that the computer has a reference of where the crank shaft is in relation to top dead center.

When you install the timing cover, make sure to put a dab of silicone on the seams where the heads and block meet so that once the covers installed it doesnt seem oil.

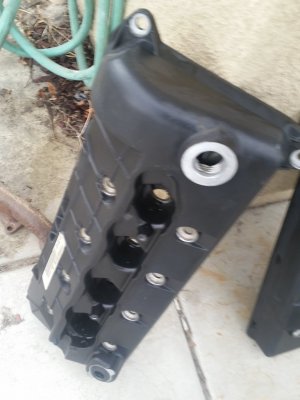
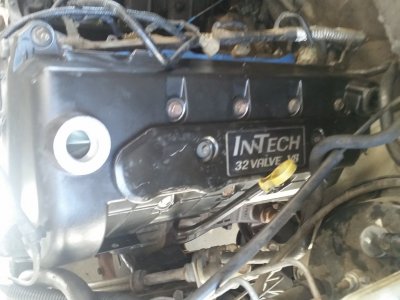
I took the valve cover bolt bushings out of the valve cover, then proceeded to degrease, clean, and dry the valve covers. I replaced all the cover bushings, then installed them on the valve covers. I then put dabs of silicone on the gaps between the top of the timing cover and the heads, and installed the valve covers. I also replaced then front 2 o2 sensors since they were right there and im pretty sure they were the original ones. I also bolted the exhaust downpipes to the exhaust manifolds.


That was a good 5 hrs of work for me. I will do more tomorrow.

20180526_141633.jpg

20180526_164943.jpg

20180526_181638.jpg
 
Last edited:
OP
OP
A

Andy J

Well-Known Member
Joined
Apr 8, 2018
Posts
71
Reaction score
31
Location
San Jacinto, CA
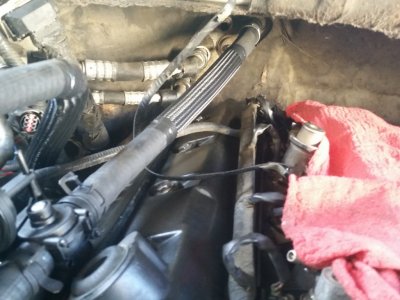
Got started this morning. I got the wiring harness stretched out and nested where it needed to go. I had to do a wiring repair on the knock sensor as it looked like it either cracked from heat or some creature chewed it. Anyway, i got it fixed. I installed the spark plugs, and ignition coils into the heads. I always use anti seize on the plugs to prevent them from sticking in the aluminum heads. I also always put a dab of dielectric grease on the end of the coil boots. I plugged in the o2 sensors, the oil pressure switch, the ac compressor, and the crank sensor while i was under the truck. I then bolted the trans dipstick to the head and installed the oil dipstick. I then installed a new water pump.nipple into the block. I put a thin layer of gray rtv onto it and pounded it into its housing. I then installed the metal heater return pipe. I got a new one one because looked like crap and i didnt trust it. I ran the 2 lower alternator bolts in loosely, and set the alternator onto them. I then cleaned the mating surface on the heads around the intake ports, and cleaned the bottom of the lower intake and installed it onto the heads.

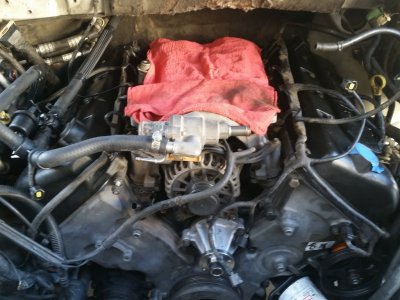
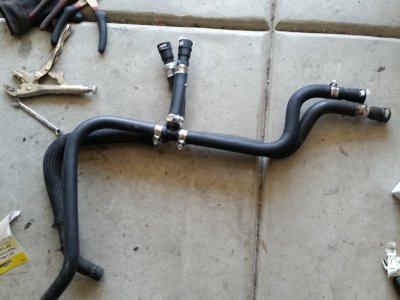
I installed new heater core supply and return lines. I would hate to get stuck on the side of the road due to a blown heater hose, and once the upper intake is installed, itll be a bear to get to them, so i figure, do it now and have peace of mine. I was able to buy a new supply hose assembly already preassembled and complete. The return hose assembly on the other hand was unavailable. I looked pretty.much everywhere. Im referring to the hoses as assemblies as one has a heater control valve, and the both have hook ups for the front and rear heater cores. The only place that would have been able to get a hold of the heater return assembly would have been orileys, but they said it was out of stock, and it was $122.00. I felt that that was a rediculious price for some hoses and a tee, so i made my own with a plastic tee fitting and some molded hoses from autozone for less than 30 dollars. In the picture, i have the one i made sitting over the original to check the measurements.

Thats where im at. I will do more tomorrow.

20180527_143000.jpg

20180527_142952.jpg

20180527_171412.jpg

20180527_171417.jpg

20180528_123720.jpg
 
OP
OP
A

Andy J

Well-Known Member
Joined
Apr 8, 2018
Posts
71
Reaction score
31
Location
San Jacinto, CA
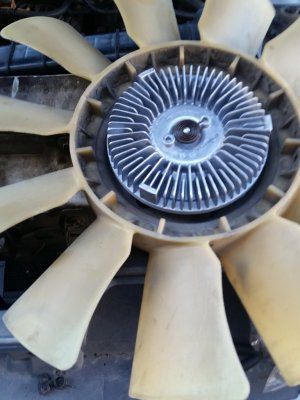
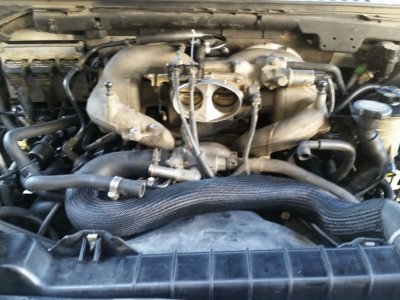
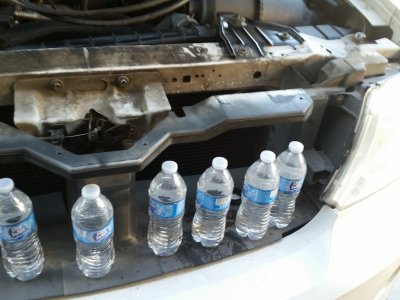
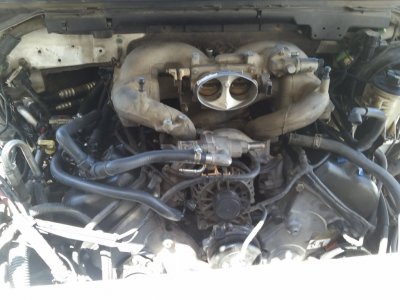
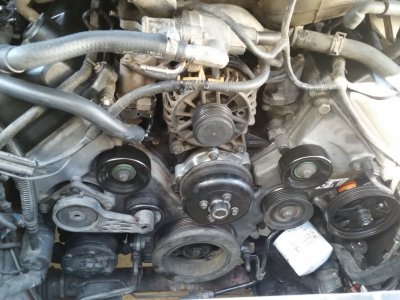
Well...i made major headway. I loosely bolted the egr tube onto the manifold. I left it loose so that i could line it up with its port on the bottom of the upper manifold. I put 2 small dabs of gray rtv onto the gasket to help hold it in place. I loosely installed the 2 bolts that hold the egr valve to the manifold and proceeded to bolt the upper manifold onto the lower manifold. I installed 2 new idler pulleys because the bearings in them felt rough. I installed a new water pump, new belt, and a new power steering pump as mine started to leak when i used the pulley removal tool. I hooked up the heater and coolant hoses. I tightened the egr pipe up at the manifold. I installed the pcm bracket, and installed the pcm. I coated the pcm and all the other electrical connectors with di electric grease. I replaced the thermostat, and thermostat gasket. I installed the radiator, shroud, and fan. I replaced the fan clutch while i was at it. I installed the throttle cables, battery, intake tube, and filter box. I then filled the power steering system, added the oil, and added new coolant. I used concentrate, and to delute it i use distilled water or purified water, whatever i have on hand. I got all the electrical connectors hooked back up, and put in their proper.places. I reconnected the battery, hooking the negative last. I got in the truck, did the key on engine off cycle 3 times, and cranked it. I have a video that i took of its first fire up. After i fired it up, it smoked quite a bit to clear all the excess oil and stuff out of the cylinders. I let it idle, but after about 20 secs it was surging very badly to the point where it sounded like it wanted to stall. I used some brake cleaner to try and pinpoint a vacuum leak. When i sprayed around the back of the manifold, the rpms increased. I ended up pulling the pulling the upper manifold off, and re torquing everything, and in the process, found that the egr gasket had cocked sideways in the process of installing it, and was causing the vacuum leak. I coated a new egr gasket with gray rtv, and installed it. She fired right up and idles perfectly. So, thats pretty much it. I hope yall enjoyed the read, and i hope itll help you if you decide to do a tear down yourself.
20180528_142000.jpg

20180528_155649.jpg

20180528_163837.jpg

20180528_170709.jpg

20180528_172126.jpg
 

BlueStangGT

Full Access Members
Joined
Jun 14, 2005
Posts
101
Reaction score
47
Location
Oklahoma
Congrats on getting it finished and thanks for the thorough documentation. Now go enjoy being a Dad!
 

1955moose

Full Access Members
Joined
Nov 23, 2014
Posts
5,981
Reaction score
1,338
You did a great job. I don't remember reading were you a mechanic? Or was this your first build? Pretty good if it was! Congrats on both babies. Your hopefully done with the one spitting up, the other you just begun!

Sent from my N9131 using Tapatalk
 
OP
OP
A

Andy J

Well-Known Member
Joined
Apr 8, 2018
Posts
71
Reaction score
31
Location
San Jacinto, CA
I was previously a ford heavy line mechanic, but this is my firsr 32v modular build. I was kinda of out of my confort zone at first with the quad cam setup, but once those are out of the way its just like one of the 16v's ive done before. Thanks for all the comments and encouragement guys. Youll be seeing more of me as i continue to get this thing how i want it lol.
 
Top