
skywagon
Member
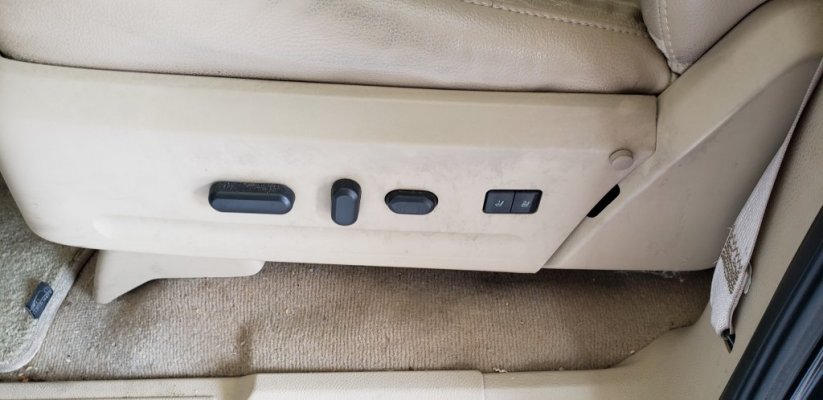
My 2014 EL model has 4 switches on the drivers seat controls shroud/panel. A plastic molding piece wrapped around the seat, left side. That panel plastic snap-to-hold pieces broke and was hanging partly loose. This piece is very likely to be broken at some time due to sliding ones butt into the seat and putting too much pressure on this plastic shroud.
Finding the correct part number is a bit of a nightmare. I had 4 Ford suppliers swear they were sending me the right part (for 4 seat switches) and they were all wrong. These "$10" pieces of plastic are expensive also; over $100 in many cases. Shopping on-line will turn up lower costs.
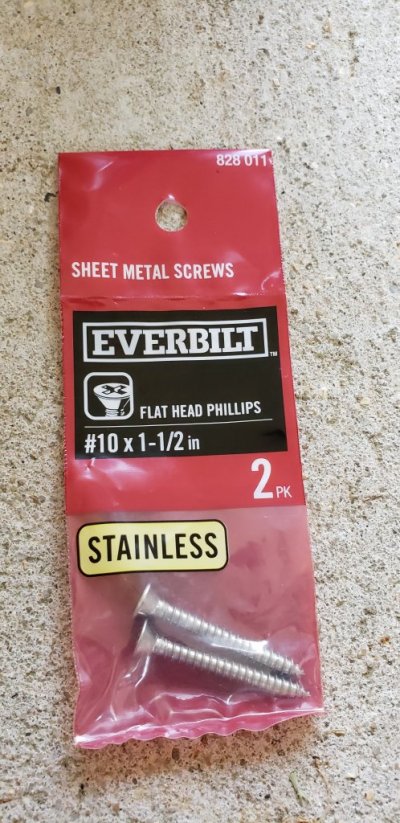
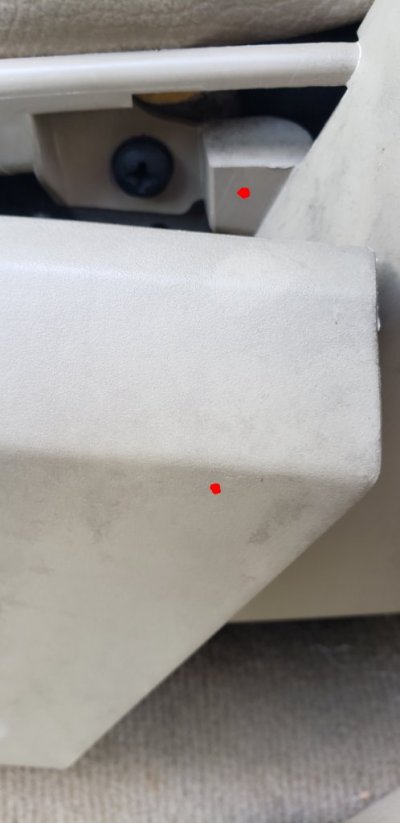
During this wasted time of receiving and returning the parts I got to wondering how to fix the attachment points that were broken inside. Carefully, reviewing, I decided that no amount of gluing would have the strength to repair it. Finally, I noted that towards the rear of the panel is a fairly strong plastic boss on the mating part to this panel. And, with careful alignment I was able to drill a single, non-offensive, hole to take an 1.5" metal threaded screw. This worked out fine for reattaching the panel. If you have the same failure, look for this "boss" behind the broken panel.
In the attached image, that boss location is about where the "red" hex is marked. Get the panels remaining attachment points lined up and clicked in, then, place the screw. It will hold the panel in place.

Finding the correct part number is a bit of a nightmare. I had 4 Ford suppliers swear they were sending me the right part (for 4 seat switches) and they were all wrong. These "$10" pieces of plastic are expensive also; over $100 in many cases. Shopping on-line will turn up lower costs.
During this wasted time of receiving and returning the parts I got to wondering how to fix the attachment points that were broken inside. Carefully, reviewing, I decided that no amount of gluing would have the strength to repair it. Finally, I noted that towards the rear of the panel is a fairly strong plastic boss on the mating part to this panel. And, with careful alignment I was able to drill a single, non-offensive, hole to take an 1.5" metal threaded screw. This worked out fine for reattaching the panel. If you have the same failure, look for this "boss" behind the broken panel.
In the attached image, that boss location is about where the "red" hex is marked. Get the panels remaining attachment points lined up and clicked in, then, place the screw. It will hold the panel in place.