01ExpeditionXLT
Member
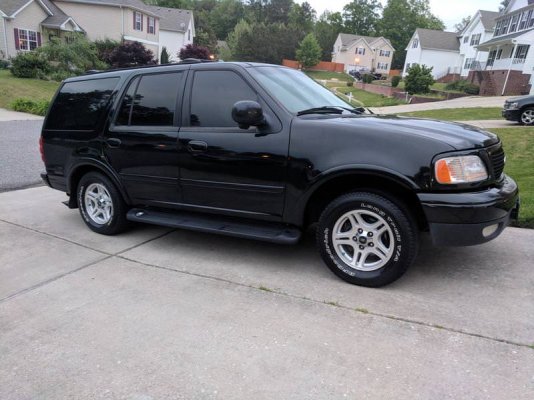
So after many years (and miles), I decided to do a full audio upgrade to my 2001 No Boundaries edition Expedition XLT. The vehicle is still driven regularly (+185k) and I thought this would make it more fun to drive. My Expedition didn't come with a factory subwoofer so that will be part of the upgrade. This was somewhat of a budget build so I decided on a Kenwood DNX574S head unit with Garmin navigation, front & rear cameras, Cerwin Vega V468 (front) and Kicker CSC68 (rear) speakers, a Rockford Fosgate Prime 10" R2 shallow mount sub (R2SD4-10), and a Boss Audio R1100M monoblock amp.
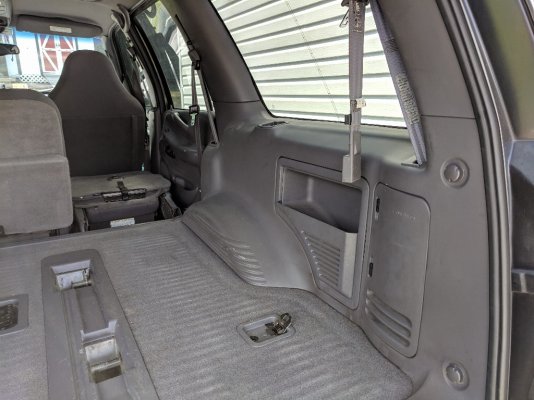
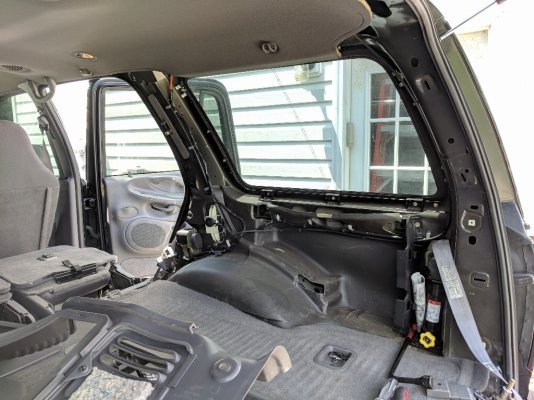
This is what I'm working with. My primary objective was not to lose any functionality of the vehicle - including the use of the cargo space as well as the 3rd row seating (not shown). So that ruled out any massive custom sub enclosures in the back with a bank of 15" speakers! Under seat subwoofer options were also off the table since I wanted to be able to fold down the 2nd row seats to carry large items after the install.
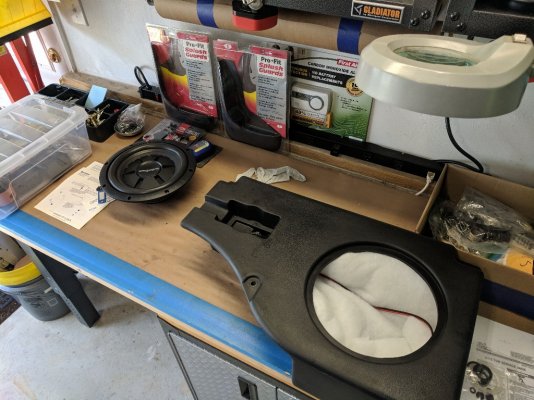
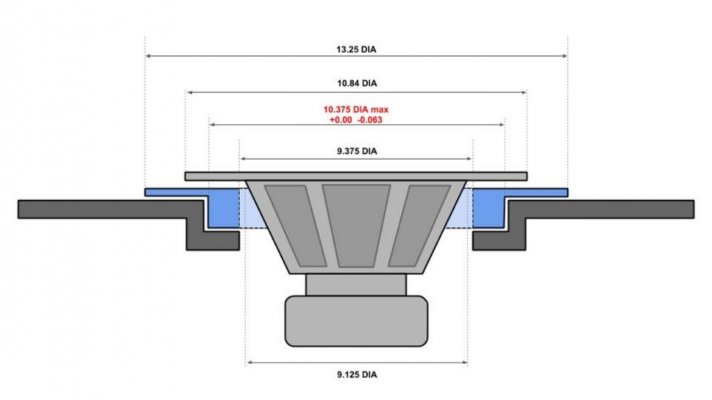
I was unable to find a decent used OEM sub enclosure, so I bought an unloaded MTX FEN10U enclosure that fit nicely on the stock location. Unfortunately the sub I planned on using, a Rockford Fosgate R2SD4-10, didn't fit, so I had to build an adapter to make it work.
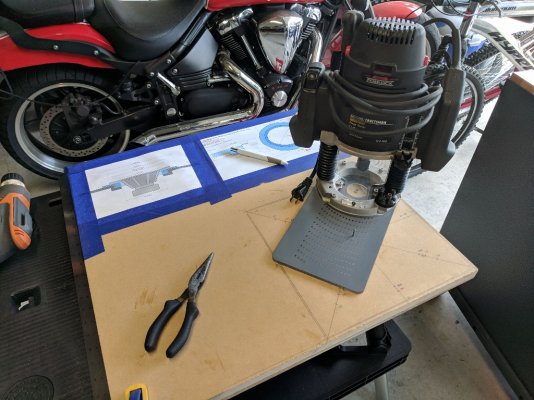
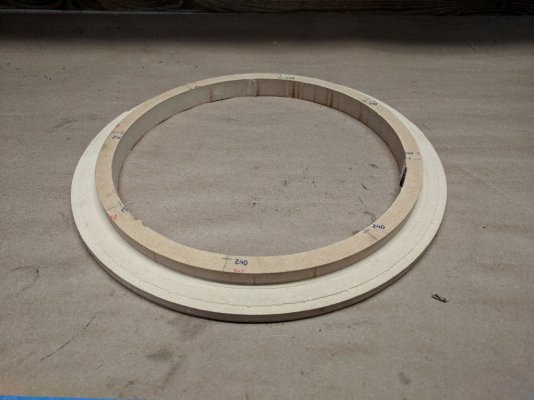
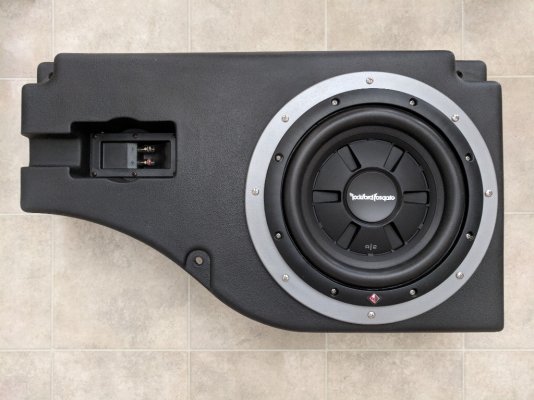
I made this adapter ring from 0.75" MDF using a circle template & plunge router to allow the wider frame of the Rockford Fosgate sub to mount in the smaller hole of the enclosure. The wide portion of the ring would be fastened to the enclosure using construction adhesive and screws, and the sub would be mounted to the MDF with screws. Everything is nice and solid and there is no rattling or buzzing from the enclosure even when it is getting pushed hard. Sounds good!
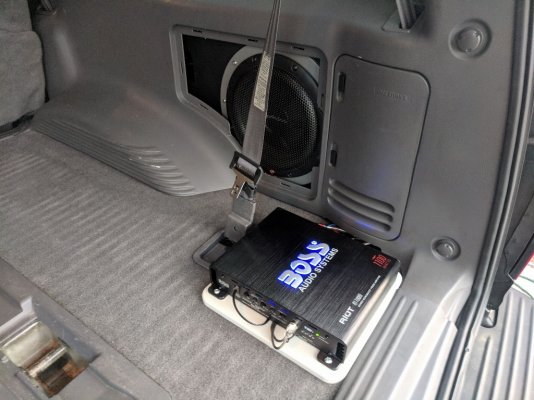
The R2SD4-10 sub has dual voice coils and can be configured as either a 2 (parallel) or 8 (series) ohm load. The Boss Audio R1100M amp is admittedly a "budget-friendly" component in the setup, but it works fine for my application. The 825W (RMS) rating (2 ohms) is wildly optimistic IMO. The amp is only fused for 30A, so I felt comfortable pairing this with the sub wired as a 2 ohm load. I still plan on using my Expedition to carry cargo, but I wanted to protect the speaker from whatever junk may be back there. Rockford Fosgate doesn't make a grille specifically for this speaker but their Prime R1G-10 mesh grille was tough, nice looking and fit almost perfectly (with a little trimming)!
NOTE: I'm planning on covering the opening in the sidewall with a black cloth grille. I have a frame that came with the enclosure, but it needs to be modified to clear the mesh speaker grille.
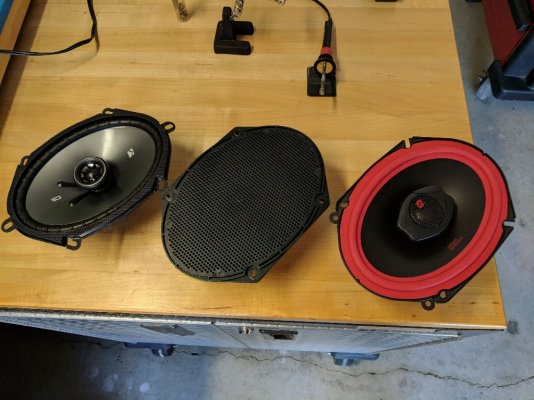
Kicker CSC68 (rear), OEM Ford, and Cerwin Vega V468 (front) speakers side by side.
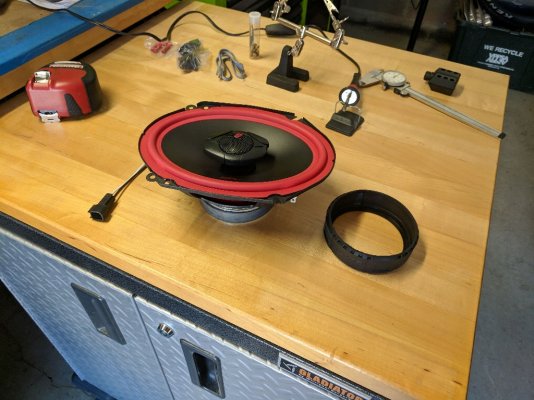
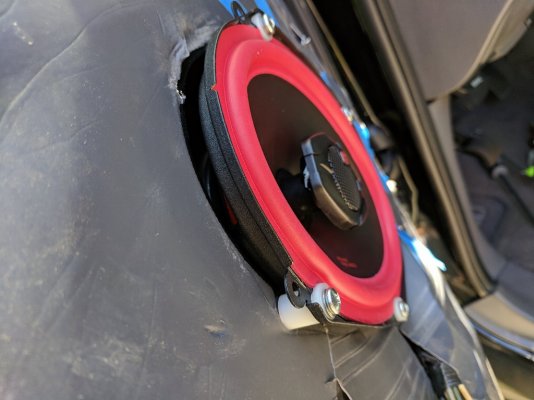
I have always been partial to Cerwin Vega speakers, they have great sound and strong bass! The Kicker CSC68s were direct bolt in while the Cerwin Vegas sit deeper (by ~0.625") and need to be shimmed slightly to clear the window glass. I bought some longer screws and nylon spacers (Ace Hardware) to raise the speaker ~0.375" above the door panel. I also removed the decorative rubber piece around the magnet for added clearance. I don't think the Vegas will fit in the rear doors since those speakers are held in a frame, but I didn't try to get any good measurements on them.
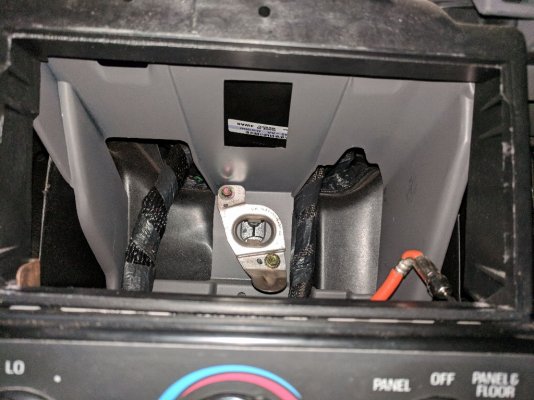
This is the opening in the dash that must be modified to accept a double DIN head unit. Cut away the plastic "roof" in the cavity in addition to enlarging the opening in the front, black plastic panel.
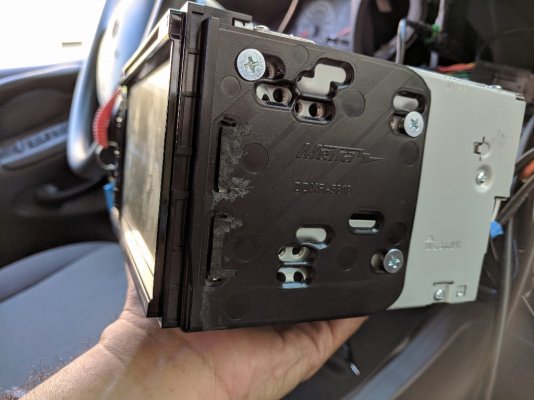
I used the Metra 95-5818 mounting bracket kit and 70-5519 wiring harness to install my Kenwood. For the 95-5818, Metra warms that the side plates that hold the head unit in the dash will lock it in permanently! This was a deal breaker! I'm not going to destroy the dash trying to remove this head unit if I needed to get behind there in the future. To get around this I ground down the tabs on both side plates using a Dremel. Don't grind the tabs completely flat - leave a small ridge that can grip the side frame, holding the unit in place. With a little effort it can easily be pulled out by hand, allowing access to the back of the unit.
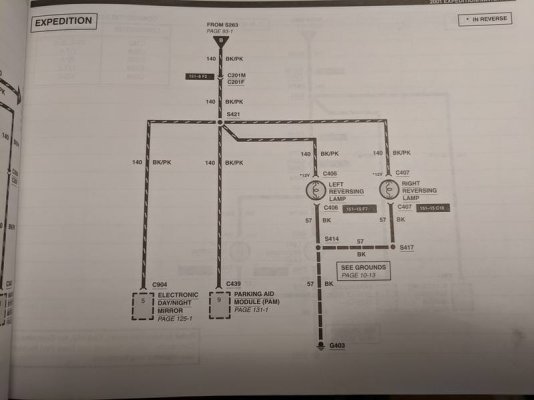
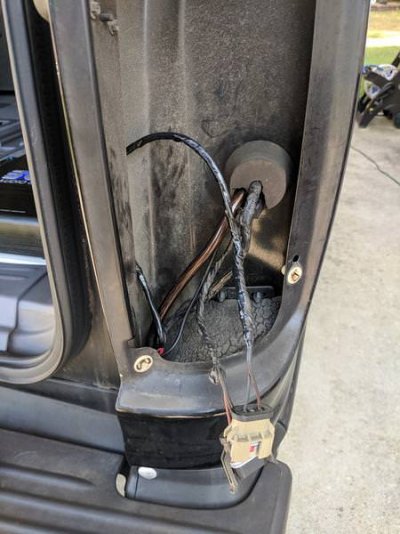
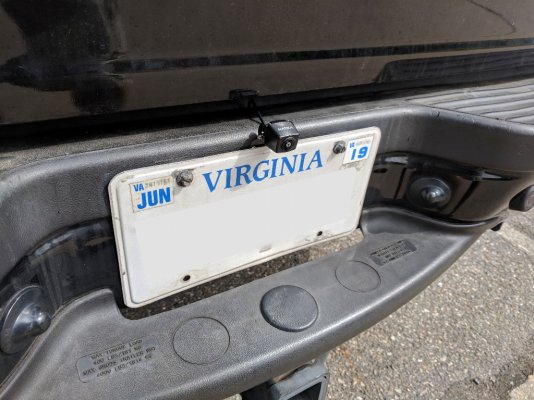
The backup cam is powered/triggered off the right rear reverse lights and mounted above the license plate. My truck came with reverse sensing but this is much nicer and gives a great image on the screen.
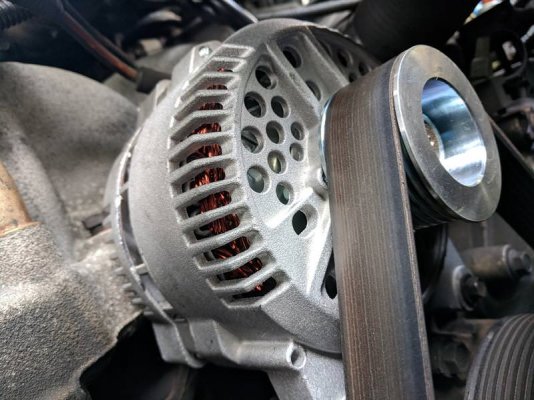
For reliability concerns, I swapped out the original 130A alternator for a new 160A unit.
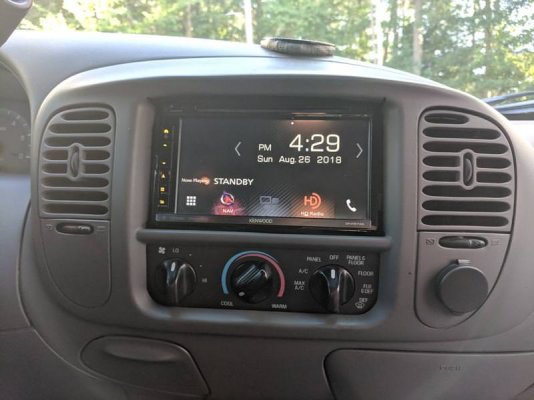
This is the final installed view of the system! I routed the rear USB port to a blank spot under the passenger vent. There are also some additional rear I/O data lines that are brought to the front. An A/V (IN) line (composite video, stereo audio) is in the center console, and a VIDEO (OUT) cable is hidden in the glove box for future use.
Last edited:


