Bowesmobile
Full Access Members
This is my first attempt at a write up. I'm doing the electric fan install on my 1997 Expedition 4.6L XLT 4x4. I have also upgraded the radiator to a 2 row. Here are the parts I have purchased.
1. 2 speed Volvo fan controller from Ebay. Volvo 2 Speed Electric Fan Controller Relay Lincoln Mark VIII Taurus 93 Mustang | eBay
2. 2 row radiator from Ebay. 2 Row Radiator Ford Expedition F150 F250 F350 Super Duty 4 6 5 4 V8 | eBay
3. Dual electric fan from a Ford Windstar. Like this one. Flows 4,400 CFM as per an Dorman flow study (found here Ford Windstar Cooling Fan data collected - Chevelle Tech) 99 03 Windstar Radiator A C Fan Assembly Dual Fan | eBay
4. One Be cool grounding electric fan switch. Be Cool 75029 185 Degree Sender For Select Radiators : Amazon.com : Automotive
The switch (part #4) will drive the low speed fan. The dual fan controller (part #1) is made for a 2 fan set-up or for a 2 speed fan. Its completely ready to wire and uses the temp sensor to control on/off. So if you want, you can use a higher temp sensor for the high side. But you will have to engineer your own way of tapping into the water path. For my truck I'm tapping into the water path toward the left back of the block by the bell housing there is a 3/8" npt port into the waterway.
The high speed fan is going to be driven off the A/C pressure switch. As well as a switch that grounds the dash. So if anything fails I have a safety.
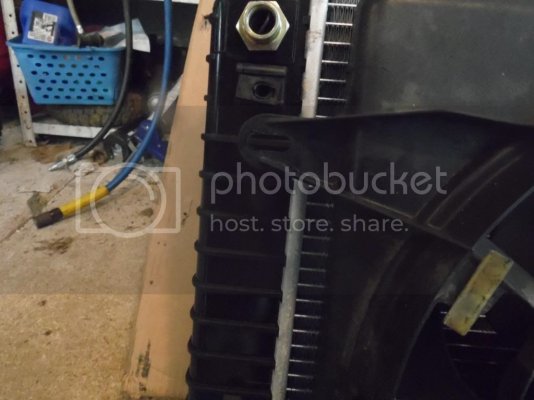
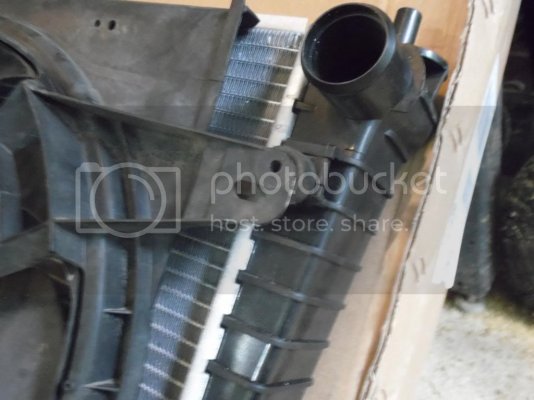
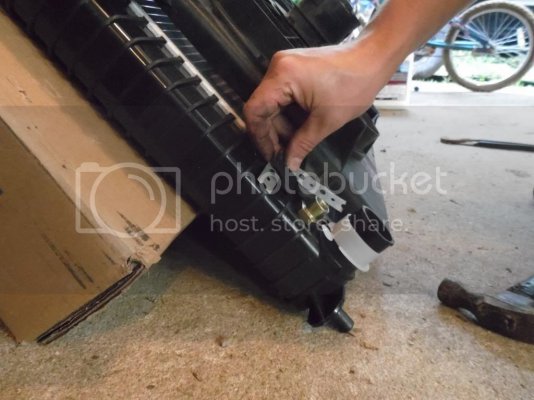
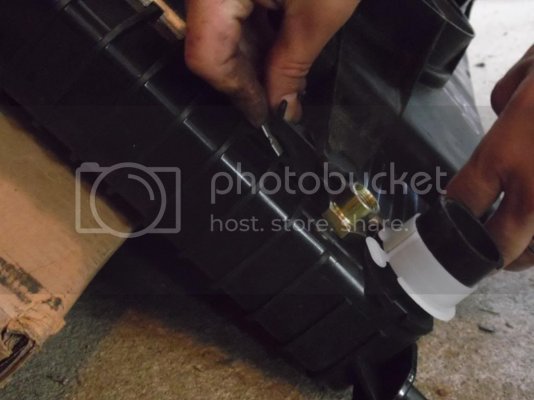
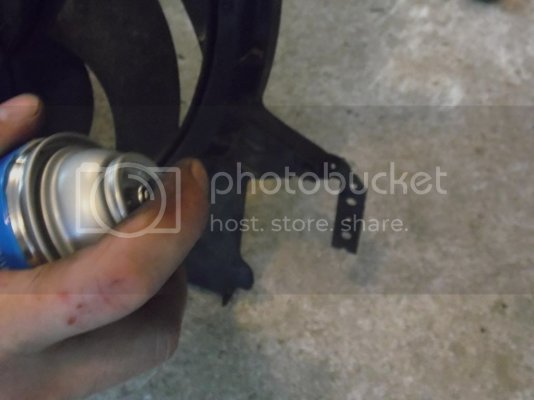
Now the radiator and the fan ALMOST are a direct fit. I had to elongate the left hole and I am going to have to put a spacer and longer bolt into the right side. On the bottom where the radiator slides into the retaining brackets. I'm going to make some thin brackets to slide into the retaining pockets on the radiator. In the end its a VERY close fit. The shroud covers 95% of the radiator. So I will get maximum draqw through the radiator. I will be posting pics as I go along and adding them to this thread. Hopefully this will help others looking into this modification!


