This may be bad form, but I am going to answer my own question. Since I had the project opened up, I needed to complete. Despite several setbacks, my effort was successful! Took me about 2.5 hours. With these instructions a more qualified person can probably get it done in one hour.
First thing, this is much more difficult than the F-150 project shown on YouTube (see previous post). Similar, but the Expedition project requires that the Parking Brake Lever Assembly be unbolted so that you can access the interior hole that allows for removal and installation of the Door Check.
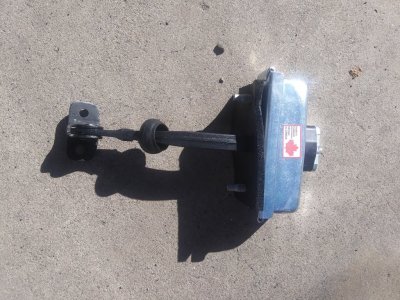
First Photos are of the new Door Check installed, the Part Box and the Door Check Part.
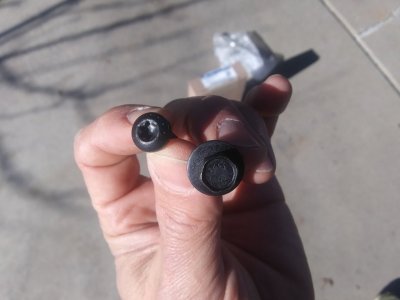
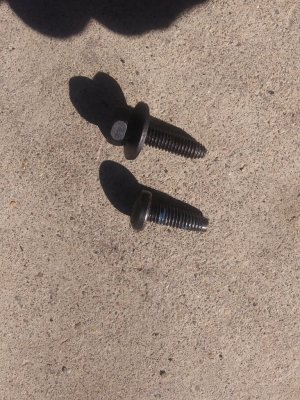
I also replaced the star pattern door bolts with 10mm hex bolts. I did this because I stripped one of the star bolts in my attempt to remove and had to use pliers to get the bolt off. The tight angle required to get the Star pattern screwdriver in led to an off-kilter angle that stripped the screw. The 10mm Hex should allow for ease of removal in the future.
I got the 10mm Hex bolts at Ace Hardware. Spent 30 minutes looking but found them in the Body Parts bolt box. 10-6 with tapered end. They are slightly longer than stock, but work fine. I did not use blue lock tight because of the odd angle issue. Lock tight will make it much harder to remove. (Photos 4, 5 & 6) show the bolts.
First steps are to remove three plastic parts:
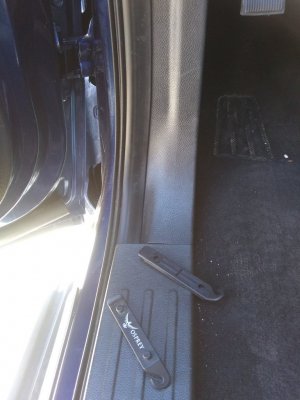
- The Floor Plate strip along the door. This just pops off and removal/re-install are the easiest part of this project;
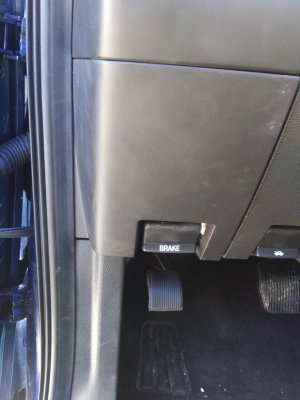
- The Side Panel left of the Parking Parking Brake Assembly. This pops off with some effort. I used plastic pry bars from my Bicycle Tire Removal kit. They sell special plastic pry bars. Metal screwdrivers are not recommended as they can damage the plastic;
- The Face Panel - Need to unbolt a small hex nut and pry loose with plastic pry bars;
Parking Brake Assembly unbolting.
- There are three 10mm (I think) bolts that attach to the steel interior body of vehicle. Under the dash and behind where #2 Plastic Side Panel was removed. Two top bolts and one bottom right bolt. A little hard to locate, but evident enough with proper positioning and a flash light. Removal is a little tight, but you can find a comfortable position with you shoulder blades on the floor;
- I loosened the top right bolt but left it in as the assembly is attached by a "U" indent instead of a whole. The assembly can be removed by sliding down and re-installed by sliding up.
- The assembly remains attached to two cables and at least one monitoring wire. Care should be used not to disconnect cables or wires.
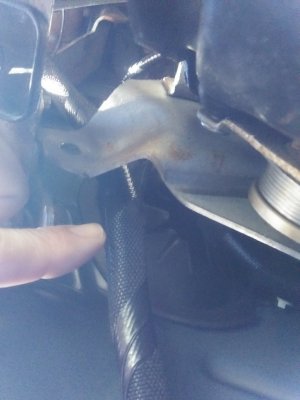
- There is one thick wire housing (approximately 1/2 inch thick) that is located in front and to the left of the brake assembly. It was difficult but I moved this behind the assembly so I could pull the assembly away from the vehicle body and access the rubber boot that covers the access hole. It is also difficult to restore to original position. I found that pushing the assembly forward helps.
Boot removal:
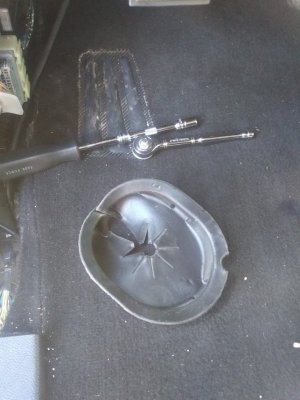
This is simple enough with adequate effort. I pulled out and down. Photo #7 shows the boot. It is placed like "u" with the opening up. Re-install is also simple enough with adequate effort. Because I am not completly removing the parking brake assembly, things are very tight.
Door Check Removal:
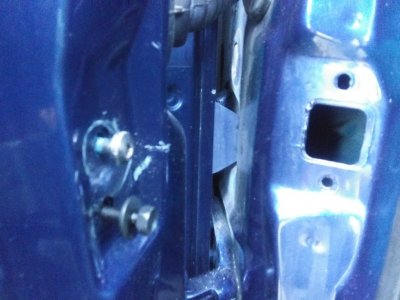
10mm Hex ratchet removal was easy enough for part connected to body. Star pattern bolts on door were much more difficult. Maybe better tools would help. Note that I chose to ditch the star bolts in favor of 10mm 1-6 Hex bolts for replacement.
Use body panel access hole from Boot removal area to access broken Door check and remove. This is very tight and there is not much room to move around as the Parking Brake Assembly remains very close to to the Body Panel and the cable attachments keep the assembly fairly ridgid.
Install New Door Check:
This is tricky as it is very tight for reasons above. I dropped the replacement and was very lucky to retrieve using a magnet. I also used the magnet to pull the door check through the opening. Make sure the Door Check is oriented correctly. See Photo #1 of install. I used Locktite on the body bolts, but not on door bolts due to difficulty of removal issue.
Re-install plastic Panels #1, #2 and #3:
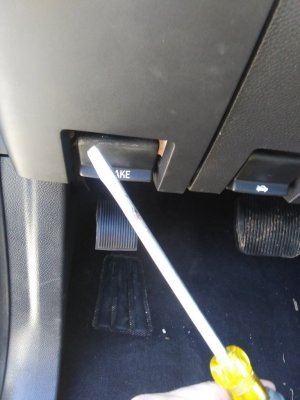
More difficult than I thought. There are "male" snaps on the panels that go into "female" openings on the frame. Be especially careful with Panel #3 the Face Panel. I used a long flathead screwdriver and flashlight to guide the male snaps into the proper holes. When done with snaps, reinstall small diameter bolt.
Panel #2 required the use of the plastic pry bar and hands to get the plastic under the rubber door molding. It took a while but I got all four male snaps properly aligned and popped the panel back in. There is also a fifth attachment guide (square shaped) that you should be able to easily figure out.
Panel #3 - Snaps back in.
Photos on following post.


