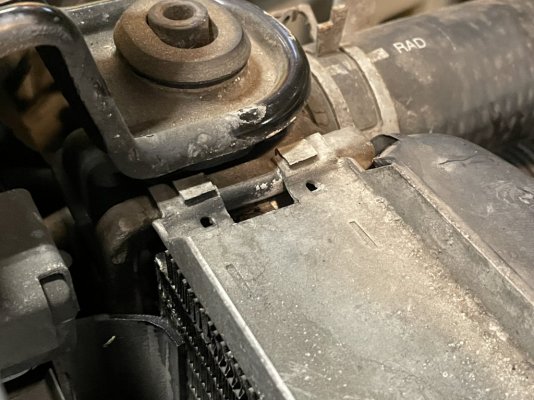
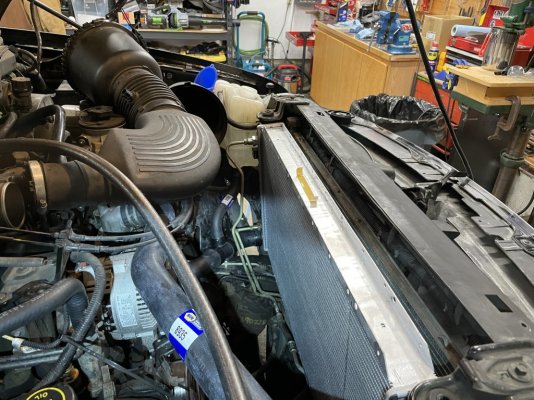
Quick update, things got a little wild with this project. I did the citric acid flush a few days ago and a TON of crap came out of the system. Of course with my luck, a bunch of that crap was apparently keeping the radiator intact. Midway through flushing out the system, the radiator started leaking. I knew it was a risk of aggressive flushing of an old system, so that one is on me.
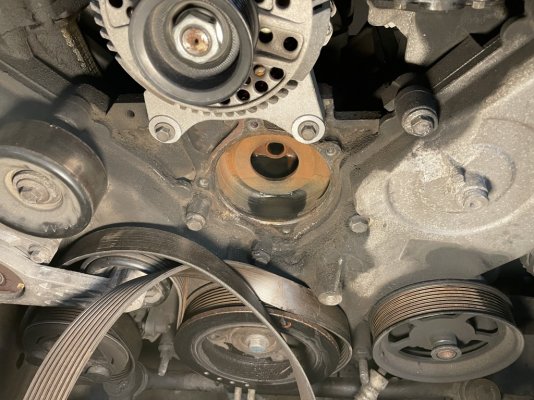
I was able to source a radiator and some hoses at the parts store in town yesterday and I was able to get it all replaced. I went ahead and replaced the water pump too while I was at it, though the old pump was in acceptable condition. At this point the only old parts left in the cooling system are the lines to the rear heater and the block. Even with the new radiator, I'm still seeing bits of rust floating around. My plan at this point is to just put it all together and drive it around with distilled water and flush it once a week until it starts looking clean. I'll leave the new heater cores bypassed for now.
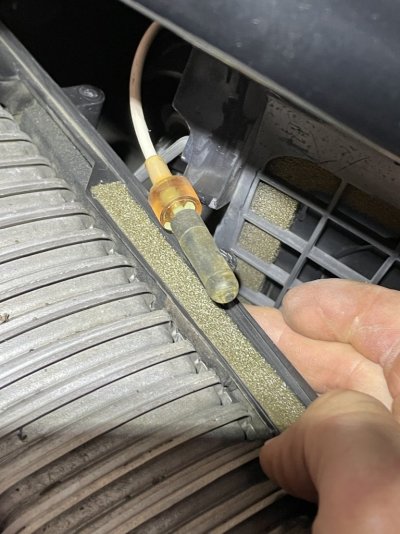
Quick question for y'all. I'm putting the dash back together and I can't figure out what this sensor is and where it is supposed to go. It is located right behind the air box. I didn't notice it when I took everything apart and I don't want to miss something on the rebuild. Any thoughts would be appreciated.


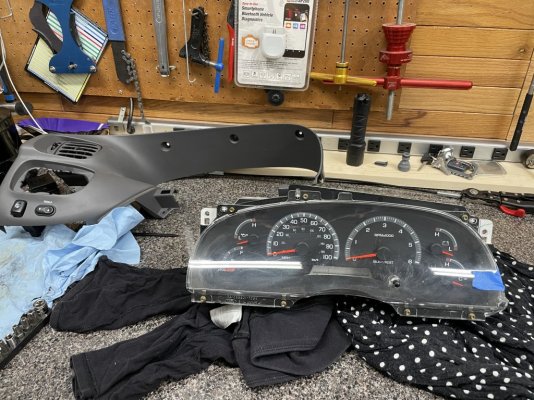
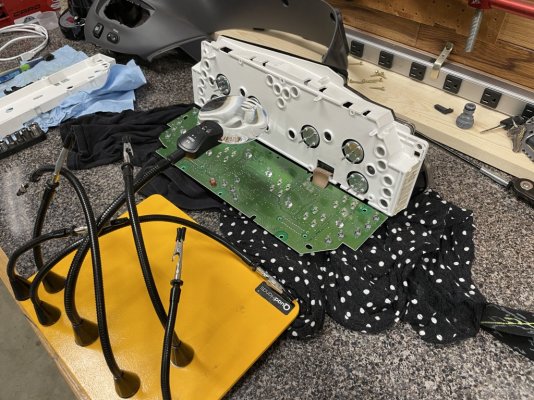
 That said, getting to instrument cluster out would only require taking the panels around the steering wheel which are pretty straightforward and do not require dropping the whole dash. Having done it once now, I could probably get the instrument cluster out of the car in about 20 minutes. I followed this video. You don't need to take the trim around the stereo out though.