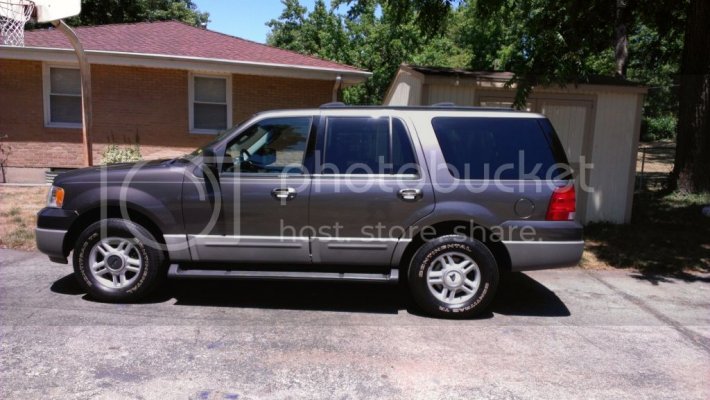
This your first 2nd Gen?
Dealer told me it has alot to do with how they prepped and painted the Aluminum on the hatch... Sadly I see it on the underside of the hood too...
Ford did roll out a TSB on it:
TSB 07-2-9
02/05/07
PAINT BUBBLES AROUND LIFTGATE TRIM
FORD:
2003-2006 Expedition
LINCOLN:
2003-2006 Navigator
ISSUE
Some 2003-2006 Expedition and Navigator vehicles may experience paint bubbling or lifting around the trim area on the liftgate. This can occur when the trim part moves on the paint surface because of climate temp changes and/or owner operation. Overtime these trim parts can rub through the paint surface and cause corrosion to start developing between the aluminum gate and paint.
ACTION
Follow the Service Procedure steps to correct the condition.
SERVICE PROCEDURE
1. Paint resurfacing will be necessary to correct the paint bubbling concern.
2. Add Mylar tape to the backside edge of the following liftgate trim parts, the license plate bucket for Navigator (Figure 1) and the license lamp applique for Expedition (Figure 2). The Mylar tape will act as a friction barrier between the paint surface and the trim components.
3. Make sure that the backside of the trim pieces listed in Step 2 are clean of any contaminates. This can be done by wiping the surface with a 50% solution of isopropyl alcohol and water.
4. Apply the Mylar tape to the backside edge of the trim component. It may be necessary to trim the tape after its been applied for a clean fit.
5. After applying the Mylar tape, follow installation procedure for each part as listed in the appropriate Workshop Manual, Section 501.


