I appreciate all of the information in this thread, especially from
@Bigfishfin . I added the factory trans oil cooler to my '17 XLT. Here is the list of parts I got (from fordpartsgiant online). Total cost came to around $150 after shipping. I thought about going with the bigger cooler suggested (DL3Z-7A095-B) but I won't be towing anything near the capacity of the vehicle.
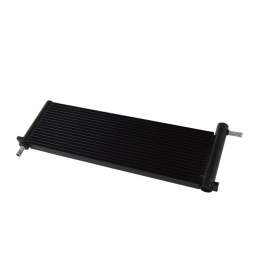
7L1Z-7A095-B : Oil Cooler Asy (not really an assembly, just the trans cooler)
FL1Z-7C410-A : Upper Inlet Tube
BL3Z-7B028-C : Lower Return Tube
9L8Z-7Z465-A : Cooler Line Retainer (mine didn't break but I put the new one on anyway)
N804837-S : Top cover rivets (only needed one that broke on the way out, had to buy a 10 pack but pretty cheap)
I figured I'd add the steps I took if it's helpful to anyone else:
- Removed top cover above grill. I tried removing the grill for a few minutes but was afraid that I'd end up breaking some of the clips, there were four plastic rivets attaching the grill to the bumper which felt like I was going to break when I pried on them. Could have removed the entire bumper/grill assembly I guess but I figured I could install it without removing the grill.
- Removed most of the undershield beneath the radiator, drivers side has twist clips to give you access to the oil filter, but I had to pry off about 4 clips to expose the oil cooler connector under the radiator.
- Disconnected the upper hose from the connection at the radiator. This was the only difficult part with the grill still in place as the hose didn't want to come off easily. Some long handled needle nose plier were helpful for the clamp. I ended up slitting the hose with a utility blade to get it off.
- Disconnected the lower oil line connector, see pic with red circle. Take the grey retainer clip off first. Then I tried some standard fuel line type quick connect tools which didn't work, they were too thick. Ended up buying the Lisle 39960 tool at a local auto parts store for $12, cheaper online of course. Had to mess with it for a minute to get it to release, which was easier to do with the bracket still mounted to the frame of the vehicle.
- Removed the two clips that hold the old line in place, one is accessible from the top, one was easier from the bottom. I popped both clips off entirely as the top one would be in the way of the new cooler and the bottom was easier to just remove all the way and isn't needed with the new setup.
- I installed the hoses onto the cooler before putting it in place, was easier to do since the grill was in the way. The cooler then slid right in from the drivers side above the grill, required a little bit of puzzling to get the lower hose in place. Careful to not damage the CAC. The cooler clicks right into place, no extra parts needed.
- I added about 1/2 qt of ATF (Motorcraft Mercon LV), I lost about 1/4 qt when disassembling and I figured the extra volume in the cooler could be around 1/4 qt. I plan to do a trans oil and filter change soon, I'll measure the level then an make sure it is right but I can't be too far off. It took some time to get the system to burp enough to get the ATF down into the cooler, heating up the fluid first might be helpful to drop the viscosity some.
- Installed the upper hose, installed the top and bottom covers. Done. I took about 1 hr of working time, but extra time to get the quick connect tool since I didn't already have it.