JZHOUSE
Active Member
How to Lift a 2007-2014 Ford Expedition or Navigator Rear Air Suspension:
How to Lift a 2007-2014 Ford Expedition or Navigator Rear Air Suspension (might be the same too for newer models)
Simple to do. Cheap. Takes about 1 hour with simple tools.
Here is the link to the ongoing post I created earlier on how to lift the rear air suspension.
As there are several ways, this way is the quickest and cheapest. And of course if anyone has better suggestions, please feel free to suggest....
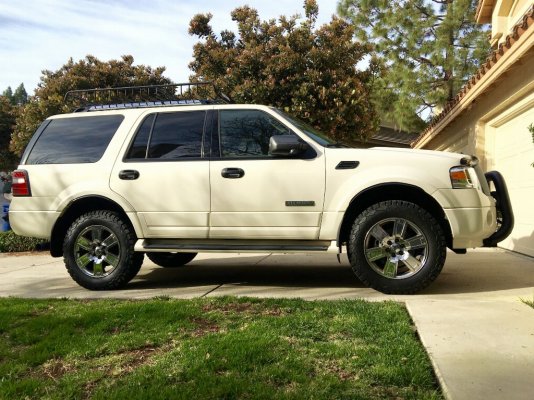
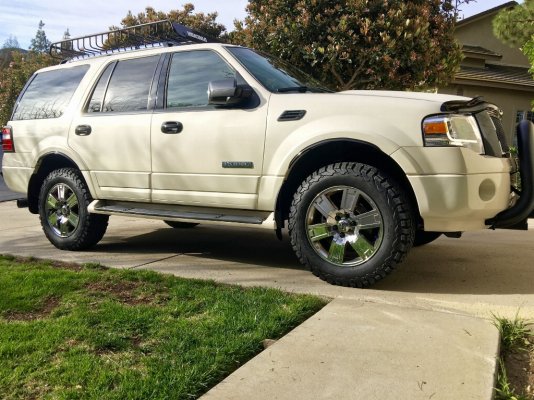
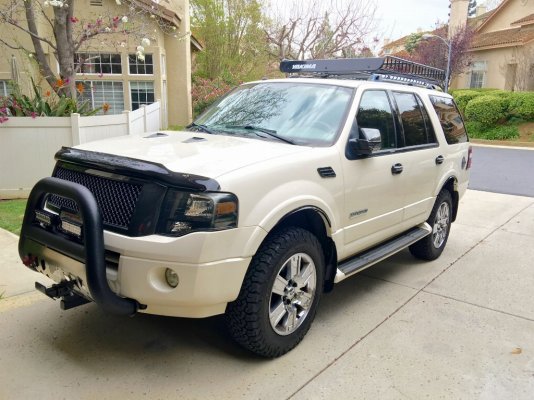
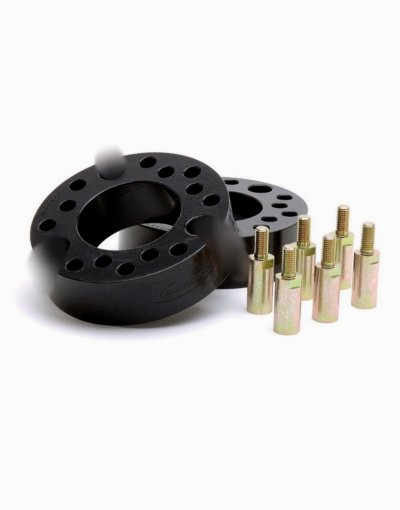
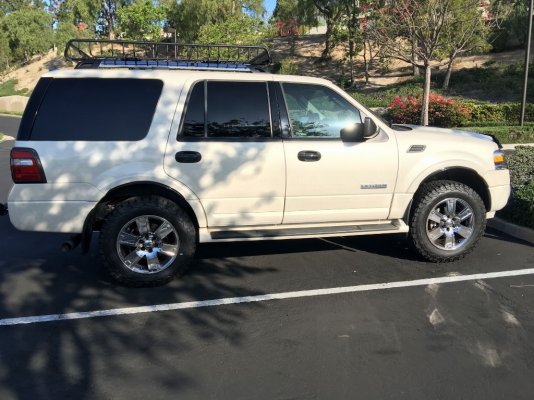
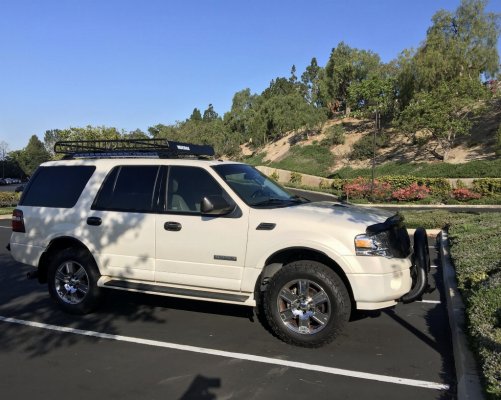
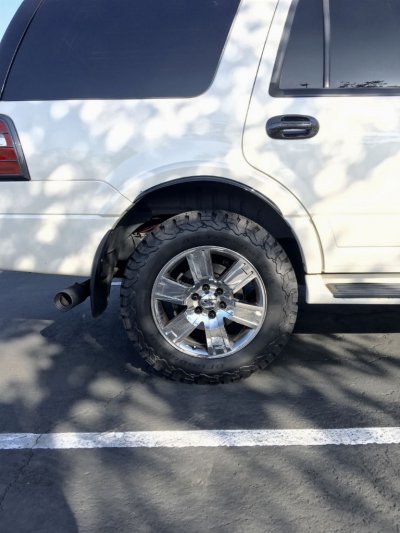
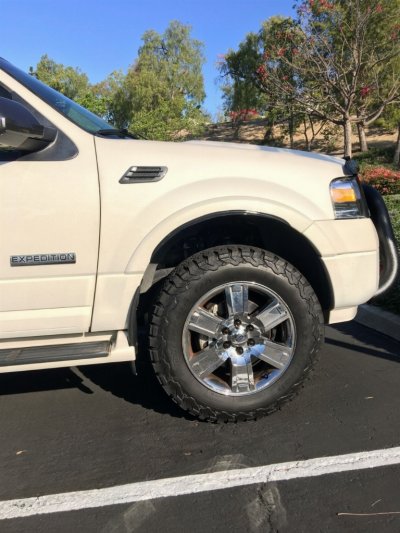
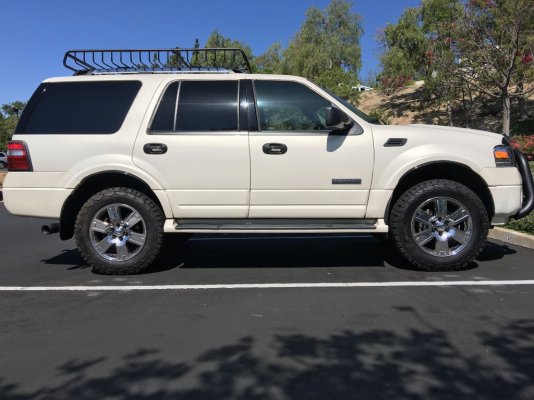
Currently its about a 3.5-4" lift front and rear (about 13" from top of wheel to fender).
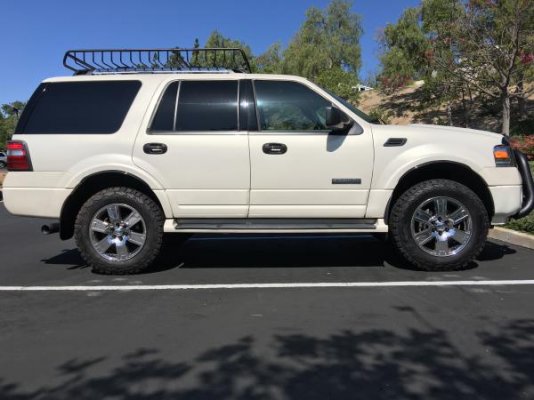
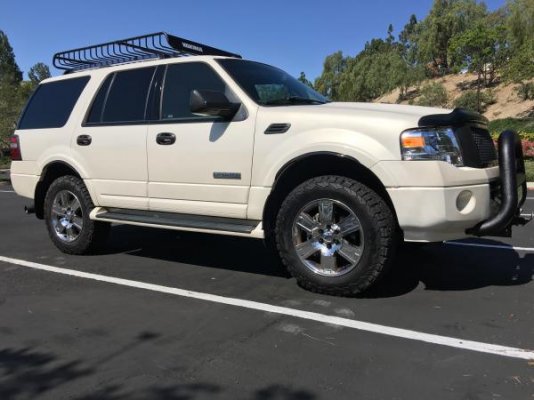
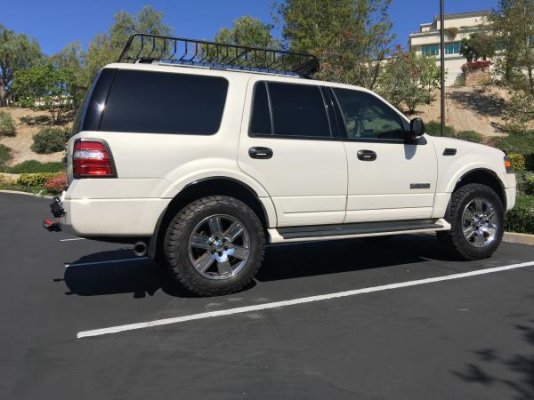
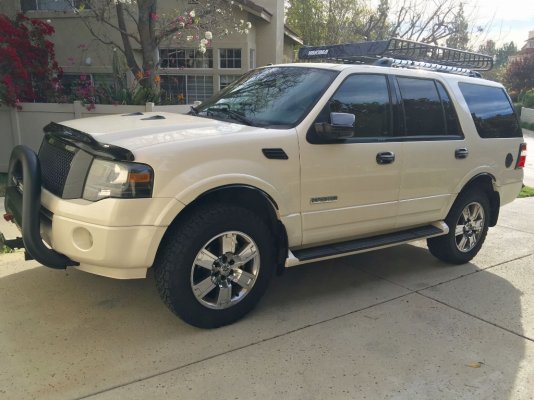
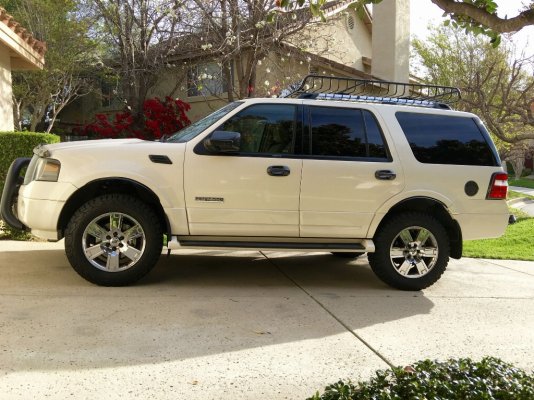
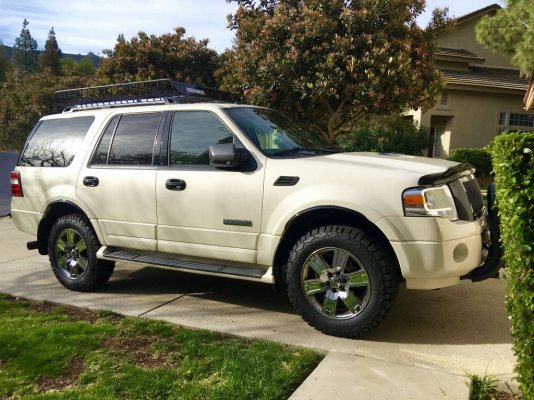
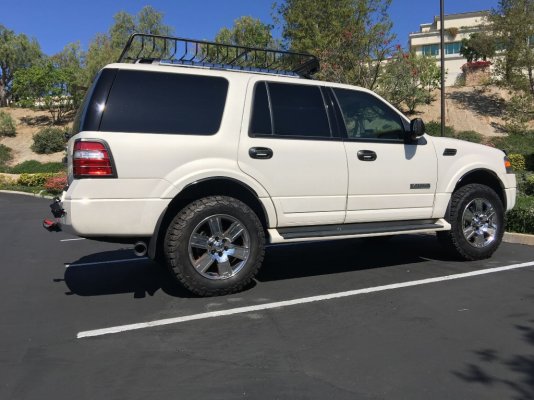
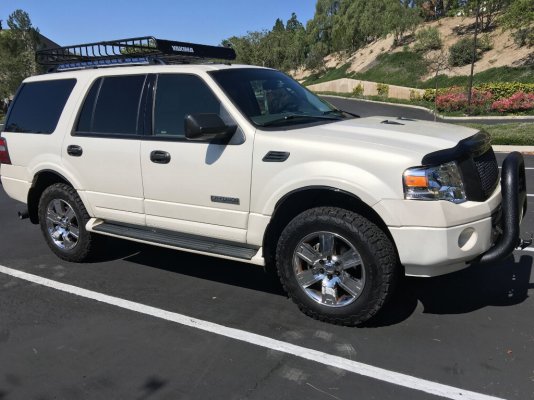
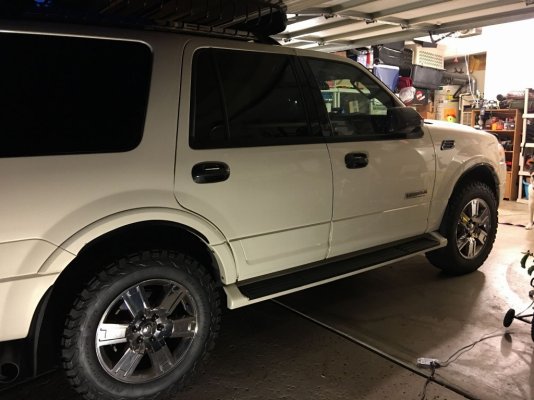
Here is my lift with a 2007 Ford Expedition Limited.
I looked at many options but the easiest seemed like making another hole just above the OEM hole.
Steps I did: Before doing anything DISABLE the rear air shocks from inside the cab!!! (turn them off)
NOTE:
1. Before doing anything DISABLE the rear air shocks from inside the cab. Next, before Drilling I removed the rear air shock sensor from the lower mount.
2. To remove: simply take a small flat head screw driver and insert into small grove just below the metal band and barely pry up to disengage the metal band and pull off at the same time.
On the lower part of the lower connection you will see the groove to insert the small flat head screw driver to then gently lift up the band (do NOT remove band) just gently lift it up and at the same time pull the lower connection off the ball joint.
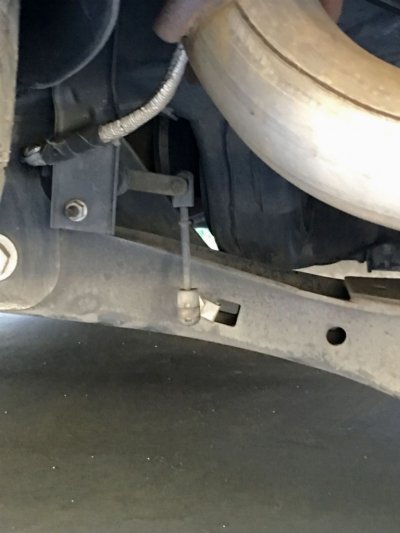
3. After popping off the lower mount I then used around a 18mm socket to remove the Ball Joint stud bolt. Use a deep socket to fit over the ball joint.
4. Once the ball joint stud bolt is removed I then used a small flat head screw driver and removed the bolt clip which is what the ball joint stud bolt screws into.
5. The rear air shock sensor is now just hanging there and can easily be moved around. I then tested my location to drill by simply taping the sensor lower mount about 1" above the OEM hole on both sides with Gorilla tape or use any type of tape. There is no pressure on this mount so it barely needs to be held in place to test. (make sure where you tape it that the OEM bolt clip can still be used by placing over the lower suspension arm (see below pic).
6. Once taped you can then go back inside the cab and TURN ON the rear air suspension.
NOTE: the rear air suspension ONLY works if the front doors are closed. If the doors are open it will turn off and not work.
So once you turn on the air suspension, get out of the cab and close the door. The air compressor will then turn on within 10 to 30 minutes and the rear will raise about 2-3 inches and stop once the top of the rear air suspension top leveling arm is level (it is black and about 3" long and it is what is holding up the rear air suspension bar when you disconnect it).
7. If you like the height then go back into the cab and TURN OFF the air suspension.
8. If you do not like the height, go back into the cab and TURN OFF the air suspension and re-adjust the rear taped rear sensor locations. Once readjusted go back to step 6. and test again.
9. Once happy where the rear height is at TURN OFF the rear suspension. DO NOT adjust rear sensors with the air suspension on! It can in fact deflate on you!
10. Once the rear suspension is turned off go back under the car to start drilling the new hole.
Drilling tips:
Notch the drill spot with a punch or whatever you can
Start with a small drill bit and slowly work up to a 5/16" drill bit. Use oil to cool the drill bits down.
11. The new hole eventually needs to be 5/16" large.
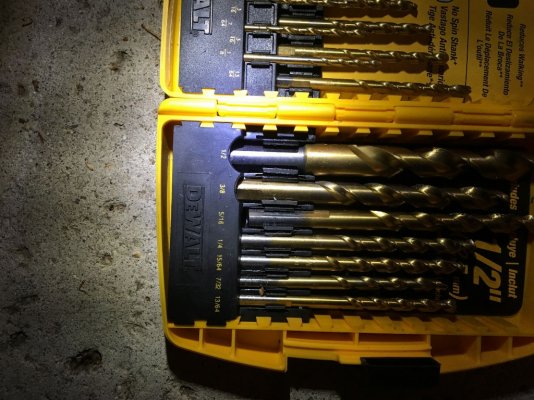
Here are some pics of the new hole I drilled above the OEM hole.
Drivers side sensor:
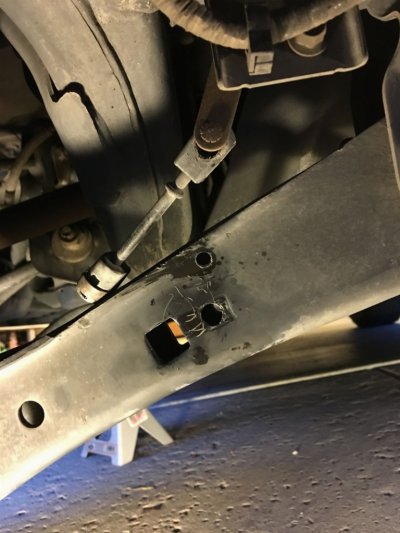
Passenger side sensor (the clip is simply moved out of the way and will later be used on the new hole.
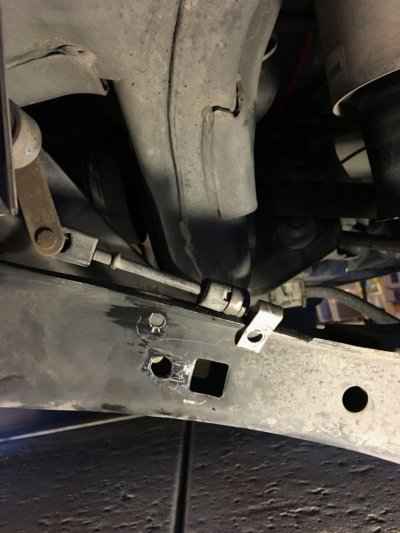
Cont...
12. Next slide the bolt clip over the top of the suspension arm and over the new drilled hole.
13. Screw in the ball joint mount
14. Lube the ball joint mount with grease (I used white grease as you can see on the ball mount)
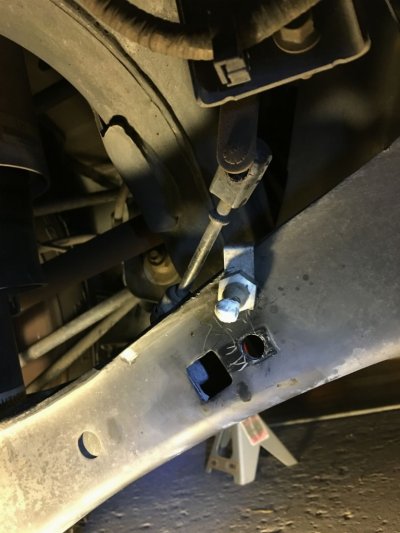
15. Attach the lower sensor mount back onto the ball joint. Use the small flat head screw driver to barely lift the metal band that holds the sensor onto the ball joint and while barely lifted, pop back on. Do it to both sides of course ;-)
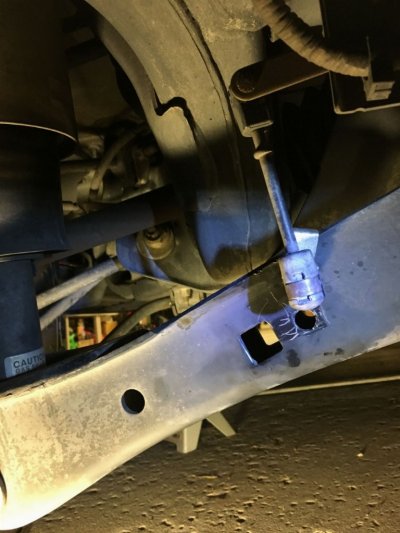
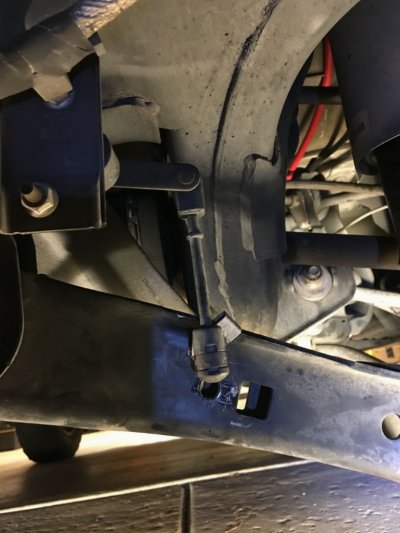
16. Turn back on Air Suspension in the cab or you can leave it off.
17. My end result of lifting the front and rear was exactly 12" from the top of the chrome wheel to the bottom of the fender well both front and rear, so I was able to balance out the front and back exactly the same.
19. Pics when done at night:
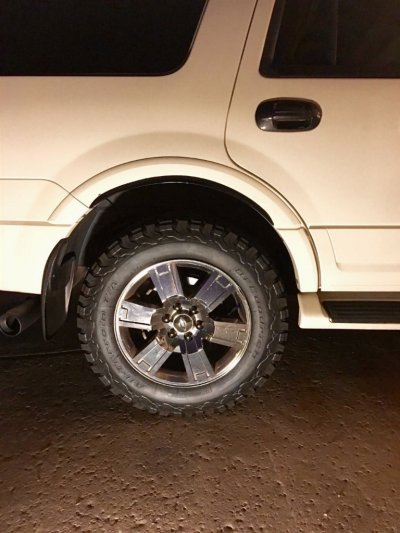
12" from top of chrome wheel to bottom of fender well.
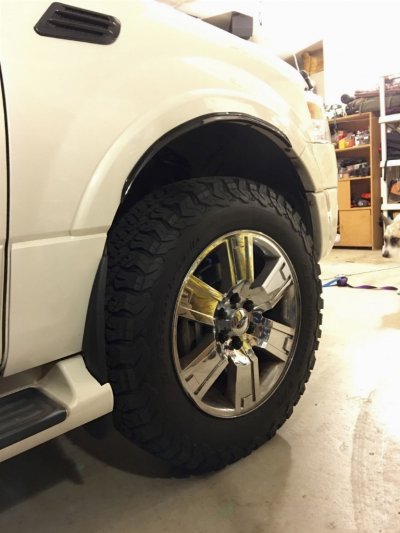
12" from top of chrome wheel to bottom of fender well.
Front and back 12" from top of chrome wheel to bottom of fender well.
How to Lift a 2007-2014 Ford Expedition or Navigator Rear Air Suspension (might be the same too for newer models)
Simple to do. Cheap. Takes about 1 hour with simple tools.
Here is the link to the ongoing post I created earlier on how to lift the rear air suspension.
As there are several ways, this way is the quickest and cheapest. And of course if anyone has better suggestions, please feel free to suggest....
Currently its about a 3.5-4" lift front and rear (about 13" from top of wheel to fender).


Here is my lift with a 2007 Ford Expedition Limited.
I looked at many options but the easiest seemed like making another hole just above the OEM hole.
Steps I did: Before doing anything DISABLE the rear air shocks from inside the cab!!! (turn them off)
NOTE:
1. Before doing anything DISABLE the rear air shocks from inside the cab. Next, before Drilling I removed the rear air shock sensor from the lower mount.
2. To remove: simply take a small flat head screw driver and insert into small grove just below the metal band and barely pry up to disengage the metal band and pull off at the same time.
On the lower part of the lower connection you will see the groove to insert the small flat head screw driver to then gently lift up the band (do NOT remove band) just gently lift it up and at the same time pull the lower connection off the ball joint.

3. After popping off the lower mount I then used around a 18mm socket to remove the Ball Joint stud bolt. Use a deep socket to fit over the ball joint.
4. Once the ball joint stud bolt is removed I then used a small flat head screw driver and removed the bolt clip which is what the ball joint stud bolt screws into.
5. The rear air shock sensor is now just hanging there and can easily be moved around. I then tested my location to drill by simply taping the sensor lower mount about 1" above the OEM hole on both sides with Gorilla tape or use any type of tape. There is no pressure on this mount so it barely needs to be held in place to test. (make sure where you tape it that the OEM bolt clip can still be used by placing over the lower suspension arm (see below pic).
6. Once taped you can then go back inside the cab and TURN ON the rear air suspension.
NOTE: the rear air suspension ONLY works if the front doors are closed. If the doors are open it will turn off and not work.
So once you turn on the air suspension, get out of the cab and close the door. The air compressor will then turn on within 10 to 30 minutes and the rear will raise about 2-3 inches and stop once the top of the rear air suspension top leveling arm is level (it is black and about 3" long and it is what is holding up the rear air suspension bar when you disconnect it).
7. If you like the height then go back into the cab and TURN OFF the air suspension.
8. If you do not like the height, go back into the cab and TURN OFF the air suspension and re-adjust the rear taped rear sensor locations. Once readjusted go back to step 6. and test again.
9. Once happy where the rear height is at TURN OFF the rear suspension. DO NOT adjust rear sensors with the air suspension on! It can in fact deflate on you!
10. Once the rear suspension is turned off go back under the car to start drilling the new hole.
Drilling tips:
Notch the drill spot with a punch or whatever you can
Start with a small drill bit and slowly work up to a 5/16" drill bit. Use oil to cool the drill bits down.
11. The new hole eventually needs to be 5/16" large.

Here are some pics of the new hole I drilled above the OEM hole.
Drivers side sensor:

Passenger side sensor (the clip is simply moved out of the way and will later be used on the new hole.

Cont...
12. Next slide the bolt clip over the top of the suspension arm and over the new drilled hole.
13. Screw in the ball joint mount
14. Lube the ball joint mount with grease (I used white grease as you can see on the ball mount)

15. Attach the lower sensor mount back onto the ball joint. Use the small flat head screw driver to barely lift the metal band that holds the sensor onto the ball joint and while barely lifted, pop back on. Do it to both sides of course ;-)


16. Turn back on Air Suspension in the cab or you can leave it off.
17. My end result of lifting the front and rear was exactly 12" from the top of the chrome wheel to the bottom of the fender well both front and rear, so I was able to balance out the front and back exactly the same.
19. Pics when done at night:

12" from top of chrome wheel to bottom of fender well.

12" from top of chrome wheel to bottom of fender well.
Front and back 12" from top of chrome wheel to bottom of fender well.

Last edited:


