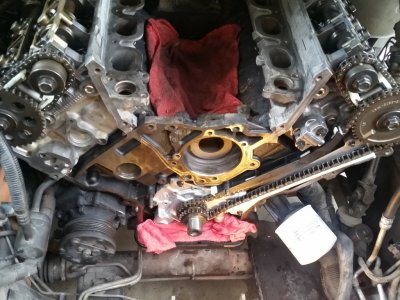
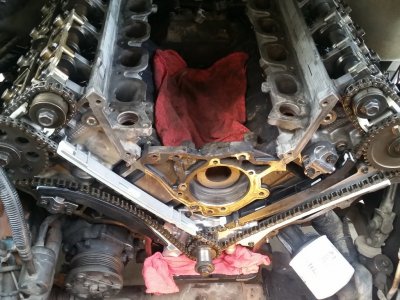
03 navigator 5.4 32v tear down and rebuild project

Disclaimer: Links on this page pointing to Amazon, eBay and other sites may include affiliate code. If you click them and make a purchase, we may earn a small commission.

OP
OP
A

Andy J

Well-Known Member
Joined
Apr 8, 2018
Posts
71
Reaction score
31
Location
San Jacinto, CA
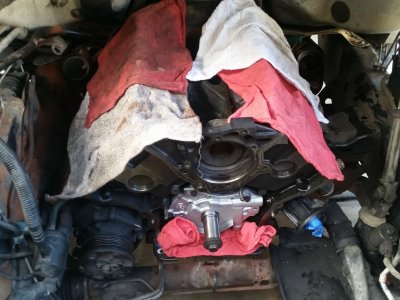
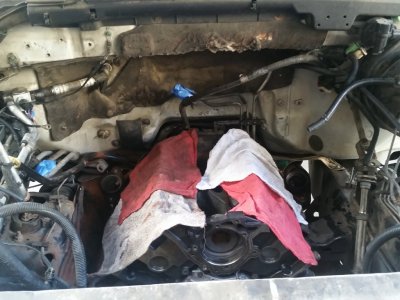
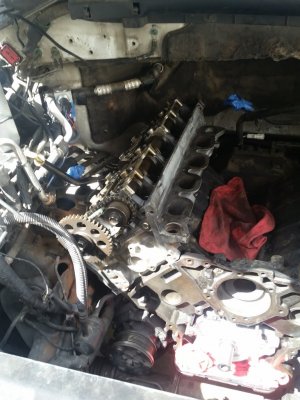
Well... when i got home from work, i lifted, and dropped the short block in. I find that the easiest way to do it on an suv or an f150 is to lower the block down into the engine compartment with the engine mounts not attached. If you set them on their perches, the skirt on the bottom of the block where the oil pan bolts to will snag on the mount. On the v8 mustangs i have dropped an engine into the ford engineers were very thoughtful and provided some tapered slits for the motor mount studs to slide into, and as you lower the block it aligns itself, but no such luck on this SUV lol. What i found worked is to lower the block in and when its about 8 inches from being all the way down, install the mounts onto their perches on the frame, start the bolts just hand tight and lower the engine onto them. I bolt the block adapter plate to the mounts when i install them and if needed use a small short center punch to help align the bolt holes. While there is still tension on the chain thats hanging the engine from the lift, i will install 2 transmission to engine block bolts hand tight to help line everything up then i lower the block a bit more and slowly tighten the trans to block bolts. Before i tighten the trans to block too much, i get under the truck and line up the studs on the torque converter with the holes in the flex plate by removing the rubber plug on the bottom the bell housing and gently turning the torque converter with a flat blade screw driver until one of the studs pokes thru. Once i can see one stud poking thru, i will install more of the trans to block bolts and tighten them slowly going back and forth between drivers and passenger side. Once the gap between the trans and the block is closed, i then start to thread in the bolts that hold the motor mount plates to the block. After they are all started, i release tension on the cherry picker set the block down the rest of the way which is usually about a half inch. Once its down, snug all the trans to block bolts and the motor mount plate to block, and motor mount to body bolts or threaded studs.

I can not stress this enough.....DO NOT TIGHTEN THE TRANS TO BLOCK BOLTS ALL THE WAY AND CLOSE THE BLOCK TO TRANS GAP WITHOUT ALIGNING THE TORQUE CONVERTER STUDS TO THE HOLES IN THE FLEX PLATE!!!!!!!! If you do, you will shove the torque converter too far into the front pump on the trans and cause damage. This is why i close the gap very slowly.

After the engine was in, i installed the torque converter stud nuts using a 1/4 inch ratchet and a 14mm. I find it fits much better in the space to tighten the bolts vs a 3/8 inch drive. I always tighten them in a cross pattern like when you tighten lug nuts on a wheel. I thread in the harmonic balancer bolt and leave a ratcheting 18mm wrench on it and slowly rotate the engine by hand while under the truck to gain access to all the converter studs.

I also installed the a/c compressor and the starter. The upper most bolt will need to be inserted into its hole in the compressor before you hold the compressor up against the block and begin tightening the other bolts as the upper most bolt will not clear the frame.
I used a ratching end 13mm wrench for the upper most bolt. Its very tight in there.

More to come once i get the heads back this week.
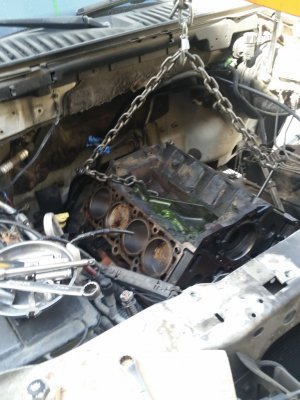
20180514_160333.jpg

20180514_182634.jpg

20180514_182638.jpg
 
Last edited:

BlueStangGT

Full Access Members
Joined
Jun 14, 2005
Posts
101
Reaction score
47
Location
Oklahoma
Interesting. I’ve only done this on my Mustang so I’m curious as to why you dropped the motor in before finishing its assembly. Seems like it would be a lot easier to finish the engine build on a stand.
 
OP
OP
A

Andy J

Well-Known Member
Joined
Apr 8, 2018
Posts
71
Reaction score
31
Location
San Jacinto, CA
Anytime im pulling heads or an engine, i will cover the ends of the fuel lines, heater core hoses, or any other disconnected line with either a rubber glove finger or blue painters tape to protect them from debris. The painters tape is nice because it sticks to itself very well, and if it gets fuel or oil on it, it usually wont turn all slimy from the glue like duct tape will.
 
OP
OP
A

Andy J

Well-Known Member
Joined
Apr 8, 2018
Posts
71
Reaction score
31
Location
San Jacinto, CA
In the mustangs i would build a complete long block on the stand and install it. On this suv and the f150s i have done, its much easier to install the block itself then install the heads because the cowl overhangs the engine compartment quite a bit making dropping it straight in dang near impossible. Im also very hesitant to use the intake manifold bolt holes on the head to bolt the lift chain to because im worried about them pulling out from the weight. Ive used an old seat belt tied to the exhaust manifolds before but it was sketchy. Using 2 old head bolts is much safer in my opinion. These 4v heads are very wide compared to the 2v ones making dropping it in in long block form even more troublesome.
 
OP
OP
A

Andy J

Well-Known Member
Joined
Apr 8, 2018
Posts
71
Reaction score
31
Location
San Jacinto, CA
Also, since i pulled the radiator, fan, and shrouds, i use a step stool and literally climb into the engine compartment and stand on the cross member to work on the top of the motor. Its actually quite comfortable. I also got more headroom by disconnecting the hood support shocks, opening the hood to almost a straight up position and hook a ratchet strap to the hood latch catch and attach the other end of the strap to the roof rack. Im 6'3 so ill take as much headroom as i can get lol.
 
OP
OP
A

Andy J

Well-Known Member
Joined
Apr 8, 2018
Posts
71
Reaction score
31
Location
San Jacinto, CA
Ive seen those before and they are really nice but im going to stick with the iron ones i have. Believe it or not, the new timing kit i bought came with new iron primary and secondary tensioners. I was really suprised because the kits usually come with the crappy plastic ones. Heck even the picture of the timing kit shows plastic ones. If this wasnt a budget rebuild id be all over those mmr units. At some point in the future im going to buy another mustang gt and do a fully forged 5.4 dohc for it with aftermarket cams and ported heads and see how she runs lol.
 
Last edited:
OP
OP
A

Andy J

Well-Known Member
Joined
Apr 8, 2018
Posts
71
Reaction score
31
Location
San Jacinto, CA
Hey guys im back,
The wife and i welcomed our first baby into the world last week so needless to say, its been super hectic.

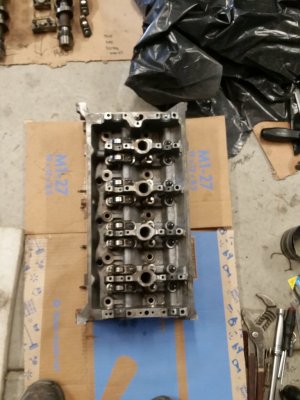
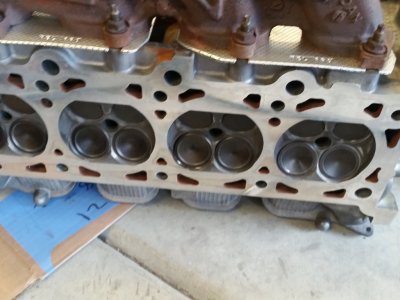
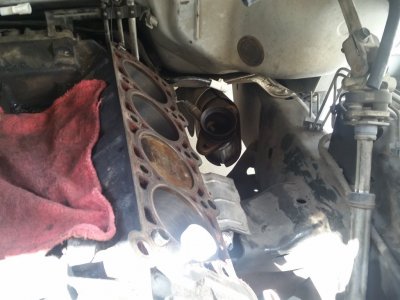
On thursday i got my heads back from the machine shop. He resurfaced them, cleaned em, pressure tested them, as well as grinding all the valves. He had to replace 3 of the exhaust seats as they were worn out, and i had one burned valve and it just happened to be on number 6 which is the cylinder that was a bit lower on compression.

He did a great job and was very reasonable.

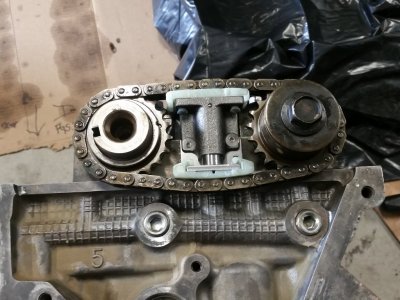
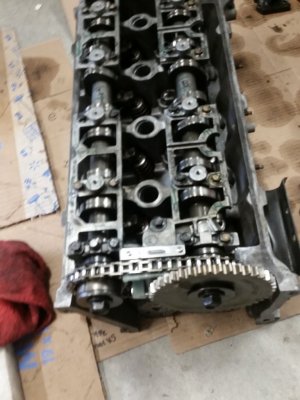
Once i got the heads home i removed the cover from all my parts that go on the head. I dipped all the lash adjusters in oil and made sure they were still full of oil. I cleaned all the rockers and set them on their purches. I then proceeded to assembly lube up all the cam journals in the heads. Then i got the cam caps, and tightened them down to spec and in order. Once that was done, i installed the secondary timing chains, the gears, and tensioners.

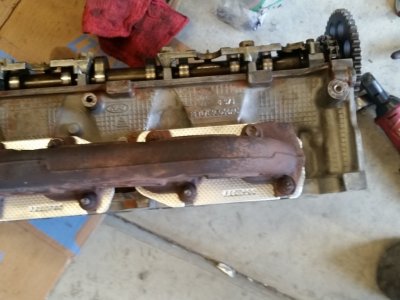
I took the exhaust manifold gaskets out of the gasket set, installed the gaskets onto the heads, cleaned the mating surfaces on the manifolds, then installed them and torques them to spec.

20180524_140338.jpg

20180524_144058.jpg

20180525_113825.jpg

20180525_141055.jpg

20180525_141058.jpg
 
OP
OP
A

Andy J

Well-Known Member
Joined
Apr 8, 2018
Posts
71
Reaction score
31
Location
San Jacinto, CA
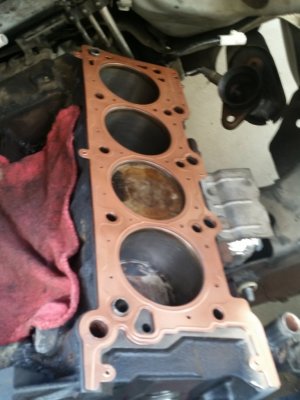
Today i made quite a bit of headway lol no pun intended. I started off with hanging the head gaskets from a piece of copper wire and spraying them with the permatex copper gasket spray. I love this stuff, it works great and helps to seal it even better. I do both sides and let them set for about 15 mins. I cleaned the block surface with a razor blade and brake cleaner. One thing i have found that helps when doing this is to use the top spout of a gear oil bottle and stick the end of it into the oil passages that go to the heads while cleaning the block. Itll help keep crap out of oil passages in the head.

I got the drivers side head on first and all torqued down. I have reused head bolts before but i used all new ones this time.

I did my oil priming procedure which consists of installing an oil filter, and screwing the gear oil bottle top onto a bottle of 5w30 that i put in a bucket of hot water for about 15 mins. Once its all warm and thinned out, ill dump at least half a quart into the oil passage that feeds the head. Ive had very good luck with this method, but it only works if you use an oil filter with an anti drainback valve like a ford oem, or other good quality filter.

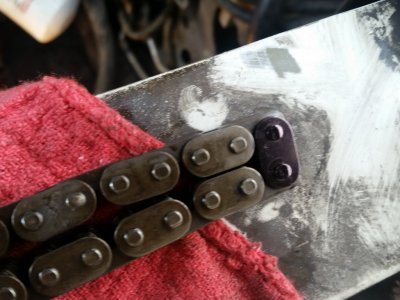
I took the timing chains, laid them out, and used sharpie to mark them. I am reusing the chains that were on the engine as they were in good shape. I was disapointed with the chains that came in the timing set. They felt very loose, had a bunch of side to side movement, and i was not comfortable using them. I used the new timing chain guides, tensioner arms, and iron tensioners.

I got everything set up and timed. I was easily able to roll the engine over by hand, and i made sure that the engine was able to be rolled over multiple times, checking for interference. I didnt have any which is great.

I plan on working on it tomorrow as well and trying to get it as close to running as i can.

20180525_145658.jpg

20180525_152510.jpg

20180525_155135.jpg

20180525_171920.jpg

20180525_171923.jpg
 

Members online

Forum statistics

Threads
53,621
Posts
502,536
Members
47,227
Latest member
tryin2fickshit
Top