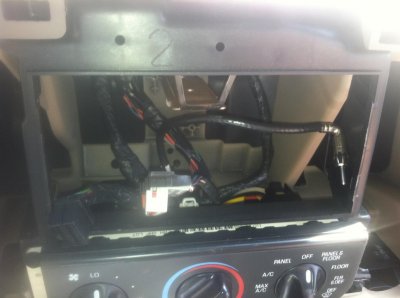
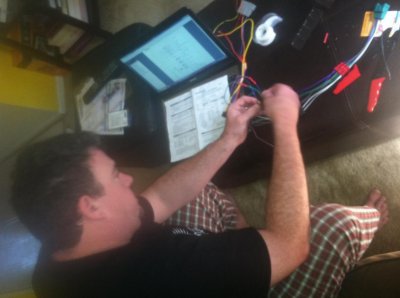
OK, by way of background, I don't really know anything about car audio, don't have a background working on cars or anything like that. I got this old expy and I am trying to learn how to fix it up myself. Kind of as a hobby, it's also my daily driver. I've never installed a car stereo before.
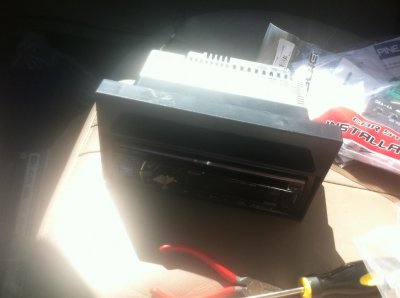
This is the unit I settled on, the Alpine CDE 136BT:
Alpine CDE-136BT CD receiver at Crutchfield.com
I picked it because I wanted the hands-free BT and the built-in Pandora
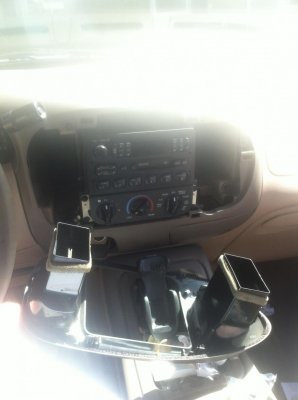
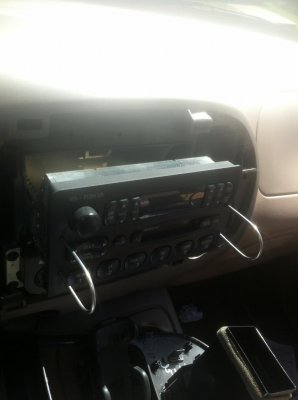
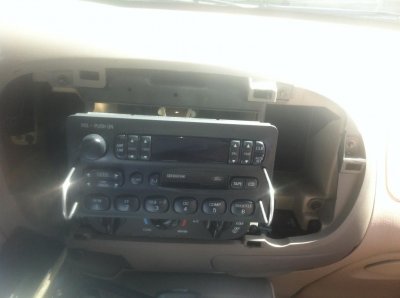
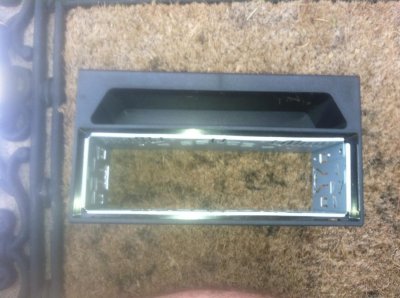
This is the stock unit (note the pimp 1990's Nokia cellphone mount below):
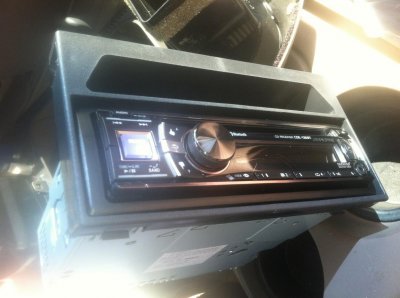
This is the unit I settled on, the Alpine CDE 136BT:
Alpine CDE-136BT CD receiver at Crutchfield.com
I picked it because I wanted the hands-free BT and the built-in Pandora
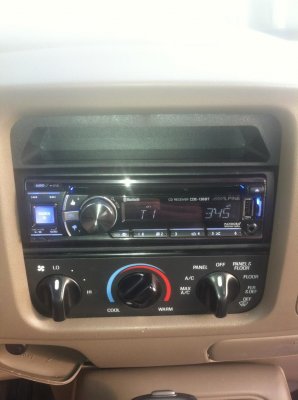
This is the stock unit (note the pimp 1990's Nokia cellphone mount below):