99 Expy
Full Access Members
Well, its spring break here in Wyoming, and since I just got back from Arizona, I decided to stay at school for the week. Like most of you here, when I sit around with nothing to do, I usually end up messing around with stupid little things to make use of my time. I read another thread about changing the door switch lights to LED the other day, so I figured I would give it a try. I stopped down at Radioshack, and they only had some 3mm red led, so I gave them a try. I wanted to do blue, but figured for $1.50 per switch you can't lose, and after getting one switch done, I love the red!!
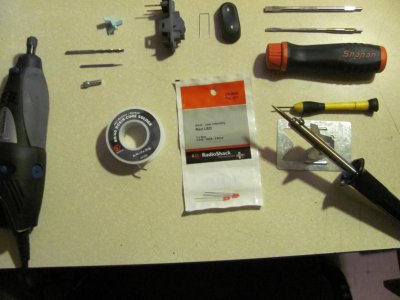
Here is the list of everything I used.
- Multiple regular tip screwdrivers, the smaller one seemed to work better
- Soldering iron - $5 at wally world
- Soldering wire - $3 at radioshack
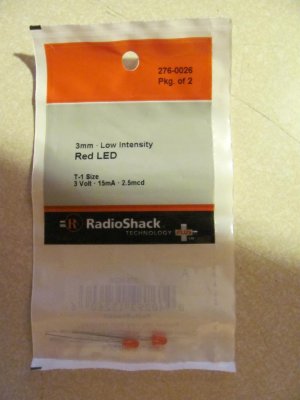
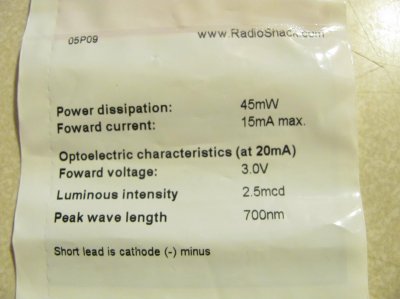
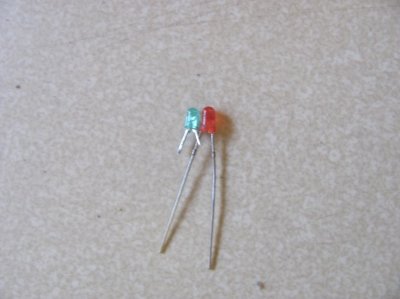
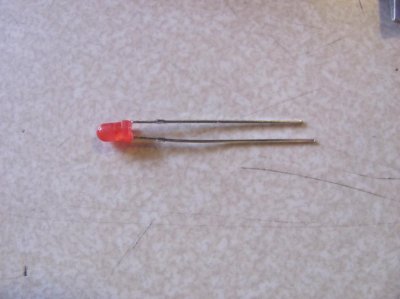
- 1 pack of 2 red LED bulbs - $1.50 at radioshack
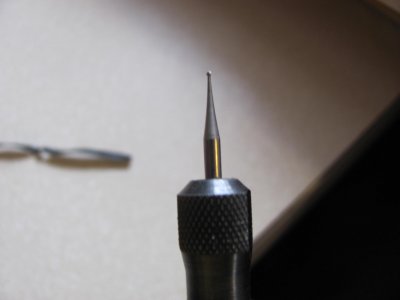
- Dremel tool with plastic reamer and probe thing with drill bit on the tip
- Hand held file with different grits
-Patience and some time
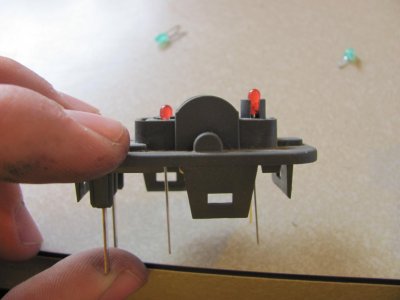
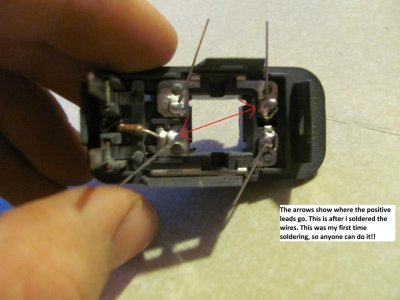
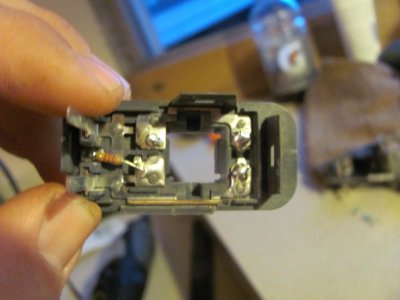
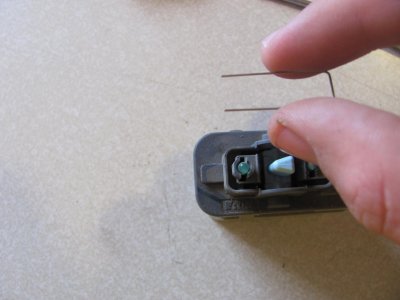
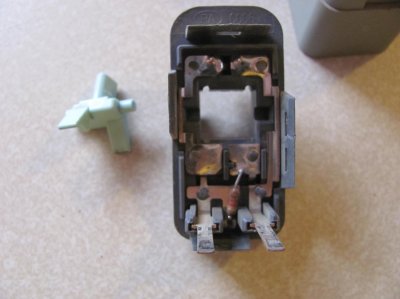
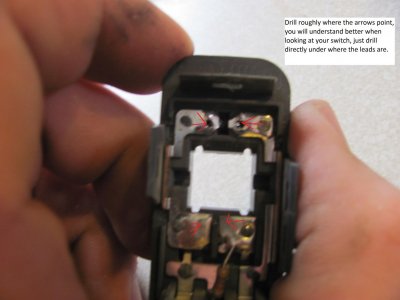
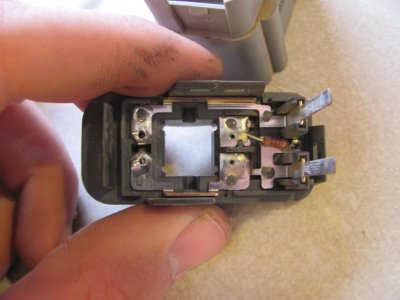
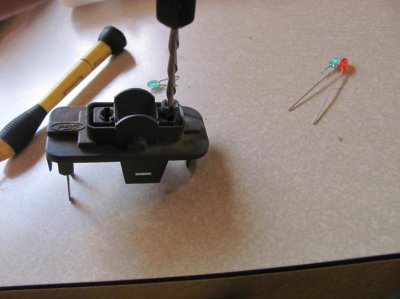
I started with the back switches so that if they turned out bad, I don't have to see them. The insert piece in the door pops out by pulling up on it with your fingers, then the wire harness comes out by pushing one clip. I then moved to my office (dorm room lol). The switch comes out of the door insert by 2 clips. Next, pop off the button, put a screwdriver under it and pry it up. It comes off pretty easy. When the button comes off, there will be a metal piece under it, and remember which way it points (mine had a mark on the side it faced, and the piece the button goes on also faces to the mark. Next, separate the top and bottom of the switch (work your way around by loosening each tab and it will pop off easily, I was kind of rough taking them out, and the plastic held up fine). When the switch is seperated, the plastic piece that holds the button on will pop off, and now the work starts. I went through more work than I needed for the first switch and still have to put it together, but the second switch took about 30 minutes to complete. The wires for the bulb go straight down, so I used my dremel with the little drill bit thing on the end to grind through and cut the wire (it takes a little work to get the lead cut, but when it is free, the bulb will pop out. The holes that I drilled to get the leads out will work for putting the new leads through.


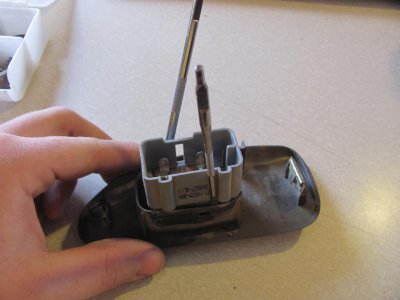
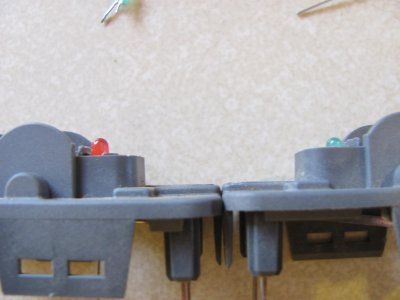
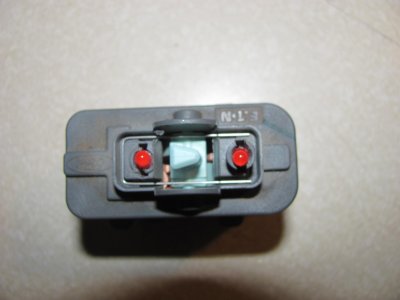
 The picture really doesn't show the color well, but it is a deep glowing red, and looks awesome. I will update the thread as I get the rest of the lights in. Hope you enjoy and can inspire someone else to do this!!