1997 5.4 Exhuast Flange Stud Replacement

Disclaimer: Links on this page pointing to Amazon, eBay and other sites may include affiliate code. If you click them and make a purchase, we may earn a small commission.

1955moose

Full Access Members
Joined
Nov 23, 2014
Posts
5,981
Reaction score
1,338
I wouldn't worry too much about torque. Just snug everything up with a 3/8 ratchet, then I usually re tighten/ recheck a day or so later. Just don't use 1/2 inch drive ratchets. You'll be fine.


Sent from my iPhone using Tapatalk
 
OP
OP
tinkering

tinkering

Full Access Members
Joined
Jul 19, 2016
Posts
251
Reaction score
28
Location
Alberta Canada
No problem, you don't want to drill when you don't have to. Always better to save old threads/ studs. It doesn't take much to cross drill a broken stud. Check with any machine shops in your area, they usually have something trick to drill through stud.


Sent from my iPhone using Tapatalk
I sure agree there; the less drilling the better. I have taken my time in the past, and I can drill a mighty accurate hole down the center of a fastener. I will also measure the depth of the stud/stud hole, and then tape the drill bit at the maximum depth; I don't want to drill into the head!!:eek: I always like to have a real good picture of the details before I go traipsing in there.
 
OP
OP
tinkering

tinkering

Full Access Members
Joined
Jul 19, 2016
Posts
251
Reaction score
28
Location
Alberta Canada
I wouldn't worry too much about torque. Just snug everything up with a 3/8 ratchet, then I usually re tighten/ recheck a day or so later. Just don't use 1/2 inch drive ratchets. You'll be fine.


Sent from my iPhone using Tapatalk
I was thinking I would just eyeball a few pounds on the studs just to hold them there; the torque on the nut is what brings the stud up to torque anyhow. The anti seize compound on the threads alters the actual torque value anyway. So I will use the torque wrench just to get a feel for it. I will check the torque again after I have run it for awhile.

THANKS for the reminder, STAY AWAY FROM THE 1/2" DRIVE:eek:
 

1955moose

Full Access Members
Joined
Nov 23, 2014
Posts
5,981
Reaction score
1,338
The tape on the drill bit is a great idea, my partner and I did just that years back, when we had to install 10 heli coils on a Kawasaki 1000 cylinder head. Last thing you want to do is over drill a hole.


Sent from my iPhone using Tapatalk
 
OP
OP
tinkering

tinkering

Full Access Members
Joined
Jul 19, 2016
Posts
251
Reaction score
28
Location
Alberta Canada
studs to head are in inch pounds as I recall.
I didn't find stud torque anywhere in the manual I downloaded from the internet. Half a ft/lb or 6 in/lbs sounds feasible to me:) because the stud will eventually torque up to the 18ft/lbs +/- when the nut sucks down tight on the manifold. That is how I see it.
 
Last edited:

1955moose

Full Access Members
Joined
Nov 23, 2014
Posts
5,981
Reaction score
1,338
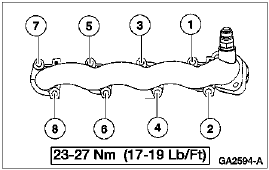
That's a strange torque sequence. I would definitely follow Fords recommendation though.


Sent from my iPhone using Tapatalk
 
OP
OP
tinkering

tinkering

Full Access Members
Joined
Jul 19, 2016
Posts
251
Reaction score
28
Location
Alberta Canada
The following pictures are at different stages of the job. I will come back later to insert the accompanying text:)

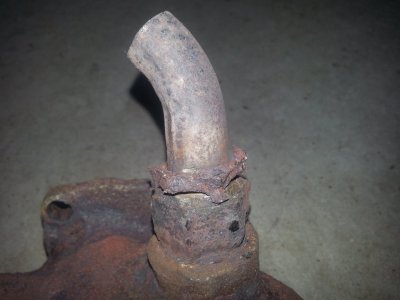
EGR tube cut off above the fittings. The fittings were absolutely FUSED together for eternity. See the broken section lying on the top.
20170118_110339.jpg

See the comical exhaust flange studs. One was corroded right off and the other fell apart when I yelled at it.
20170118_110430.jpg

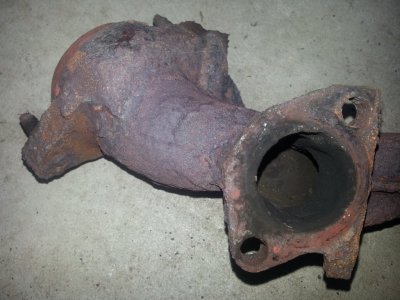
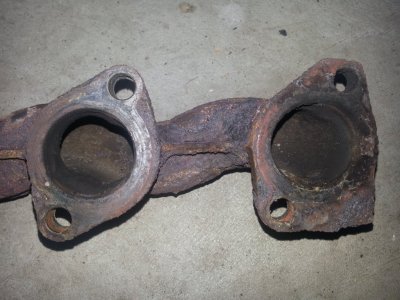
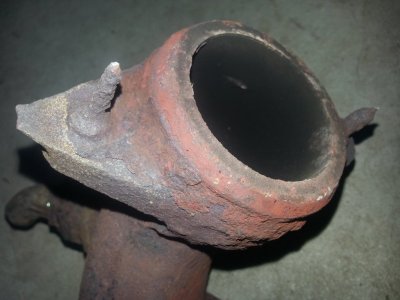
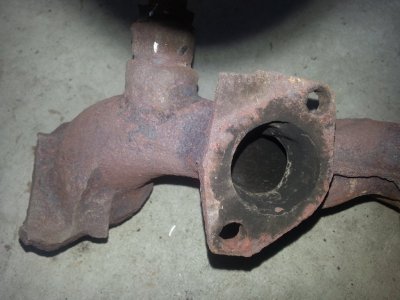
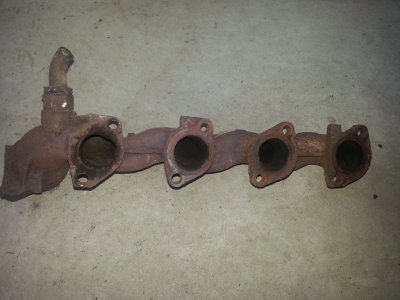
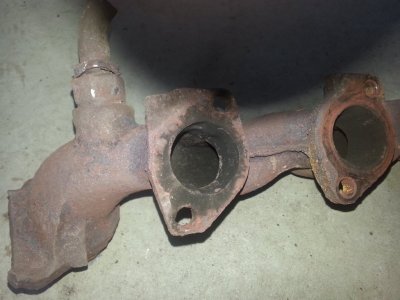
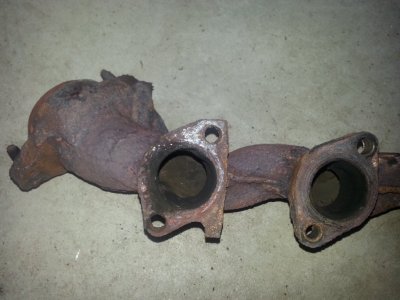
The following 3 pictures show the carbon tracks indicating the leaks on the drivers side exhaust manifold at the rear port, and a wee bit on the front port.
20170118_110540.jpg

20170118_110559.jpg

20170118_110623.jpg
 
Last edited:
OP
OP
tinkering

tinkering

Full Access Members
Joined
Jul 19, 2016
Posts
251
Reaction score
28
Location
Alberta Canada
The next 3 pictures show similar leakage as on the driver's side exhaust manifold. There was plenty of leakage at the rear port, and less but significant leakage at the front port.

20170118_110700.jpg 20170118_110711.jpg 20170118_110731.jpg

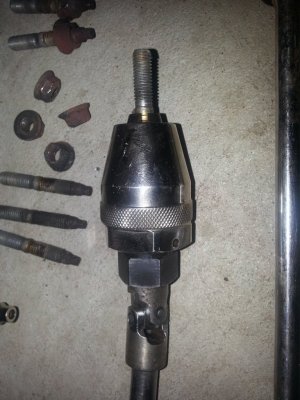
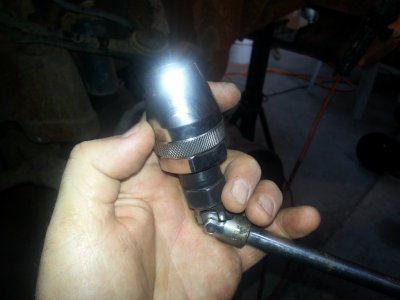
The following 3 pictures are the beautiful little new style stud remover that I picked up at Princess Auto for $30.
20170118_122624.jpg

20170118_114403.jpg
 
Last edited:
Top