2003 Expedition Face Lift Begins

Disclaimer: Links on this page pointing to Amazon, eBay and other sites may include affiliate code. If you click them and make a purchase, we may earn a small commission.

OP
OP
Vancouver Bob

Vancouver Bob

Full Access Members
Joined
Dec 22, 2016
Posts
719
Reaction score
355
Location
Vancouver, WA
Good point!! That should work better. I was trying to compress them to where the spring was loose but it seemed like that was taking forever, especially with those bolts bowing in... yikes! I'll get the spring compressor nuts back in proper position and will try again. Thanks!!
 
OP
OP
Vancouver Bob

Vancouver Bob

Full Access Members
Joined
Dec 22, 2016
Posts
719
Reaction score
355
Location
Vancouver, WA
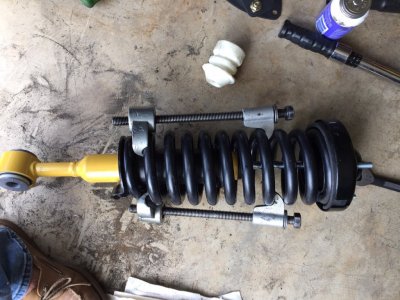
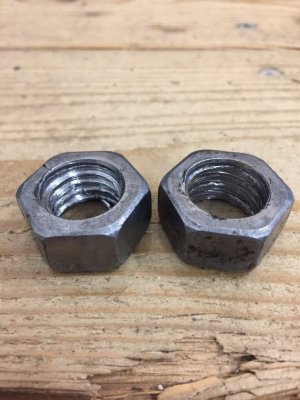
Got the spring compressor apart to fix the nut... looks like the inside threads are pretty torn up. I ended up swapping the top nut (worn) for the bottom since the top is carrying all the load. I should add that the top claw (double claw) had two nuts, one at the top, sitting on top of a flange that tied into the claw, and a bottom one which I guess is there for stability since the forces are all on the top nut, pushing upward.
IMG_6228.JPG

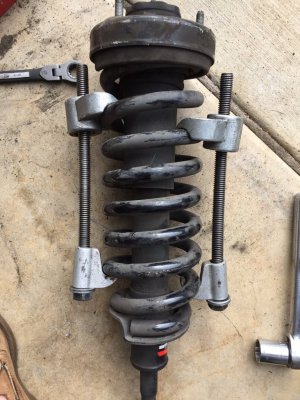
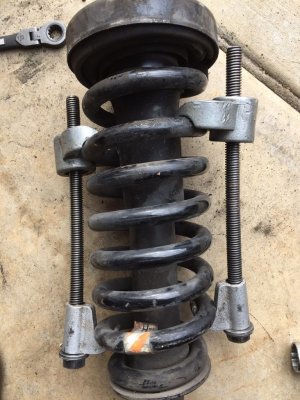
Got it back on the spring and started cranking. As it turns out, even though the tool looked like it was positioned better, when I turned it over it looked weird again, just like the first time, so no sweat there.
IMG_6234.JPG IMG_6235.JPG
 
Last edited:
OP
OP
Vancouver Bob

Vancouver Bob

Full Access Members
Joined
Dec 22, 2016
Posts
719
Reaction score
355
Location
Vancouver, WA
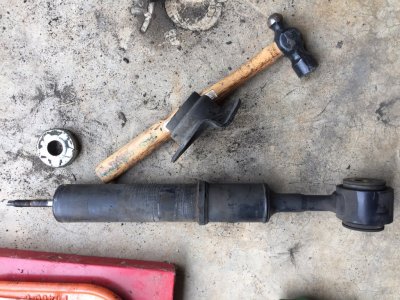
Managed to get it apart... YAY! Old strut/shock (OK, what the hell is it? Top looks like a strut, fits in the spring like a strut but the bottom looks like a shock. Perhaps it's a shrut). Anyways, happy to have this sucker apart. Now debating on whether I should use the spring that looks different (coils are closer together). Probably doesn't matter since there are probably many ways to achieve a given spring rating. The one thing I was most worried about was whether or not the old bottom spring seat would come off. Had to knock the collar off of the old strut but it came off... phew!

IMG_6236.JPG

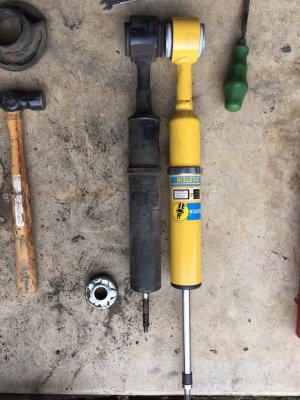
Old vs new... the old has a tad over 200,000 miles on it.

IMG_6238.JPG
 
OP
OP
Vancouver Bob

Vancouver Bob

Full Access Members
Joined
Dec 22, 2016
Posts
719
Reaction score
355
Location
Vancouver, WA
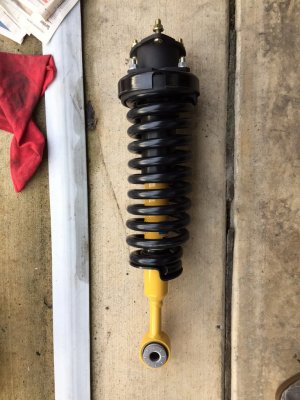
Took a while to figure out sequence of a rubber sleeve, a metal spacer, the bumper stop, and the boot while keeping everything together. Finally figured it out. Got the 3.5" lift on the top.

IMG_6241.JPG
 
Last edited:
OP
OP
Vancouver Bob

Vancouver Bob

Full Access Members
Joined
Dec 22, 2016
Posts
719
Reaction score
355
Location
Vancouver, WA
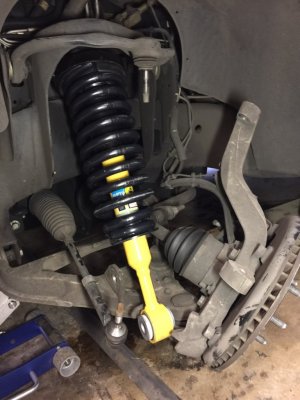
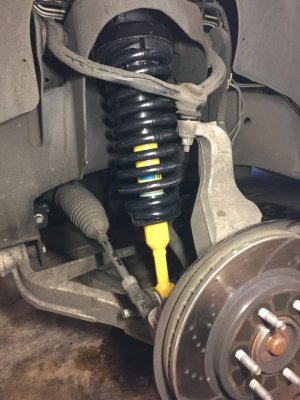
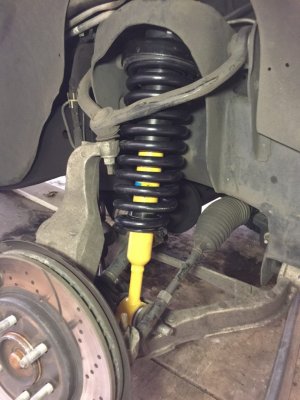
Just about back together. Getting the bottom strut/shock bolt back in was a B@*CH! Just about done... just need to tighten a few bolts. One down, three to go :eek: I had to let the hub hang all the way down, with the sway bar disconnected to get the bottom of the strut close to getting back in position. I'm really curious to see how it sits once the tire is back on. Almost afraid it'll be too high! Would hate to find out I'm using the wrong spring.

IMG_6242.JPG IMG_6245.JPG
 
OP
OP
Vancouver Bob

Vancouver Bob

Full Access Members
Joined
Dec 22, 2016
Posts
719
Reaction score
355
Location
Vancouver, WA
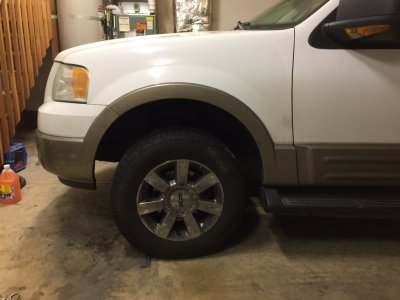
I wish I would have taken before pictures... the rig is definitely sitting higher in this corner.... can't wait to get the other three done and see how she rides. Yes, those are Navigator wheels... 18". I have a set of 22's with Toyo Proxies that I bought off Craigslist a few years ago, haven't had them on since I went with the AT's on these.

IMG_6246.JPG
 
OP
OP
Vancouver Bob

Vancouver Bob

Full Access Members
Joined
Dec 22, 2016
Posts
719
Reaction score
355
Location
Vancouver, WA
More drama with the spring compressor I borrowed from NAPA. Same issue with the nut slipping on the threaded shaft. Got new nuts from Ace but they ended not fitting the threads so just borrowed a different compressor from O O O O'Reilly's but the clamp ends wouldn't fit between the coils. Nothing's every easy! Could have been done by now. Going back to the original compressor with nuts moved around a bit. I can use the better compressor on the rears.
 
OP
OP
Vancouver Bob

Vancouver Bob

Full Access Members
Joined
Dec 22, 2016
Posts
719
Reaction score
355
Location
Vancouver, WA
As I was compressing the new spring, I could feel one side of the compressor binding up again but I was so close to getting the piston shaft out the top. Took the top mount off to reposition things a bit, took the bumper out to get the rubber sleeve a little lower, got it back together, tightened the one side that wasn't binding a bit more and with a little pressure on the top mount was able to get the top screw going. I was home free! Started tightening it all up and removing the spring compressors (happy to never have to use that set again). But then I noticed something...

IMG_6249.JPG

Son of a.... forgot to put the friggen bumper back on!! Had to go inside to take a break.
 
Last edited:
OP
OP
Vancouver Bob

Vancouver Bob

Full Access Members
Joined
Dec 22, 2016
Posts
719
Reaction score
355
Location
Vancouver, WA
Turned out not being so bad. Since the top nut was already holding the spring I just cranked on the bad compressor side, pushed thru the bind and had plenty of shaft sticking out the top to get it all squared away. Got it all back together. Now ready for the rears... but not today. Had enough mechanical fun for one day, gott a get out and enjoy the weather a bit.

IMG_6250.JPG
 
Top