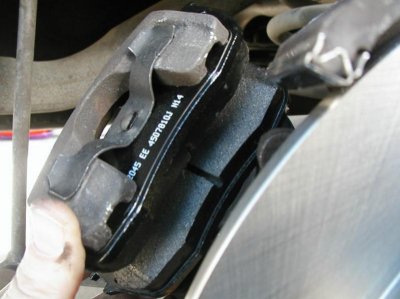
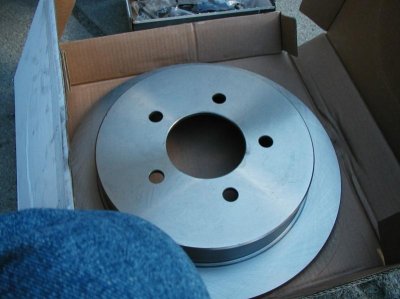
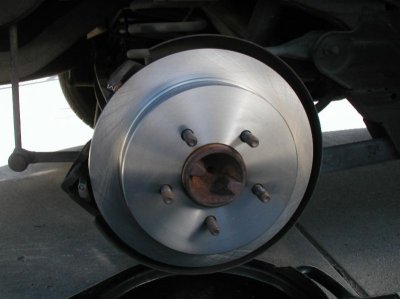
I'm not a mechanic, just a guy who can't afford to pay other people to do this stuff. This is a fairly straight forward job and took me about two hours and that includes standing in the garage procrastinating, getting tools and finally cleaning up afterwards. This was a simple pads & rotor replacement. The parking brakes & calipers were OK and required no repair.
As always, safety first. Overview, limit and spot potential hazards and take steps to mitigate.
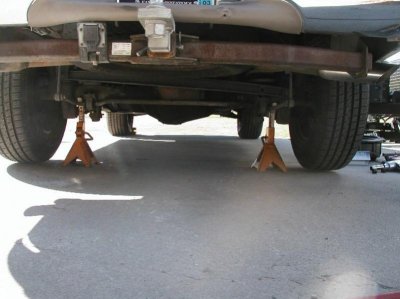
The vehicle is a 2000 Eddie Bauer Expedition 4x4 with 118k miles.
After chocking the front wheels, I put the Expy on jack stands. If your not sure about jacking points, refer to the owners guide.

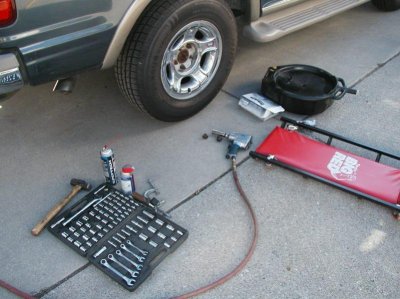
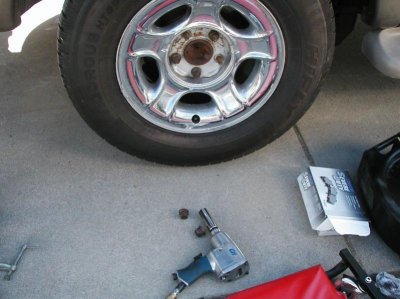
Gather the necessary tools. Your tool needs my vary, but I used:
Impact gun for lugnuts
3/8" drive & 10mm socket
Flat blade screwdriver
BFH
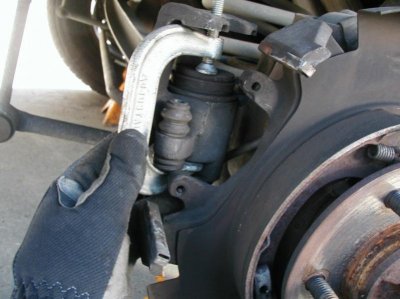
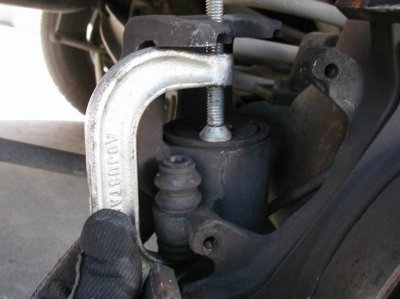
C-clamp

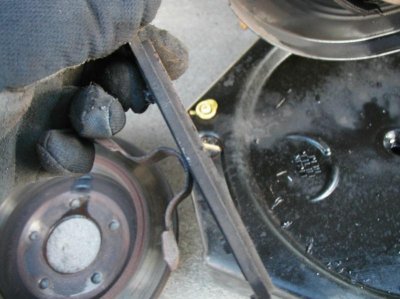
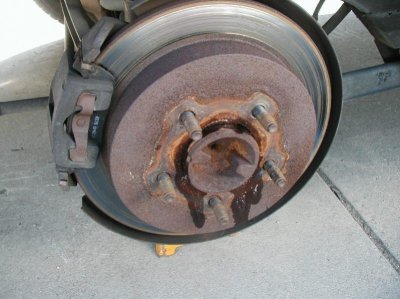
Remove the wheel

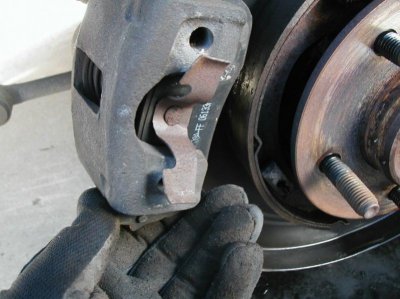
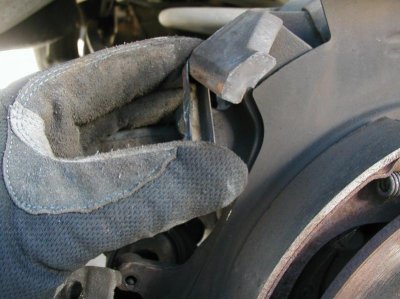
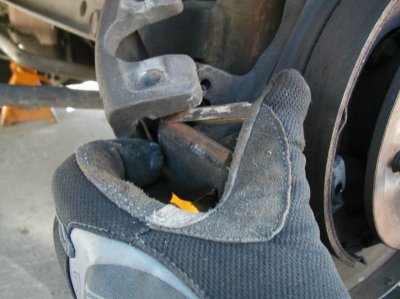
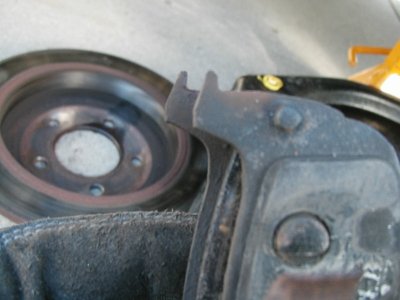
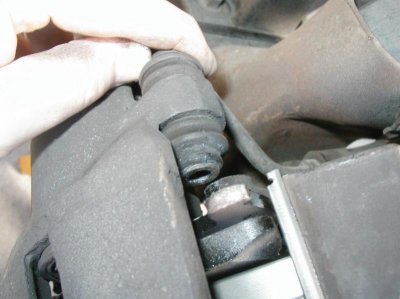
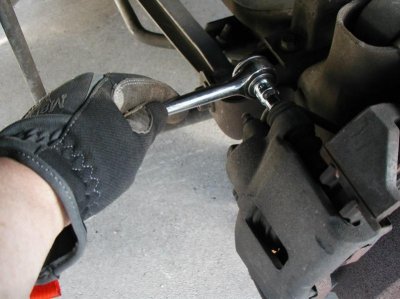
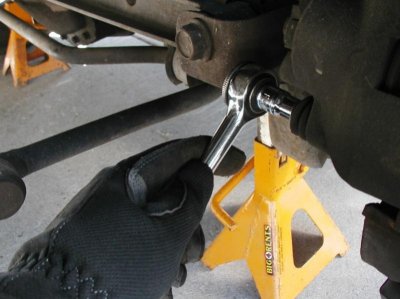
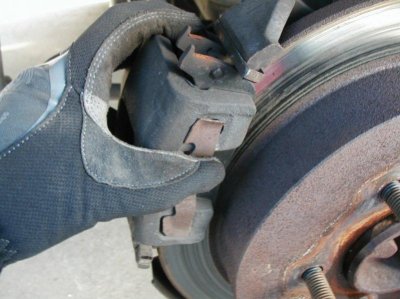
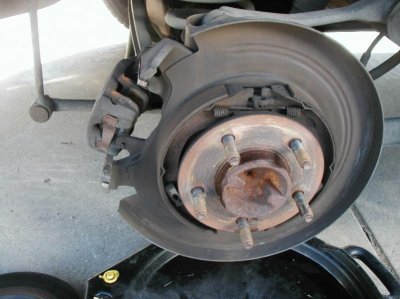
Remove the caliper. There are two 10mm bolts.


As always, safety first. Overview, limit and spot potential hazards and take steps to mitigate.
The vehicle is a 2000 Eddie Bauer Expedition 4x4 with 118k miles.
After chocking the front wheels, I put the Expy on jack stands. If your not sure about jacking points, refer to the owners guide.
Gather the necessary tools. Your tool needs my vary, but I used:
Impact gun for lugnuts
3/8" drive & 10mm socket
Flat blade screwdriver
BFH
C-clamp
Remove the wheel
Remove the caliper. There are two 10mm bolts.
Attachments
Last edited:
")