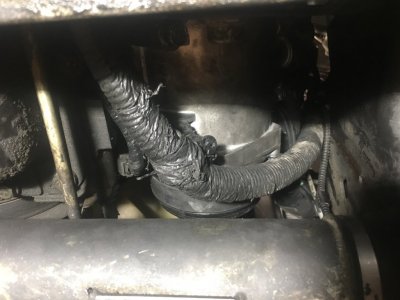
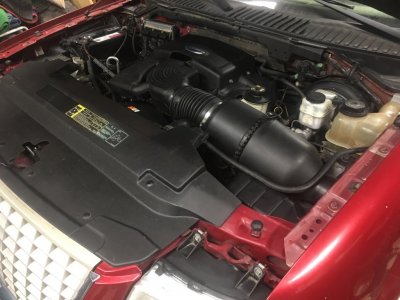
How to change your A/C Compressor on a 5.4L Ford Expedition 2003 2004 2005 2006

Disclaimer: Links on this page pointing to Amazon, eBay and other sites may include affiliate code. If you click them and make a purchase, we may earn a small commission.

Joined
Jun 2, 2018
Posts
21
Reaction score
16
Location
Southern California
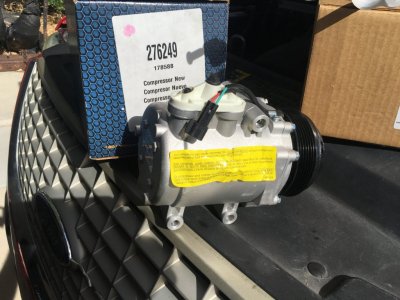
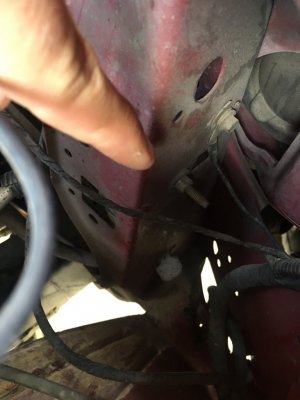
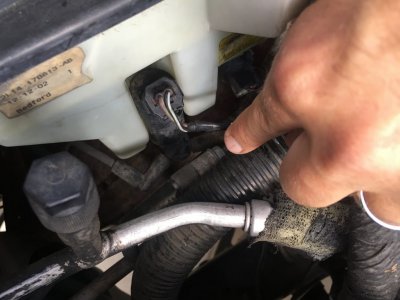
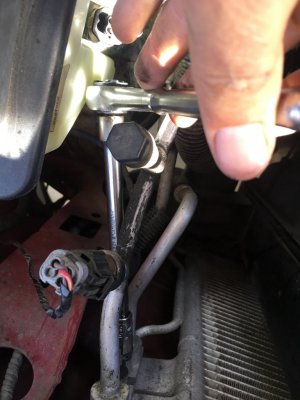
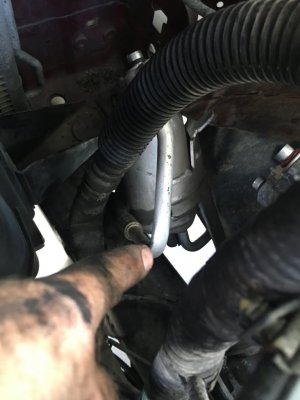
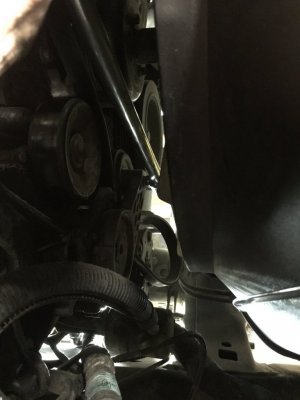
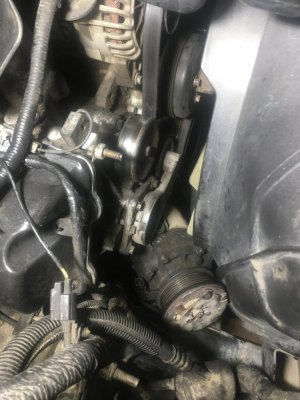
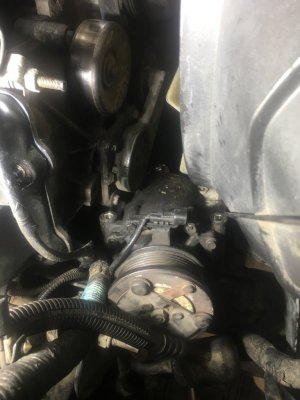
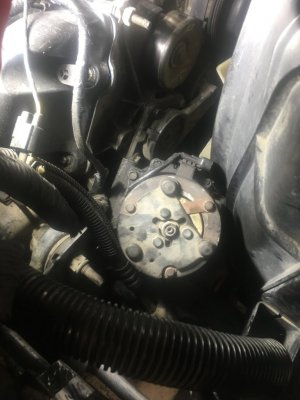
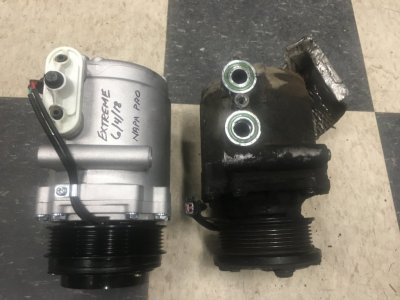
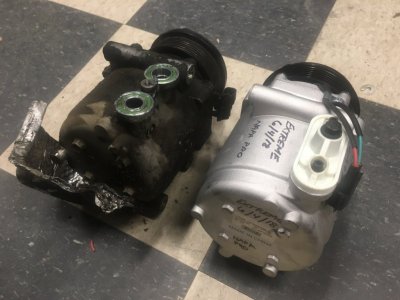
I have found it extremely hard to find step by step pictures on the internet on how to change your A/C compressor on a 2003 Ford Expedition 4x4 with the 5.4L V8 Triton Engine. I am going to start this project and document the pictures myself. For reference, this is not a fun job, the compressor needs to come out from below the vehicle. Therefor on a scale on 1 to 10 I will rate it:

Suck Factor = 7.5 / 10 (Meaning Irritating is a mild way of putting it)
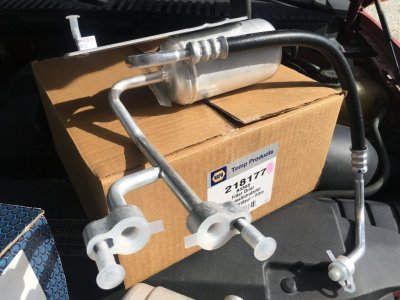
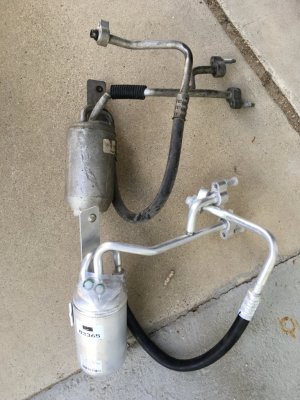
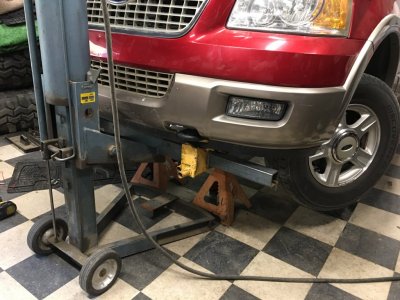
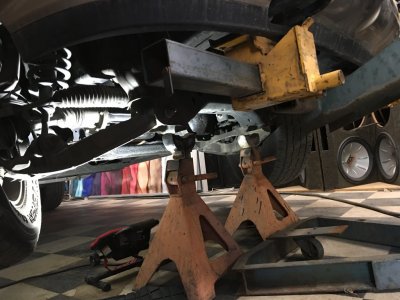
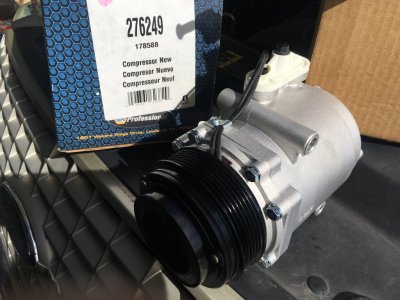
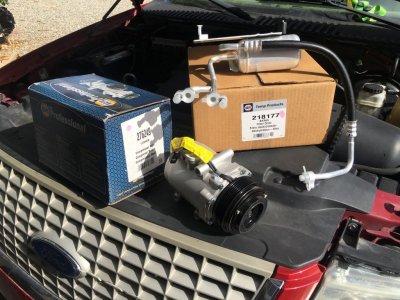
You will need reasonable aptitude, good tools, a way to recover freon, or take it somewhere that can, and a safe way of lifting the vehicle so you can access the compressor from the underside. In addition to the compressor you should replace the expansion valve, drier, oriface filters, and flush the lines for any contaminants that may have travelled downstream from your original damaged compressor.
IMG_1076.JPG

IMG_1073.JPG

IMG_1074.JPG

IMG_1075.JPG

IMG_1077.JPG
 
OP
OP
ExtremeExpedition
Joined
Jun 2, 2018
Posts
21
Reaction score
16
Location
Southern California
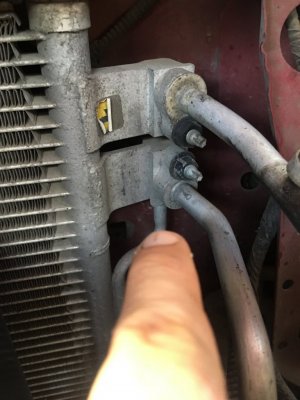
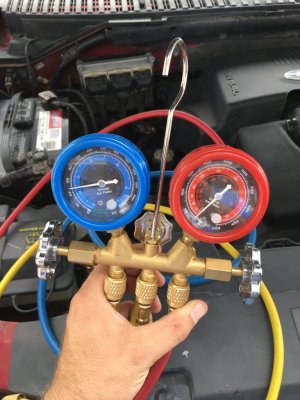
Make sure you put gauges on the system before trying to remove any components. If you have high pressures, you can have a shop with a recovery machine pull the freon before attempting to take things apart.

IMG_1089.JPG

IMG_1072.JPG
 
OP
OP
ExtremeExpedition
Joined
Jun 2, 2018
Posts
21
Reaction score
16
Location
Southern California
I'm not going to sugar coat this job at all. For an A/C compressor, it is completely ridiculous. It takes exceptional patience to squeeze your hands into unreasonably tight spaces with little space for movement of your tools. The serviceability of the A/C compressor on a 2003 5.4L V8 4X4 Expedition is unacceptable at best. I completed it.
For those who are still inclined to put yourself through this misery, read on.
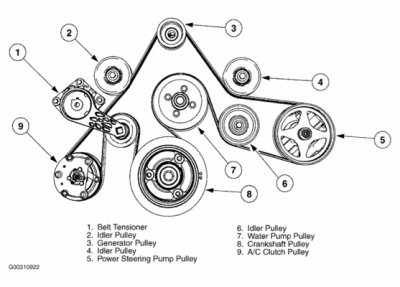
Before removing any of the bolts, remove the serpentine belt, see pics in next post.

IMG_1096.JPG

IMG_1094.JPG

IMG_1097.JPG

IMG_1098.JPG

IMG_1099.JPG
 
Last edited:
OP
OP
ExtremeExpedition
Joined
Jun 2, 2018
Posts
21
Reaction score
16
Location
Southern California
Please read all posts and view all pictures before starting this job as the pictures are not all in exact order. Some steps like removing the belt come first.
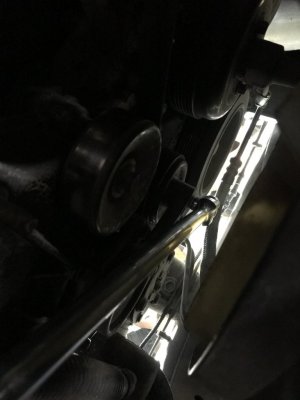
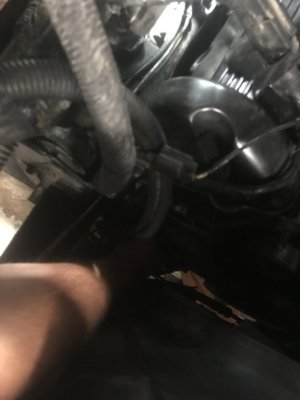
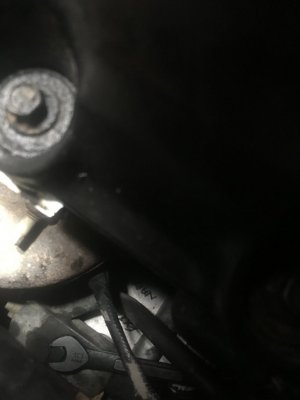
Use a 1/2" breaker bar inserted into the idler arm to push and release pressure on the belt so the belt can be removed from the compressor. One of the stages of the A/C compressor removal that most people don't discuss is how to get it out after it is unbolted. There simply is not enough room to pull it straight out. Your expedition will have to "give birth" to the compressor. I chronicled this in timeline shots. Pull your flexible lines forward away from the engine and hook over the frame rail. Rotate your fan blade and pull the compressor up between the frame rail and fan shroud. It will push on the shroud, but with some rotation and motivation you can bring it up and out.
IMG_1100.JPG

IMG_1101.JPG

IMG_1102.JPG

IMG_1103.JPG

IMG_1104.JPG
 
Last edited:
OP
OP
ExtremeExpedition
Joined
Jun 2, 2018
Posts
21
Reaction score
16
Location
Southern California
Please review all notes and pictures before starting this job, some pictures may be out of order.

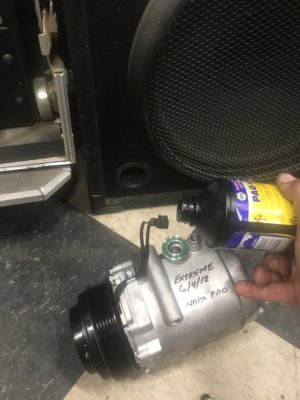
The 2003 Ford Expedition with 5.4L V8 4X4 with rear air calls for 14oz. of PAG 46 oil to be added to the compressor.
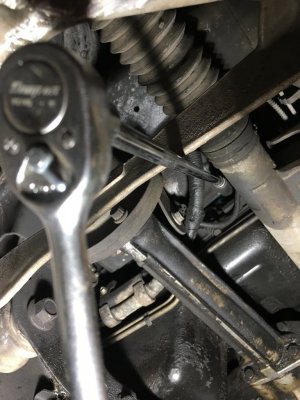
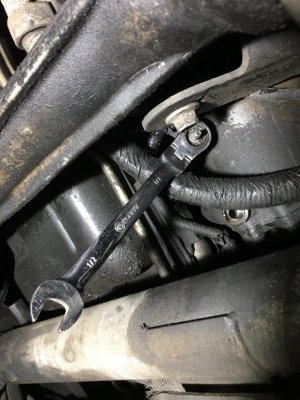
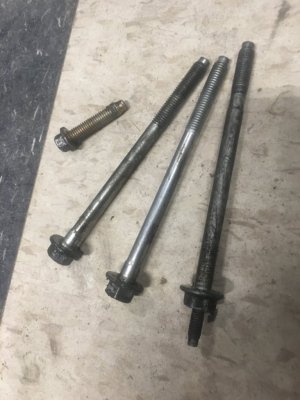
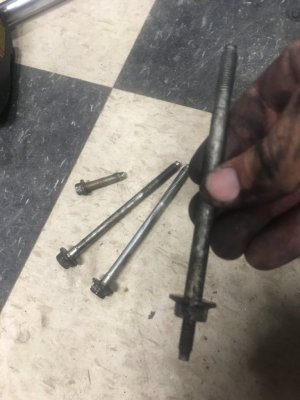
If there is shipping oil already in your new compressor, dump it before adding the PAG 46. The bolts for the compressor are long, temperamental, and east to strip. Take your time to remove slowly. If there is any corrosion, soak the bolts with penetrant oil overnight before starting their removal. The three larger 13mm bolts hold the compressor to the engine block, and the smaller 10mm bolt holds the hose manifold to the compressor inlet and outlet.

IMG_1105.JPG

IMG_1106.JPG

IMG_1107.JPG

IMG_1112.JPG

IMG_1113.JPG
 
OP
OP
ExtremeExpedition
Joined
Jun 2, 2018
Posts
21
Reaction score
16
Location
Southern California
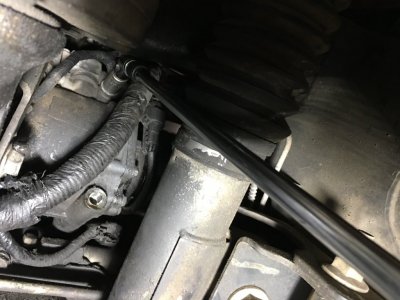
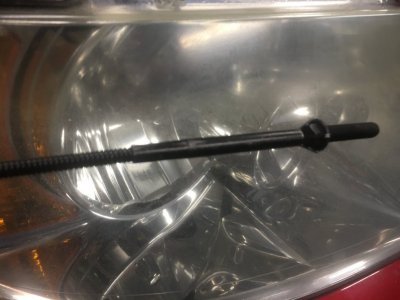
I used a flexible "Grabber" cable tool to place the 10mm manifold inlet bolt for the first few threads, secondly fed a 10mm open ended wrench to slowly set the next few threads until the bolt was seated. Once the bolt was seated, I finally had enough space to get the super long extension with a shorty swivel into place and finish tightening down.
Then was able to reinstall the belt, it is easier to take off of the alternator, install the belt onto the ac compressor than reinstall belt on the alternator. Finally I was able to install the battery and button up any loose connections.

IMG_1116.JPG

IMG_1117.JPG

IMG_1118.JPG

IMG_1119.JPG

IMG_1122.JPG
 

fordski

New Member
Joined
Jun 29, 2021
Posts
1
Reaction score
1
Location
91761
Extreme: You noted that the compressor (vehicles with rear air) will need 14 oz. of Pag oil, is that for just the compressor or the whole system???
 

Hamfisted

Full Access Members
Joined
Nov 20, 2012
Posts
2,603
Reaction score
1,480
Location
Ft Lauderdale
Extreme: You noted that the compressor (vehicles with rear air) will need 14 oz. of Pag oil, is that for just the compressor or the whole system???

Just the compressor.
Whole system PAG oil capacity is 54 oz .
 

Denver102

Active Member
Joined
Apr 21, 2021
Posts
35
Reaction score
1
Location
Raleigh NC
I know this will be very helpful. Going to do this on a 2006 Expedition. Thanks for the info and illustration. Steve
 
Top