MBohn
Active Member
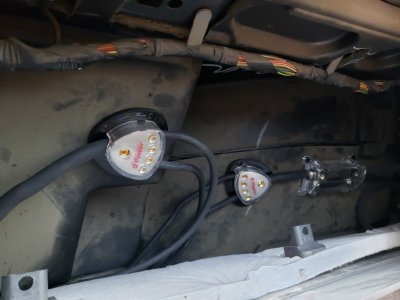
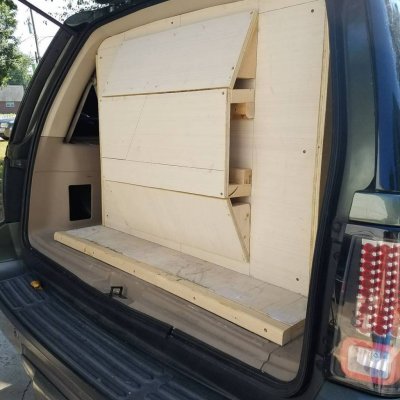
After searching the forum, I quickly realized no one had a write up for installing an aftermarket amplifier and subwoofer. Here, I'll give you the basic information needed to get up and running. Please excuse the poor photo quality, as I was just using my cellphone as I went. I forgot to get pictures of some things, but I'll do my best to explain along the way.
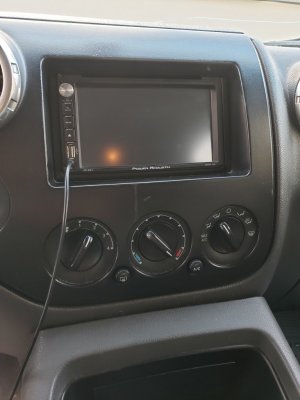
Just as an FYI - This is a 2015 Expedition XLT with Ford MyTouch. I installed a Cerwin Vega
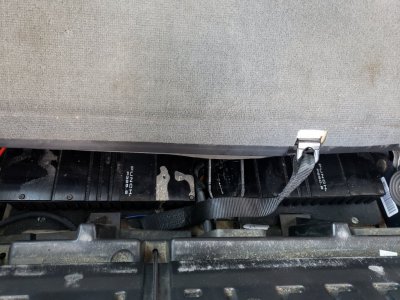
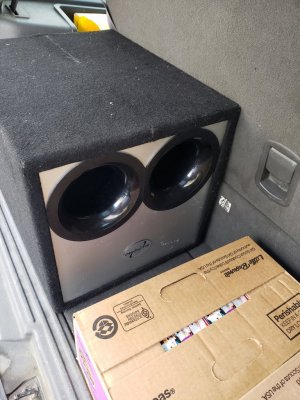
H71800.1D amplifier and a Cerwin Vega VPRO122D subwoofer. I installed the amplifier under one of the middle row seats.
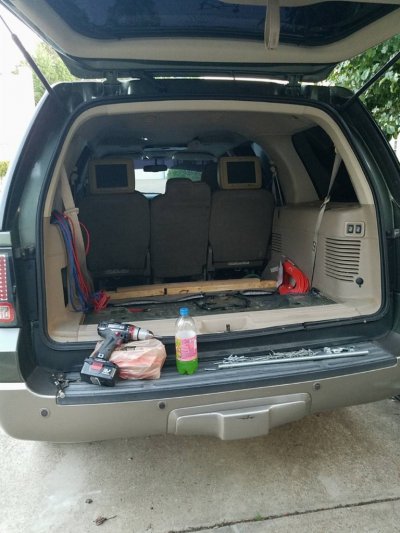
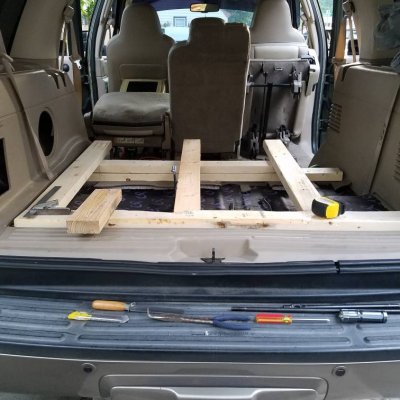
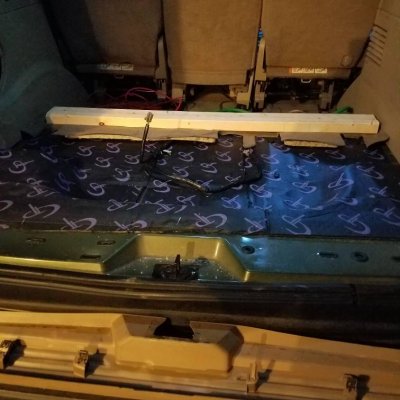
The tools you will need will vary depending on where you plan to place the amplifier. I was able to do the whole install with some basic things I had around the house.
For my installation I used a basic wiring kit, and a line out converter I picked up at my local Best Buy.
Before beginning, be sure to disconnect the negative terminal from the battery.
Line Out Converter-
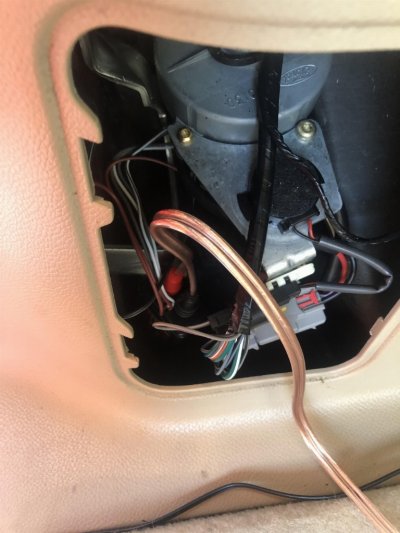
For my line out converter, I decided to wire it into the small speaker by the rear lift gate. If you open the lift gate, you will see a small vented panel on the drivers side. Behind it are a ton of wires. After some searching, you will find a pair of black wires, one with a white stripe on it. Those go to the rear speaker. Your LOC should have came with some sort of instructions for which wires are positive and negative. I twisted both positive wires together, and spliced them into the wire with the white stripe. I twisted both negative wires together and spliced them into the solid black wire. How you choose to cover your connections is up to you. I just threw some wire nuts on and tucked the LOC into the panel. (I didn't tuck away my RCA cables at this point, just incase I needed to find a new place for the LOC)
Wiring the amp-
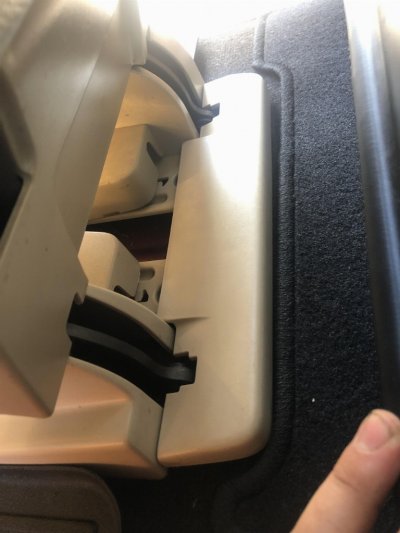
We'll start with ground. My Expedition has second row bucket seats. There is a small plastic strip right in front of the seat hinges. This will pop off if you pull straight up.
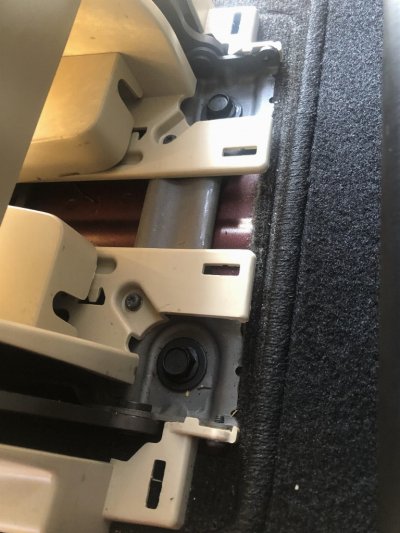
The large bolt you see would be optimal for those of you that are trying to run large setups. I didnt have a wrench that would fit, so I used the smaller screw that goes threw the plastic trim, and it works great. If this is your first install, you want your ground wire to be as short as possible, but leave your self some slack to work with. They typically come only 2 ft. or so long anyway.
Power
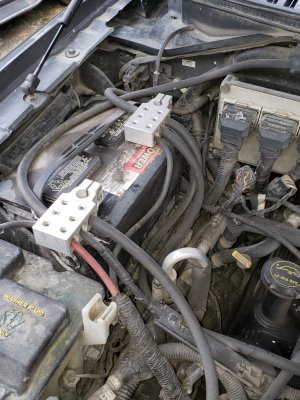
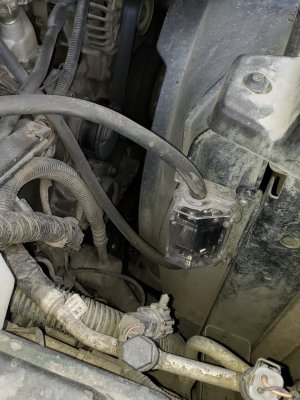
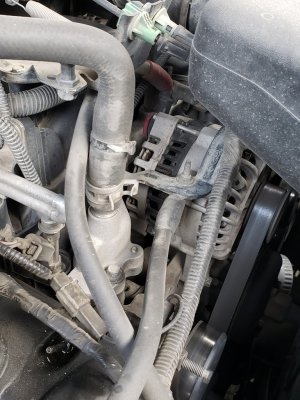
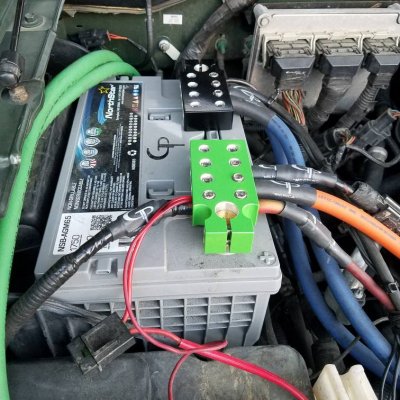
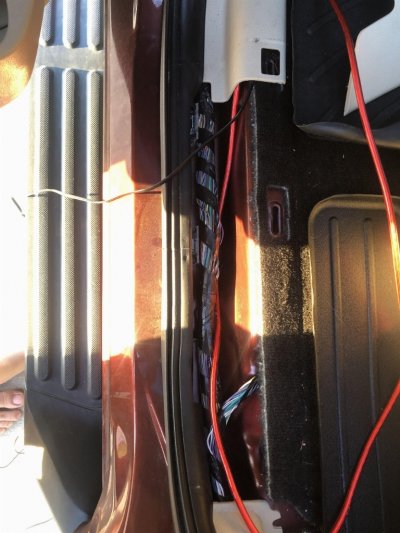
The trickiest part of running the power wire, usually, is getting threw the firewall. This was actually quite simple. I started under the hood, at the battery. I ran the wire just behind the intercooler from the passenger side, to the drivers side, zip tying it securely to other sections of wiring. Do not tie it to rubber hoses.
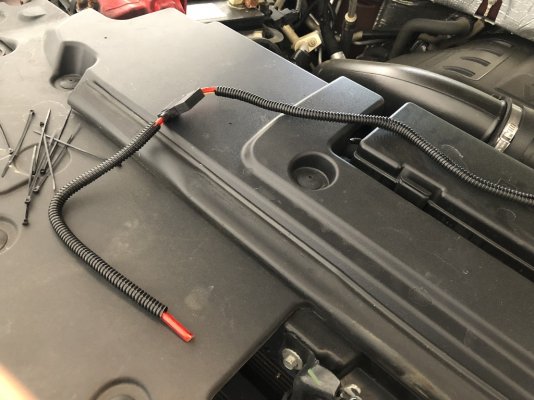
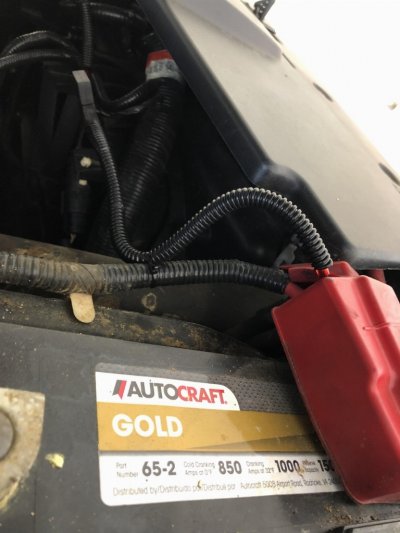
If you look at the fire wall, you will see a large rubber grommet next to the brake master cylinder, with a large group of wires going into it. I poked a hole near the outer edge of the grommet, to avoid hitting any of the wires (I used a phillips head screw driver to poke my hole). You can then feed the rest of the power wire through the hole and into the cabin. Open the driver door, and look just to the left of the brake pedal and you will see the other side of the grommet and your power wire.
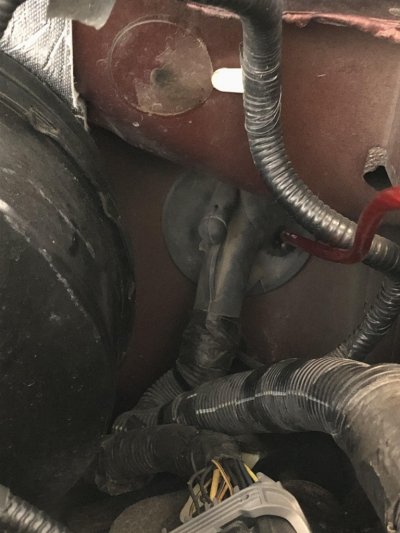
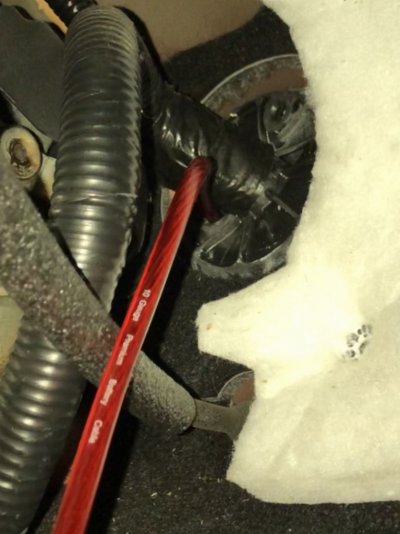
I then popped off the plastic door sills. Tuck your power wire behind the kick panel and begin running it under the door sills. No need to pull off the covers around the B pillar (between the front and middle row). The wire can just be pushed under it.
Remote wire
Running the remote wire is basically the same as the power wire. I wired mine into a fuse in kick panel under the dash, on the passenger side. I then tucked it under the door sills, and then under the middle row seating to the drivers side where the amp will go. Sadly, I dont have a photo of what fuse I used, but you will need to find one that powers on/off with the ignition (which is harder than it sounds, as Ford likes to leave everything 'hot' apparently).
At this point, you can hook all the wires to the amp (including the sub) and give it a test to ensure that everything is working properly. If the test goes well, you can start to put everything back together.
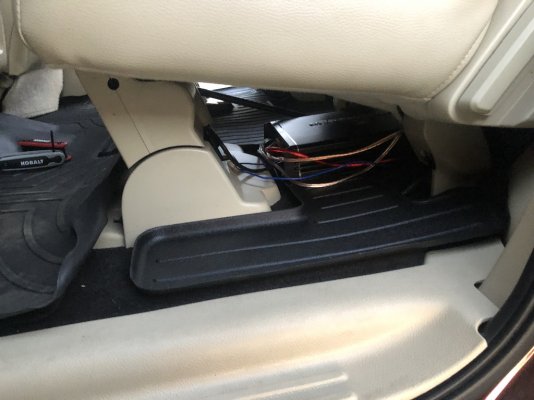
Ill be disconnecting the wires and tucking them under the floor mats just to clean things up a bit, but unless you bend down and look, you would never know the amp is even there.
"Bass Knob"
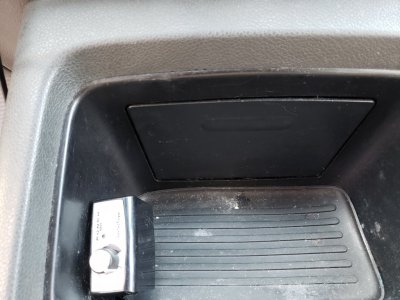
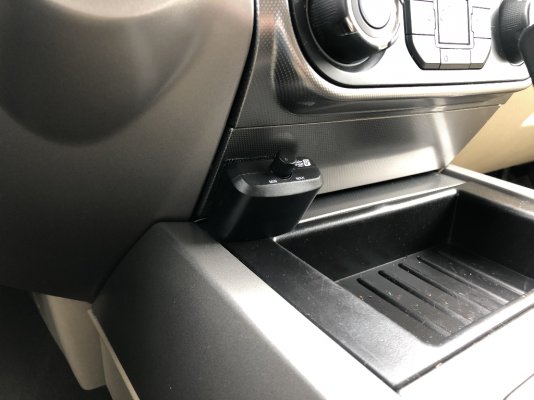
My amp, like many, have a remote wired 'bass knob'. I ran the wire for it along the drivers side door sills and zip tied it under the dash to the center console. I simply used a little 3M double sided padding to hold it in place. The flat wire was easily pushed into the gap between the console and dash.
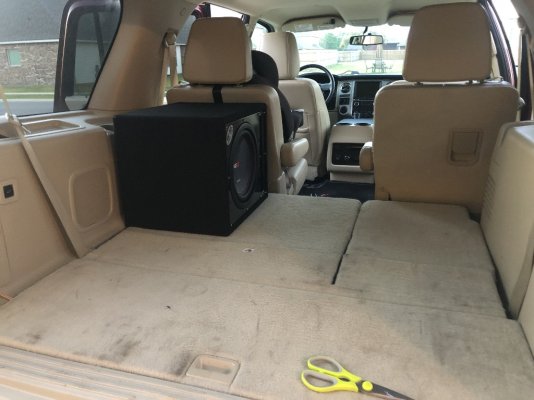
Once everything is buttoned up, you can begin tuning your new setup and you're ready to jam! Please feel free to comment with questions and concerns. I know this isnt the best write up ever, but I hope it helps some of you thinking about tackling this yourself.
Just as an FYI - This is a 2015 Expedition XLT with Ford MyTouch. I installed a Cerwin Vega
H71800.1D amplifier and a Cerwin Vega VPRO122D subwoofer. I installed the amplifier under one of the middle row seats.
The tools you will need will vary depending on where you plan to place the amplifier. I was able to do the whole install with some basic things I had around the house.
For my installation I used a basic wiring kit, and a line out converter I picked up at my local Best Buy.
Before beginning, be sure to disconnect the negative terminal from the battery.
Line Out Converter-
For my line out converter, I decided to wire it into the small speaker by the rear lift gate. If you open the lift gate, you will see a small vented panel on the drivers side. Behind it are a ton of wires. After some searching, you will find a pair of black wires, one with a white stripe on it. Those go to the rear speaker. Your LOC should have came with some sort of instructions for which wires are positive and negative. I twisted both positive wires together, and spliced them into the wire with the white stripe. I twisted both negative wires together and spliced them into the solid black wire. How you choose to cover your connections is up to you. I just threw some wire nuts on and tucked the LOC into the panel. (I didn't tuck away my RCA cables at this point, just incase I needed to find a new place for the LOC)

Wiring the amp-
We'll start with ground. My Expedition has second row bucket seats. There is a small plastic strip right in front of the seat hinges. This will pop off if you pull straight up.


The large bolt you see would be optimal for those of you that are trying to run large setups. I didnt have a wrench that would fit, so I used the smaller screw that goes threw the plastic trim, and it works great. If this is your first install, you want your ground wire to be as short as possible, but leave your self some slack to work with. They typically come only 2 ft. or so long anyway.
Power
The trickiest part of running the power wire, usually, is getting threw the firewall. This was actually quite simple. I started under the hood, at the battery. I ran the wire just behind the intercooler from the passenger side, to the drivers side, zip tying it securely to other sections of wiring. Do not tie it to rubber hoses.


If you look at the fire wall, you will see a large rubber grommet next to the brake master cylinder, with a large group of wires going into it. I poked a hole near the outer edge of the grommet, to avoid hitting any of the wires (I used a phillips head screw driver to poke my hole). You can then feed the rest of the power wire through the hole and into the cabin. Open the driver door, and look just to the left of the brake pedal and you will see the other side of the grommet and your power wire.


I then popped off the plastic door sills. Tuck your power wire behind the kick panel and begin running it under the door sills. No need to pull off the covers around the B pillar (between the front and middle row). The wire can just be pushed under it.

Remote wire
Running the remote wire is basically the same as the power wire. I wired mine into a fuse in kick panel under the dash, on the passenger side. I then tucked it under the door sills, and then under the middle row seating to the drivers side where the amp will go. Sadly, I dont have a photo of what fuse I used, but you will need to find one that powers on/off with the ignition (which is harder than it sounds, as Ford likes to leave everything 'hot' apparently).
At this point, you can hook all the wires to the amp (including the sub) and give it a test to ensure that everything is working properly. If the test goes well, you can start to put everything back together.

Ill be disconnecting the wires and tucking them under the floor mats just to clean things up a bit, but unless you bend down and look, you would never know the amp is even there.

"Bass Knob"
My amp, like many, have a remote wired 'bass knob'. I ran the wire for it along the drivers side door sills and zip tied it under the dash to the center console. I simply used a little 3M double sided padding to hold it in place. The flat wire was easily pushed into the gap between the console and dash.

Once everything is buttoned up, you can begin tuning your new setup and you're ready to jam! Please feel free to comment with questions and concerns. I know this isnt the best write up ever, but I hope it helps some of you thinking about tackling this yourself.


