juan214
Full Access Members
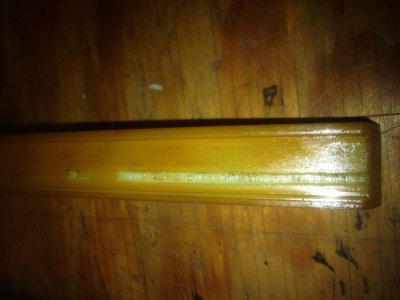
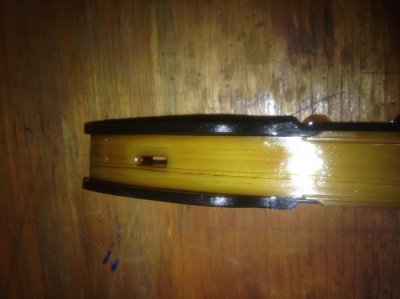
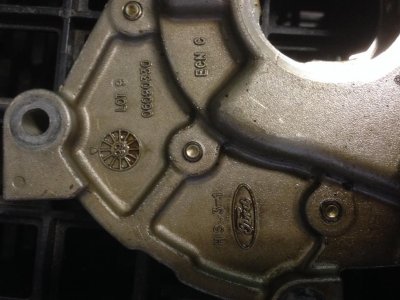
Engine Timing Crankshaft Gear
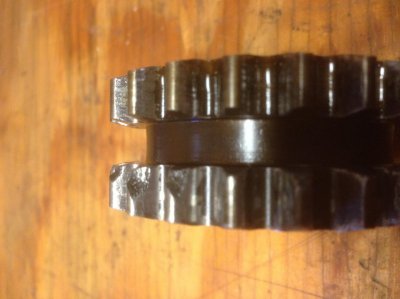
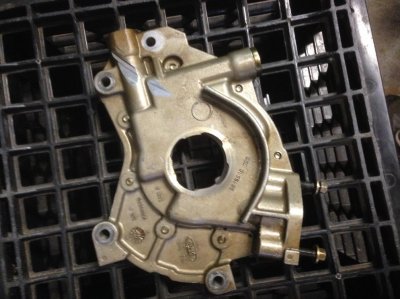
The timing component process is below and came before this step. The Engine Timing Crankshaft Gear did not want to come off by hand. I took my 27mm open wrench and use used to pry it away from the oil pump. Facing the oil pump there is a notch on the top left this where I inserted the wrench. It slid out with no real effort. Oil just seeped in and dried up from the heat. The damaged teeth are not from taking the gear off.
The timing component process is below and came before this step. The Engine Timing Crankshaft Gear did not want to come off by hand. I took my 27mm open wrench and use used to pry it away from the oil pump. Facing the oil pump there is a notch on the top left this where I inserted the wrench. It slid out with no real effort. Oil just seeped in and dried up from the heat. The damaged teeth are not from taking the gear off.
Attachments


Last edited: