magindat
Member
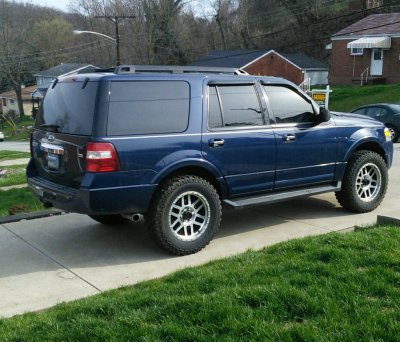
I wanted to lift my Expedition 4" to gain visibility in Pittsburgh traffic mostly. I also wanted to handle the occasional off-road. I used to be a muddin' enthusiast down in Florida so that 'taste' grabbed me a bit too.
After some good research, here I found that the steering knuckle angle suffers on lift, so my mission became to correct that. I found that the 2010 F150 front end is the same as the 2011 Expedition. So, i searched F150 lifts.
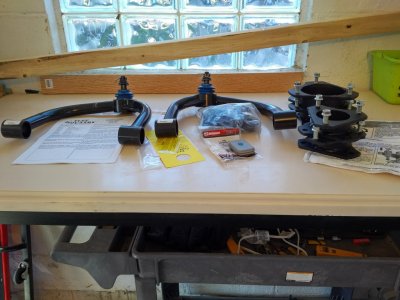
I found the Traxxda strut-top lift to be the easiest to execute while having the best value. I also found that Strutmasters (whom I trust) resells the Traxxda under their own name (apparently).
I found many cheap and expensive knuckle angle correcting replacement upper control arms. Most came with a serviceable (wearable) ball joint. Finally, I located the Tuff Country upper control arms at a reasonable price. they're steel, powder coated and have greaseable urethane bushings. Best of al, they have a pressed, sealed factory type bushing. I filled the top of the press cavity with sealant so that salt wouldn't sit in the recess.
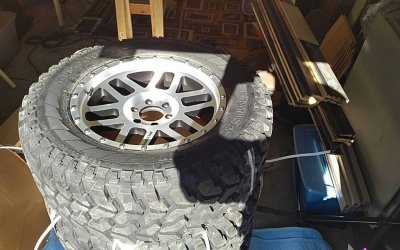
While the Traxda lift says it can accommodate 35's on stock rims, 1) who wants stock rims, 2) they were beat, 3) wanted 20's, 4) love love love Method Racing. Further, I wanted to keep the tread shoulder under the body to accommodate PA law. I could have pushed it, but didn't want the hassle and wider is not better in downtown Pittsburgh. After exhaustive research I found the Method 20's on tire Rack on sale.
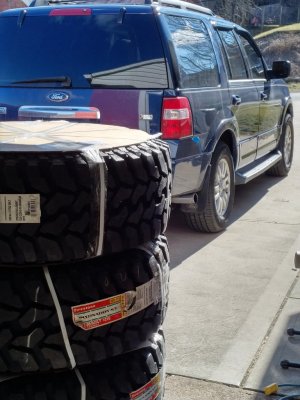
Price, size, and wear were considerations with the tires. So after a ton of pricing and shopping, Tire Rack's price along with the deal on the wheels was a no brainer. hey were shipped with TPMS installed, new lugs, TPMS re-programmer and ready to bolt on.
The front install was a breeze. Actually, the instructions with the Tuff Country arms were for a whole kit for an F150, so it was easy to follow them. The operations took about 1.5 hrs per side.
The rear was a pain. Had to drop the spare, drop the spare heat shield (for bolt access) and use 2 jacks to accomplish the task. My then 13-year-old step-daughter noticed it may be easier to drop the rear lower control arm and was she ever right! Using a jack under the RLCA allowed easy lifting of the strut into place with time to align the bolts.
The tires did rub a bit due to the difference in offset. So the lower front of each valence as cut at roughly a 45 degree at about 3". The same was true to the rear of the arch due to the running board. I've read many have removed the running board, but after some examining, I foud the running board is plastic and was able to cut it with a long blade on the reciprocal saw again at about 45 degrees at 3". Lastly, I found that extreme bump steer, the tires hit the pinch-weld hidden behind the shroud., so I took back the shroud and beat the pinch-weld down and painted over just to be sure no rust. Then put the shroud back. Only rubbing now is the occasional touch on the shroud.
Now that I've found the right pressure in the tires, it rides perfect. They're 10-ply equivalent, so I started at the tire recommended 65 (harsh) and went down in increments of 5 from there and ended up at the stock recommended 35. Shockingly, without any MPG difference at all between the pressures. Yes, I do like the tire hum. Sort of missed it from my Florida days. Next round may be quieter. I'll blow up that bridge when I get there.
So that's my story. I read a bunch of similar stories here and they helped, so now I give back.
FWIW-
Rich


