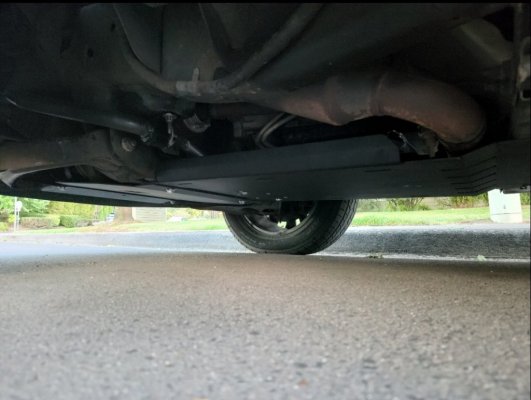
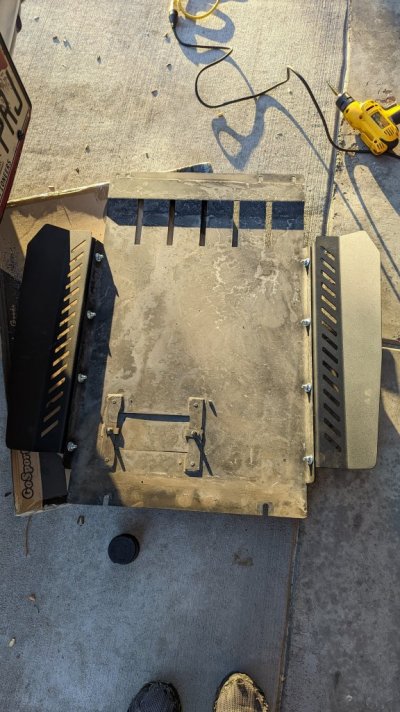
Okay, finally ready to post this. Essentially, here's what I ended up with. At the end of everything, I have the entire F150 kit, but I have changed one of the plates out. Essentially, I initially ordered the 15+ F150 complete package, and for the most part everything fit very well. The only piece I had issues with was the first plate (from intercooler back to second plate). It seems as though it was about half an inch too short, it actually still worked but I didn't like how it fit. The brackets were also fine but as you'll see in the pictures, I modified them a bit. For me, I found that the first plate was perfect when I used the 09-14' model year front plate, with the other three pieces as part of the 15+ kit. RCI will build this out for you if you contact them, they very well might remember working with me.
I still had to drill a few holes and modify a few things just to get it how I want it, but no one really would HAVE to in order to make it work. here are some pictures to help, with some descriptions.

In Picture One: you can see in this picture, at the red arrow, where I cut about an inch to an inch and a half off the back of the bracket. I didn't like that it would sit on top of the intercooler bracket and I didn't want the intercooler bracket to sit lower. I also drilled a whole at the orange arrow and put in a second self tapping bolt, just for added strength and to prevent the bracket from rotating at all.

In this second picture, you can clearly see the required bend in the third plate (red arrow), that connects to the cross member, if that's not in there, you have the wrong third plate. The orange arrow is where I added a third hole and bolt, into a factory speed nut, as there was already a spot there in the cross member where the speed nut was easy to install.

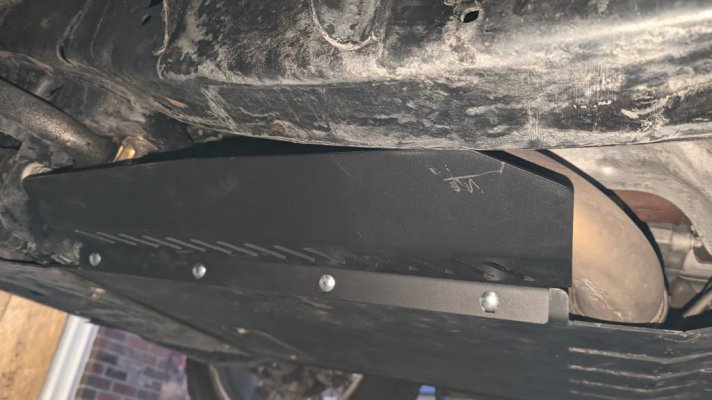
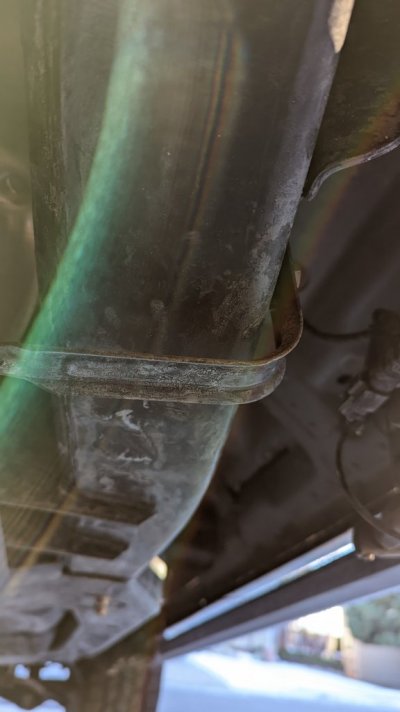
This picture is the final plate, that covers the tcase. Again, the red arrow shows the critical bend in the plate that makes sure it sits properly between the crossmember and the frame on the right. the orange arrow shows where I drilled a second hole and added another speed nut. the normal hole (towards the rear of the vehicle) lined up fine for me, but I added another one to be extra secure.

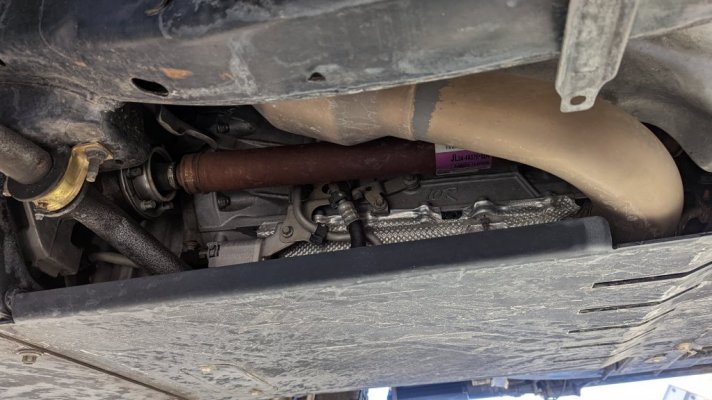
This picture shows the second and third plates coming together on the crossmember between the suspension components. you can see the access panel for the oil drain plug. this is where I put a fumoto valve, to make it so the oil always drains straight down. these two bolts line up just fine.

This picture shows the first plate and the second plate coming together. In this picture, you can see where I added a third bolt in the center into the cross member with a speed nut. Since the two plates site about 1/3rd of an inch or so away from the cross member, I put an aluminum spacer in there, to make sure the plates to rattle against the chassis and to make it more rigid. Not required but it helped me feel better. The red arrow again shows a critical bend in the second plate, that must be there for the plate to clear the mechanical/tranny pieces.
Hope that helps a little, feel free to share links for this if you need to when it comes time to order if you do, but ultimately this is how things went together for me, and the folks at RCI were very helpful and accommodating while working through this.