"Thunder" 1998 Expedition Build Thread .... fixed pics!!

Disclaimer: Links on this page pointing to Amazon, eBay and other sites may include affiliate code. If you click them and make a purchase, we may earn a small commission.

OP
OP
MISTERgadget

MISTERgadget

Full Access Members
Joined
Oct 14, 2014
Posts
227
Reaction score
201
Location
Miami
Did you have any rust in the radiator support bracket. If so how did you deal with it?

Any problems with leaks around the windshield or rear fixed window seals?

Mine is a Burgundy Florida car and the top paint is pretty baked out. I am considering an entire repaint and mechanical restoration of the vehicle. I have 93K on mine. Any engine mods will be bolt on.

Just would like to enjoy it a few more years.

Seeing as the new models lack a V8 and are hideously complex and expensive, restorations make sense.

25% of my toolbox are wrenches and sockets found in the street or under my hood left by careless mechanics.

Mine had some surface rust that was wire wheeled off and rust preventative was sprayed into all the cavities. I live in FL and the Expedition has been in my family since new and garaged the majority of its life, so not really one that would have had much rust. Likewise, it's been babied and garaged, never any issues with window or windshield seals.

The socket there wasn't quite a careless mechanic, but I'll show the details in another post.

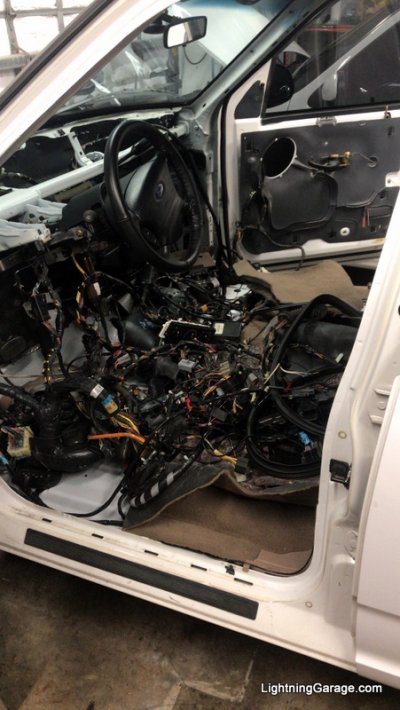
I found a factory subwoofer at the local pull a part for $7. Are all the 2000/1st gen models, pre wired for the Sub or do they use a different harness. I am only asking, because I see you just pulled the harness.

They're different. Even things as minor as the mirror turn signals are not wired in on XLTs but they are on EBs. I learned that the hard way and it'll be covered as the build progresses.
 

toms89

technical advisor
Joined
Mar 13, 2011
Posts
5,177
Reaction score
440
Location
MD
Nice build ! Can't wait to see your progress
 
OP
OP
MISTERgadget

MISTERgadget

Full Access Members
Joined
Oct 14, 2014
Posts
227
Reaction score
201
Location
Miami
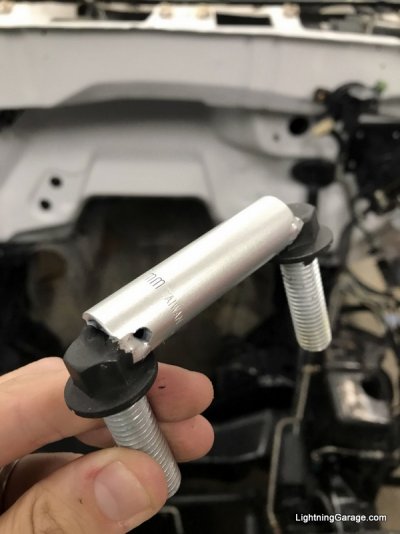
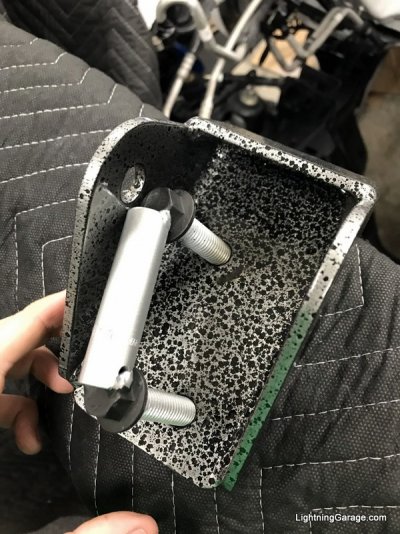
Ok, so a little explanation on the 10mm socket gag...

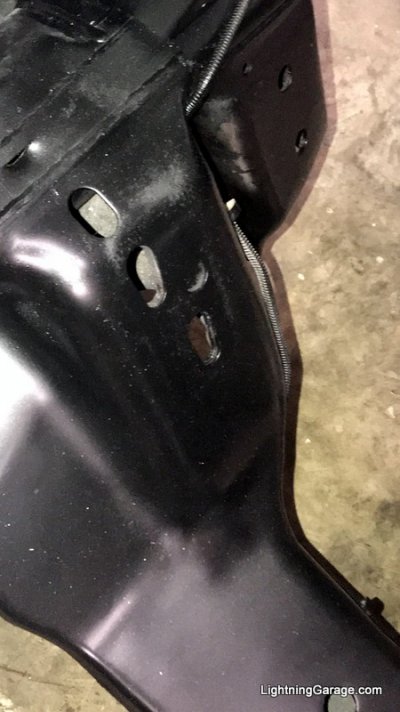
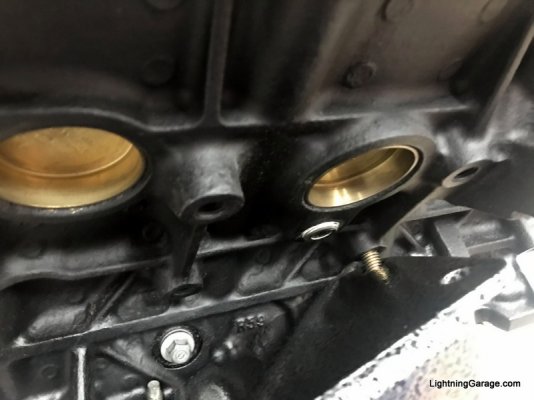
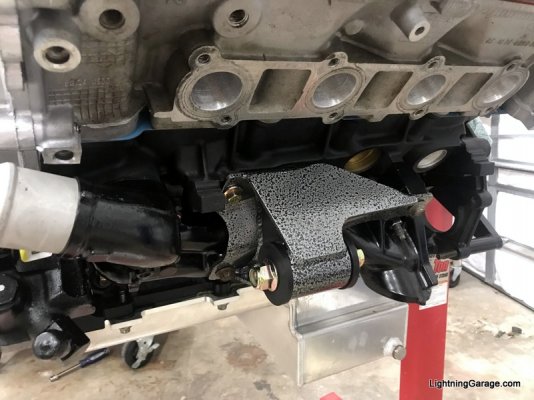
On the OEM "cups" on the framerail for the motor mounts, there's two studs pressed in on the passenger side that you then tighten nuts onto from below. The go into these two slots in the crossmember.

IMG_3085.jpg

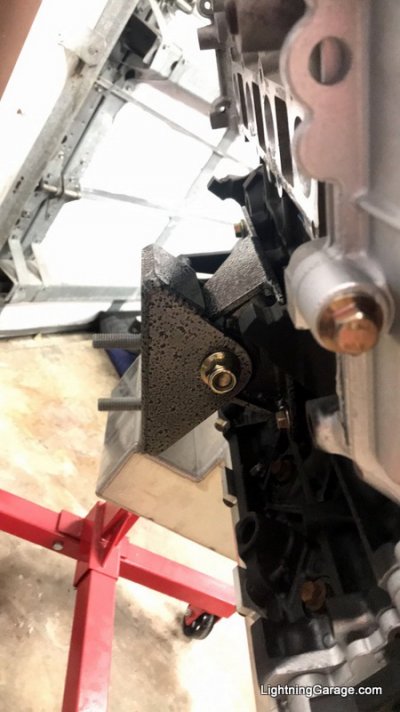
The AutoFab motor mounts use a nut and bolt, but it makes certain procedures a little tricker. Most of the time, rather than loosen the motor mount bolt, you actually want to pull it or drop it in all together, which is why the pressed in studs are easier.

With the upper mount in place, it's impossible, to reach the bolt heads.

IMG_3084.jpg

I had jumped the gun and not welded the bolts into the mount before powdercoating, so the next best thing was to weld something across them to hold them both in place... I was going to use a piece of flat stock but then this idea hit me and seemed like a fun little easter egg in there.

IMG_3051.jpg

IMG_3052.jpg

I triple checked that I had remembered the 3/8 plug in the coolant passage behind the motor mount... learned the hard way on my Lightning once when I started to fill it with coolant and it went straight to the ground.

IMG_2840.jpg

Got it all buttoned together on the drivers side as well

IMG_2905.jpg

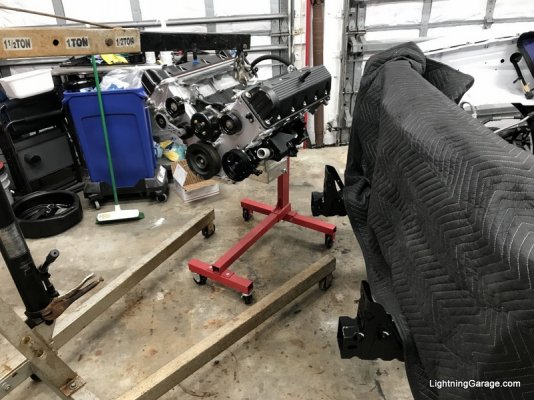
Finally loaded it up on the hoist to go in!

IMG_3055.jpg

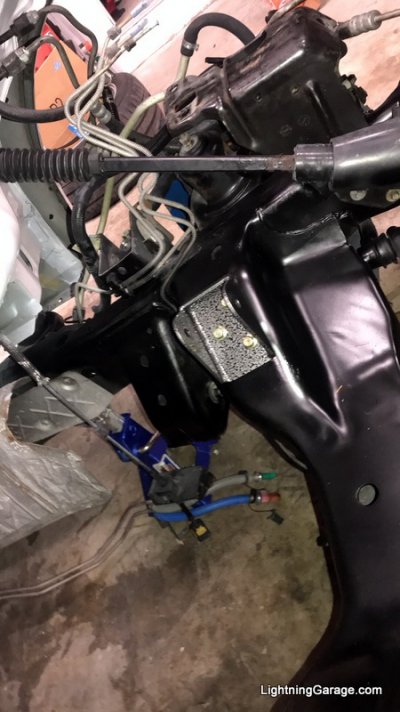
Driver side cup attached to the frame as well

IMG_3086.jpg

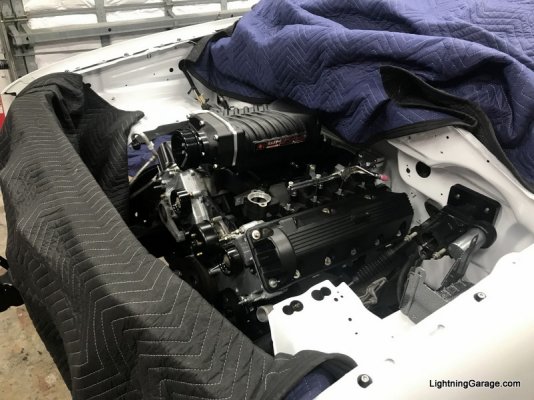
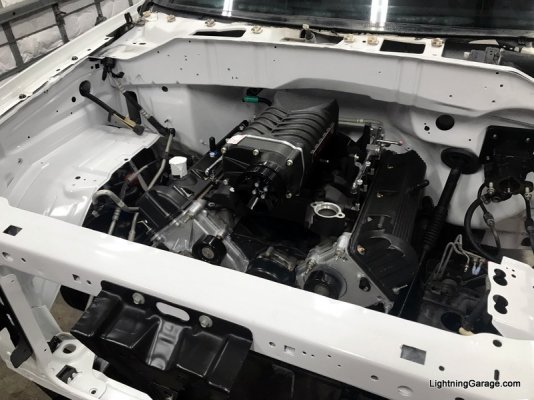
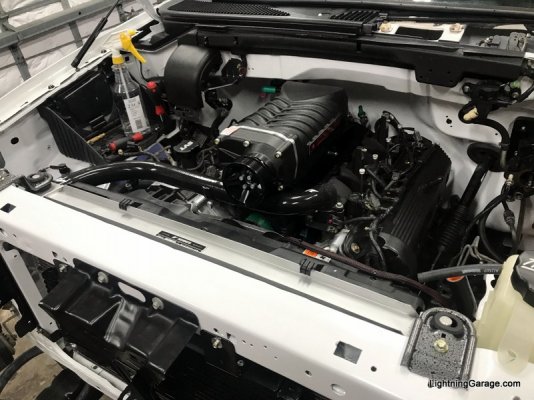
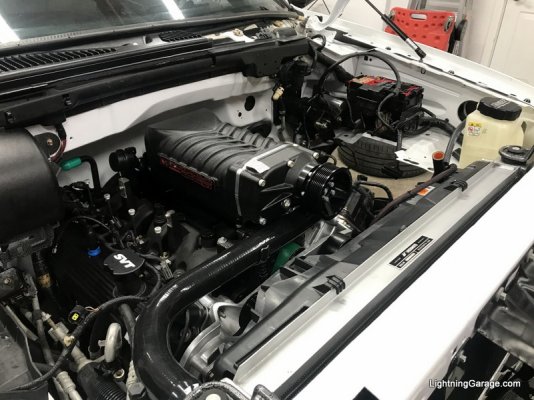
And of course, I had to at least drop the blower on top if for nothing other than the photo once it was in!

IMG_3087.jpg

IMG_3088.jpg
 

JamaicaJoe

Full Access Members
Joined
Dec 20, 2020
Posts
640
Reaction score
249
Location
Oviedo FL
There looks to be enough room there for two more cylinders!

Sent from my SM-T350 using Tapatalk
 
OP
OP
MISTERgadget

MISTERgadget

Full Access Members
Joined
Oct 14, 2014
Posts
227
Reaction score
201
Location
Miami
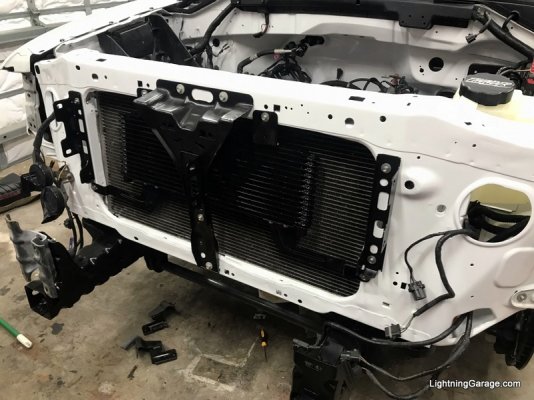
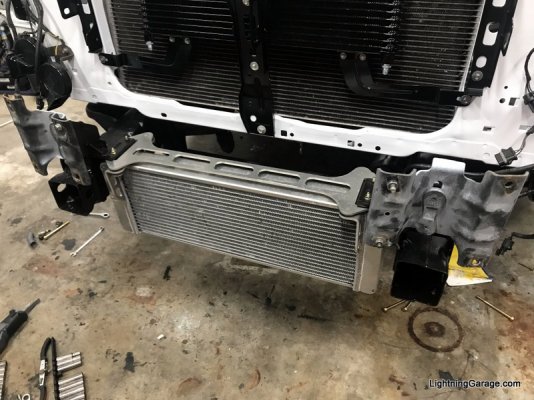
Once the motor was in, I started putting everything else in the engine bay around it. Got my Superduty trans cooler mounted, and the header panel brackets on.

IMG_3170.jpg

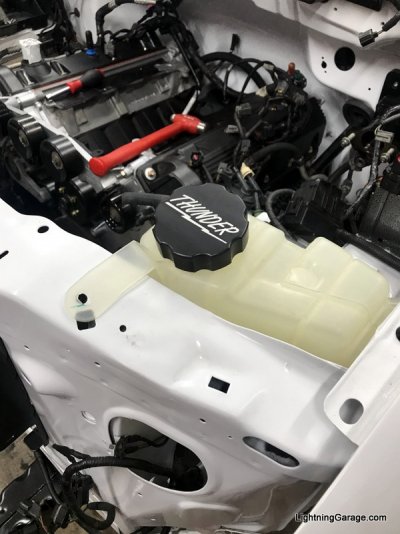
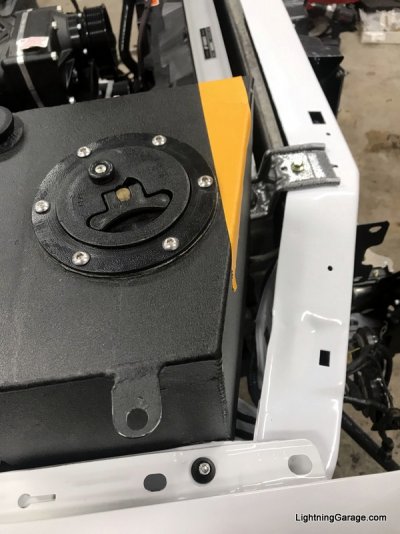
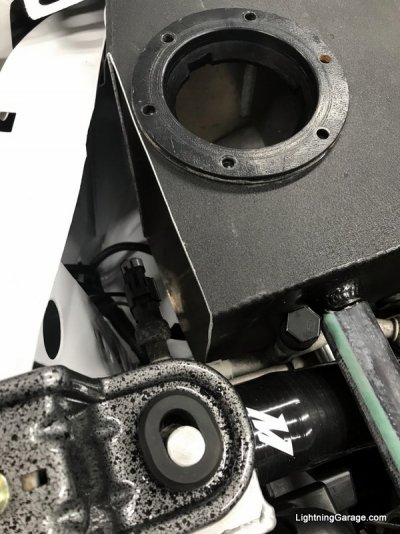
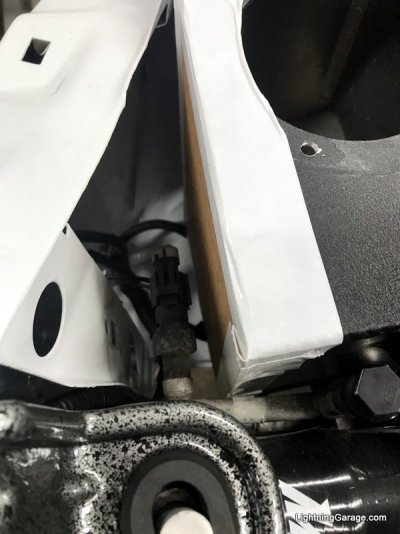
Couldn't help myself putting the radiator tank in right away with the custom lid on it. (Even though it was still gonna have to come out a few times)

IMG_3171.jpg

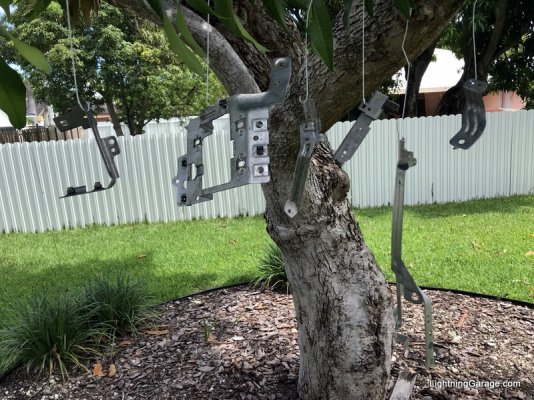
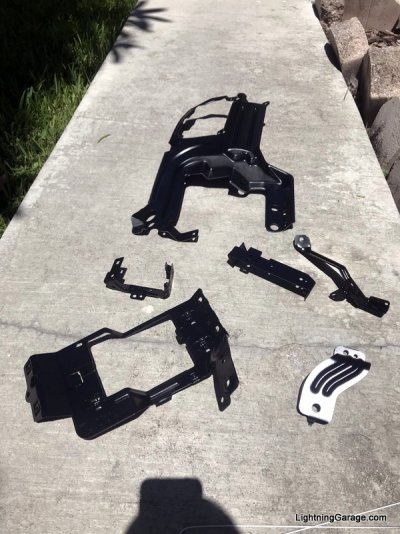
Still making progress on getting the dash and wiring back in as well, I took a bunch of the dash brackets into my high tech paint booth. The largest one was unfortunately just too cumbersome to disassemble and the dash a bit too brittle with age to risk tearing that all the way down.

IMG_3063.jpg

and into the oven for curing they went

IMG_3076.jpg

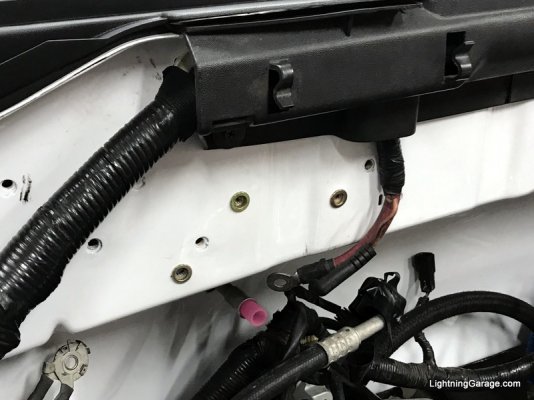
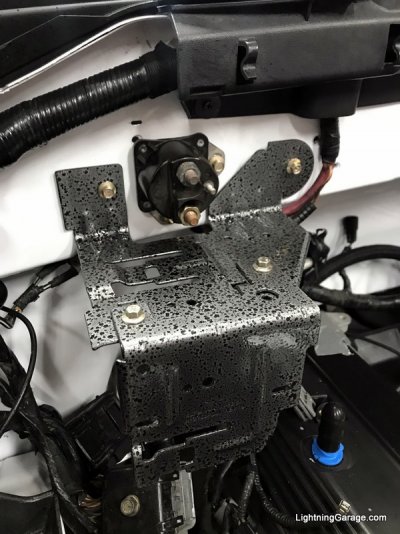
Back in the engine bay, some of the brackets for the 99+ wiring only lined up with some holes and not all, so a few rivnuts went in to give us a solid mounting surface.

IMG_3182.jpg

now it's all right at home

IMG_3184.jpg

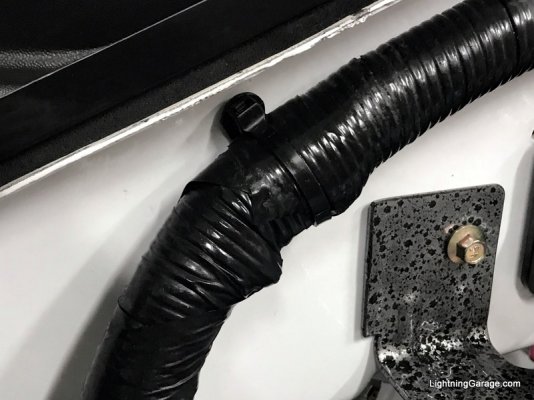
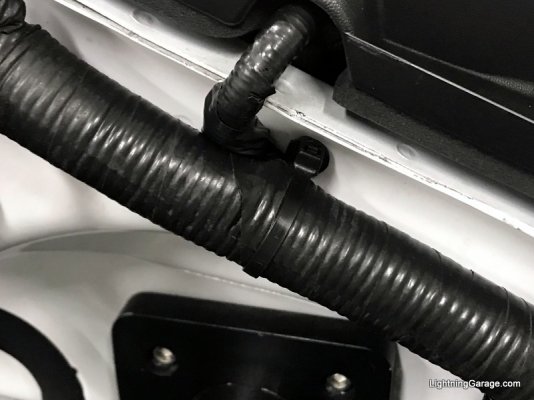
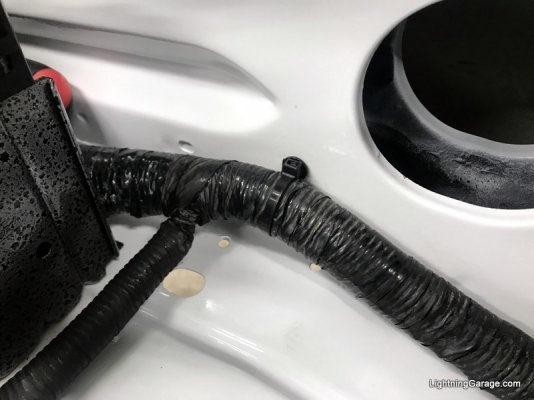
One of my favorite little touches was using zip ties with push mount heads on them to keep the wiring harness tidy

IMG_3197.jpg

IMG_3198.jpg

IMG_3199.jpg
 
OP
OP
MISTERgadget

MISTERgadget

Full Access Members
Joined
Oct 14, 2014
Posts
227
Reaction score
201
Location
Miami
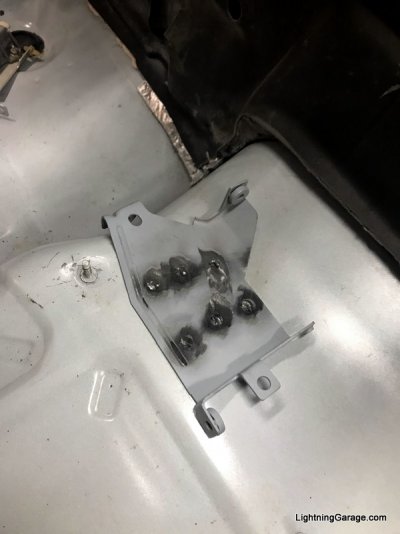
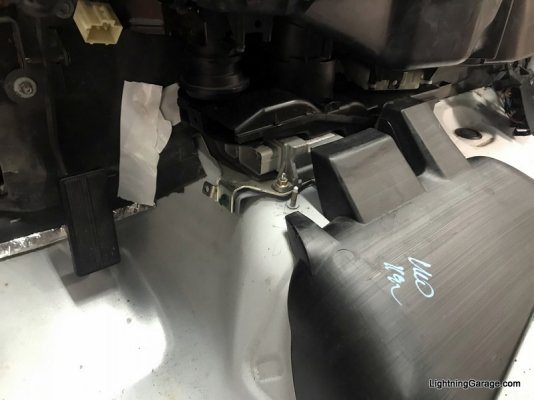
In the interior, a few hurdles popped up in converting to the 2000 dash harness I had. The first was the RCM (airbag) module in a different location, had to weld that bracket to the floor.

IMG_3160.jpg

Now all put back together, the lower AC ducting and the bottom attachment to the HVAC box were different from my 98 ones as well, to accomodate the module, so I used the ones from the donor.

IMG_3173.jpg

Intercooler heat exchanger is mocked up

IMG_3208.jpg

Radiator is back in, with the freshly powdercoated brackets

IMG_3237.jpg

IMG_3249.jpg

IMG_3250.jpg

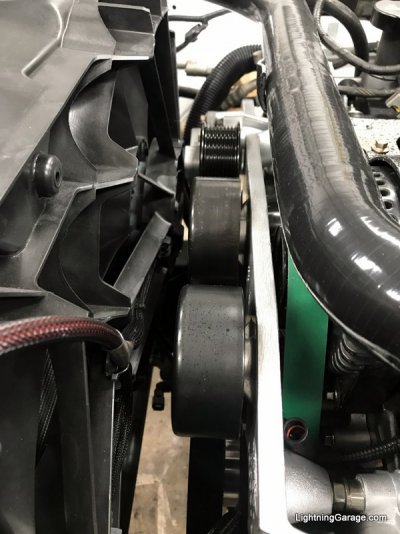
Tight fit with the late model F150 e-fan and all the supercharger goodies, but it works!

IMG_3238.jpg

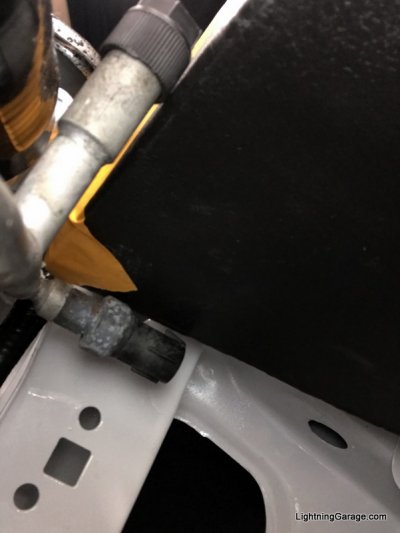
Wasn't so lucky with my JLP intercooler tank for Lightnings. Turns out the Expeditions have one of the AC switches oriented differently on the lines.
IMG_3247.jpg

Still a long way off from being all the way in....

IMG_3248.jpg

Nothing some trimming can't fix

IMG_3289(1).jpg

And I'll just have to put a new front on it

IMG_3290.jpg

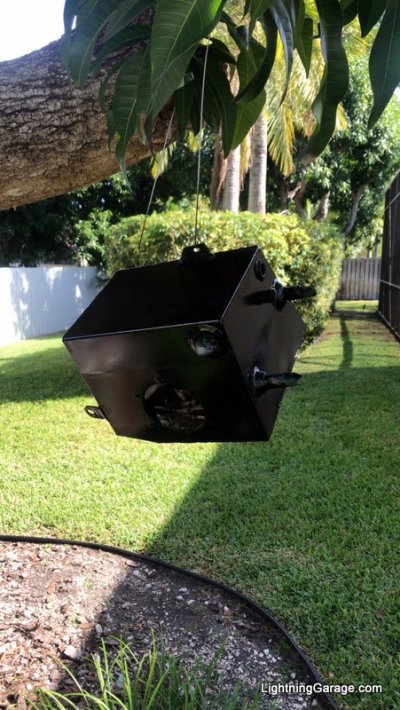
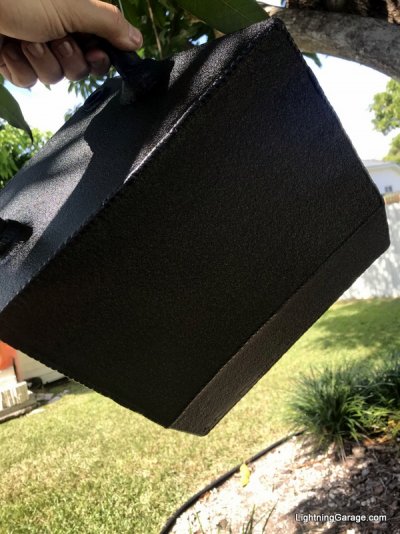
With the new front panel on, it went... you guessed it, back to my paint booth

53FAAE12-A5B8-494D-A8D4-D9D199FFE819.jpg

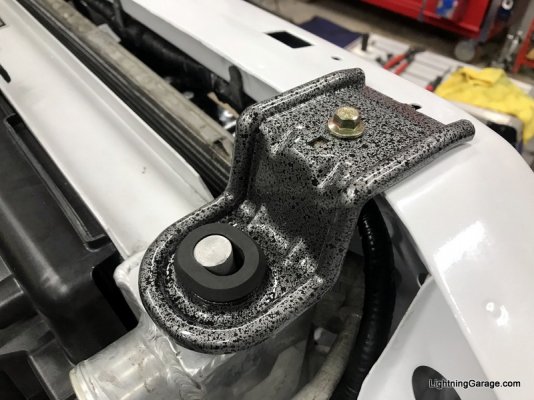
I love the VHT texture black... makes all this aftermarket stuff look "maybe it coulda been OEM"

IMG_6044.jpg

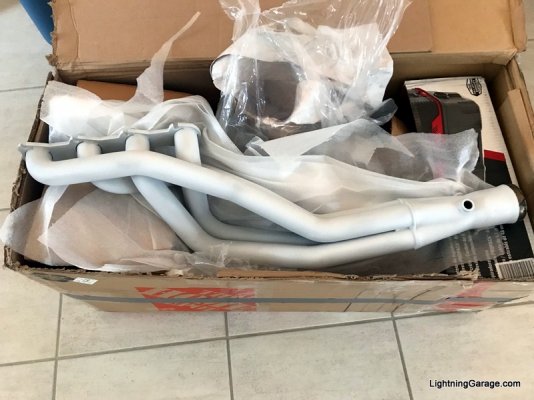
Around this time I got my headers back from Swaintech with their White Lightning ceramic coating

IMG_3299.jpg
 
Last edited:
OP
OP
MISTERgadget

MISTERgadget

Full Access Members
Joined
Oct 14, 2014
Posts
227
Reaction score
201
Location
Miami
Now it was finally time to at least get all the harnesses plugged in and see what happens... it wasn't pretty, but at least I could test a few things

322F957C-C804-469E-A5DA-E7A79807C05C.jpg

IMG_3280.jpg

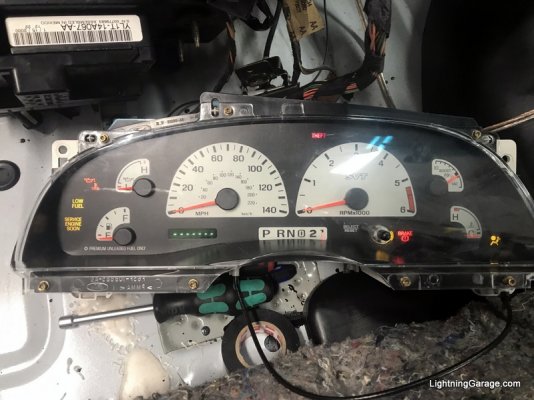
We had power, and I had expected to see all the idiot lights on, but all dashes for the odometer wasn't quite right.... then I figured, let me test a few of the basics, see if the horn works, or the wipers turn on.... and nothing.... so at this point, I figured out the F150 fusebox/engine bay harness and the Expedition dash harness were not going to be friends....

Took a look at the wiring diagrams and there was over 80 pins that were different between them. The big issue was that even a lot of basic things like brake lights and the horn circuit were all different. Many of the things going to the rear for example run through the body on an Expedition, while on an F150 it goes through the connectors under the airbox and down the framerail. These harnesses were not going to play nice together without a lot of work, and then I would have such a custom harness that it could be nearly undiagnosable or unrepairable in the future, at least never by anyone who wasn't me. Any repair requiring a new harness would mean a ton of work replicating all my changes...

By now, we were taking our summer vacation and I had to put everything away neatly (or as neatly as I could) for a little bit, while we took a break to relax and I had some time to brainstorm the best way to go.

IMG_3295.jpg
 
Last edited:
OP
OP
MISTERgadget

MISTERgadget

Full Access Members
Joined
Oct 14, 2014
Posts
227
Reaction score
201
Location
Miami
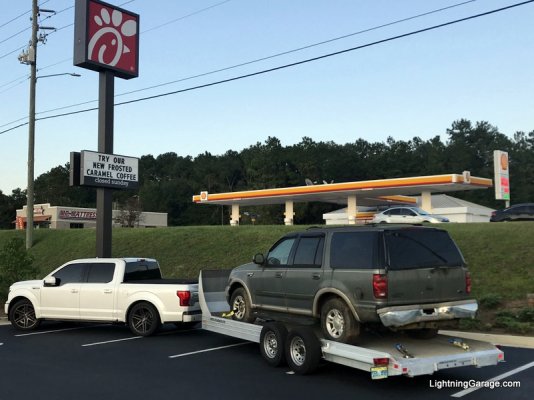
So, a few weeks later, back from vacation and after a near miss from a hurricane, and lots of time spent scouring some wiring diagrams and manuals... the plan was in place. Time to load up and get it done!

dEgE6CK.jpg

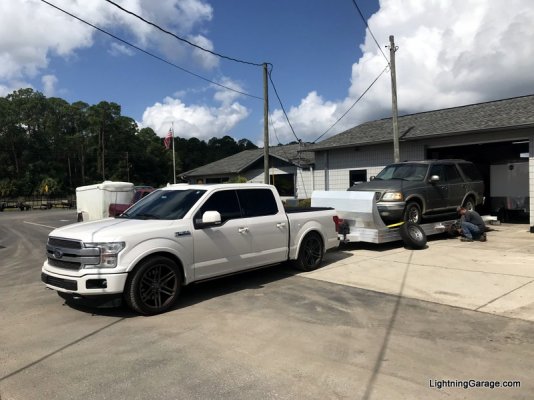
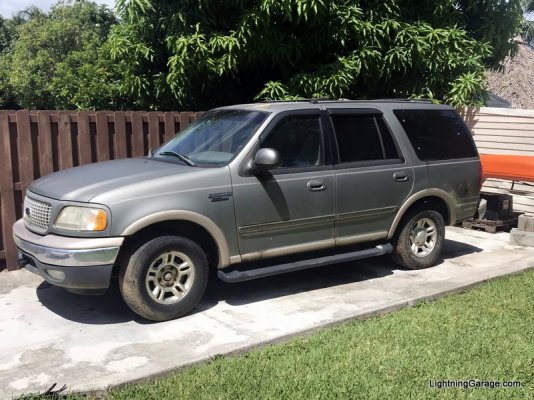
After lots of research and some more trial and error with the parts I had on hand, I kept coming back to the same conclusion. Not only did I need the complete underhood harness and the dash harness, as well as the security/door harness, as well as the primary corresponding modules, thinking mainly of the various ones under the dash - GEM, RCM, Security, and the EVO/Ride module... but to make the process as painless as possible and increase my odds of success, I realistically needed to be able to go back to the same vehicle and get connectors, clips, or other odds and ends. So, for $600 I had a donor with all the right bits! 1999, 2wd, 5.4, 4R100. In retrospect, it being a 1999 was a win-win for a couple of other things as well, as it was the first year of the new wiring setup and a couple of holdover items were still compatible with some hardware on my 1998.
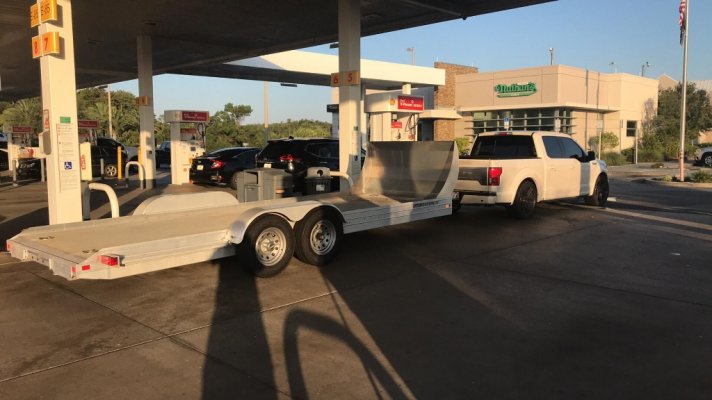
IMG_4028.jpg

The return home was not uneventful as the trailer did decide to eject a tire on I-75!

IMG_4038.jpg

Got it home and it was time to tear it down! My hope was, by the time I finished parting everything out, I may gotten have the parts I needed for free or nearly free

IMG_4052.jpg

IMG_4054(1).jpg

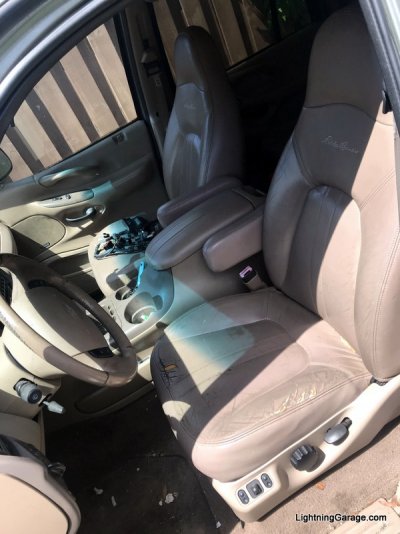
Looks like it had definitely lived a rough life

IMG_4055(1).jpg

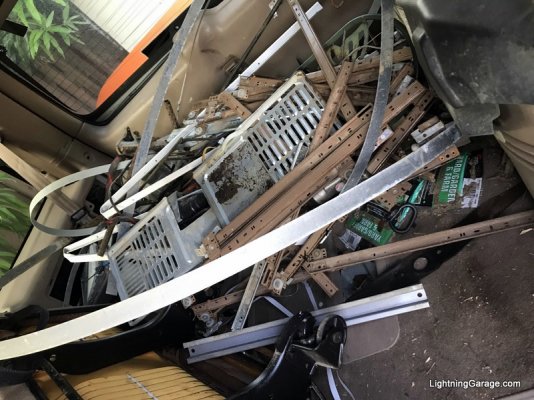
interesting collection of scrap metal in the back

IMG_4061.jpg

Lucky for me, it still had cats on it to sell!

IMG_4152.jpg
 
OP
OP
MISTERgadget

MISTERgadget

Full Access Members
Joined
Oct 14, 2014
Posts
227
Reaction score
201
Location
Miami
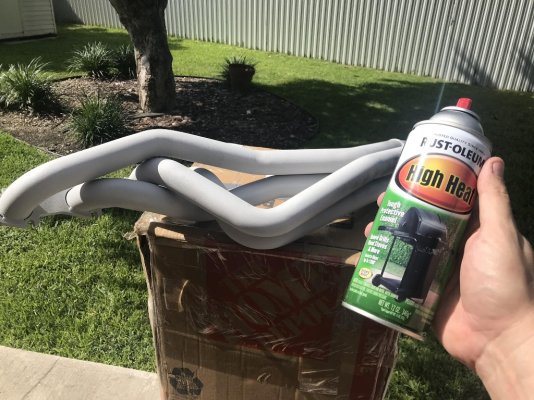
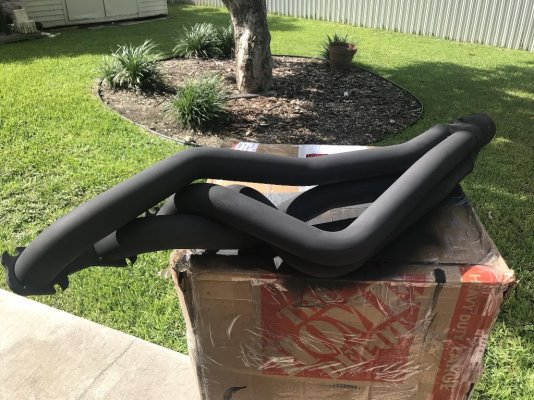
Back to the paint booth as well with my headers. The white Swaintech looks great when new but quickly gets gross just from installing it, never mind how bad it looks after some road time, so they got a few coats of high temp black for cosmetics.

3APsr1S.jpg

u85nvK9.jpg
 
Top