You are using an out of date browser. It may not display this or other websites correctly.
You should upgrade or use an alternative browser.
You should upgrade or use an alternative browser.
"Thunder" 1998 Expedition Build Thread .... fixed pics!!
- Thread starter MISTERgadget
- Start date
Disclaimer: Links on this page pointing to Amazon, eBay and other sites may include affiliate code. If you click them and make a purchase, we may earn a small commission.
MISTERgadget
Full Access Members
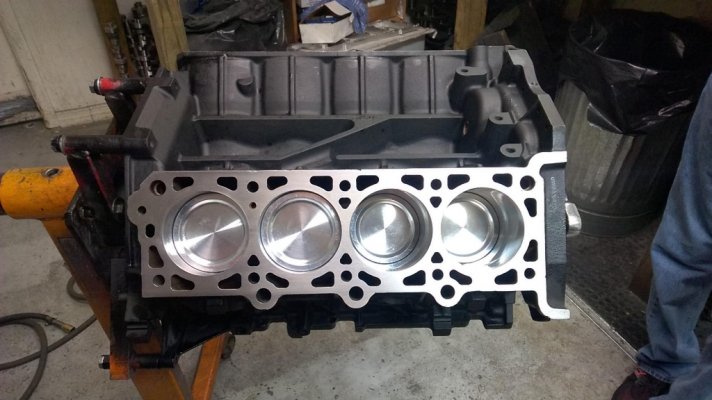
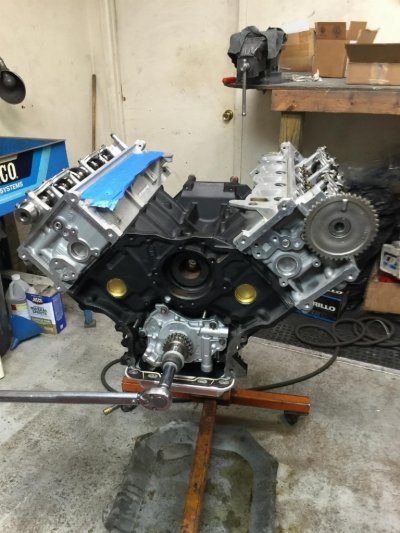
Builder sent me this picture and says it'll be all buttoned up by the end of the day!
Full specs on the motor:
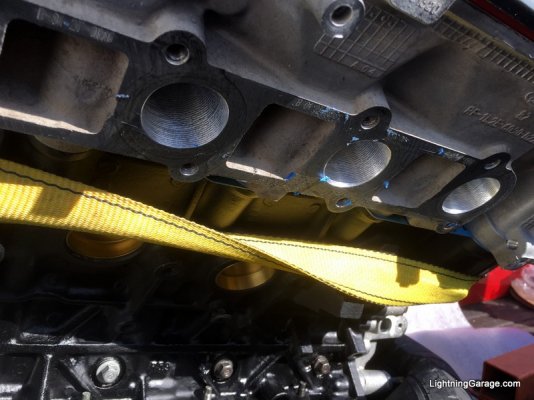
Iron 5.4 block bored .020" over
ARP Main studs, side bolts
Ford Racing Cobra Jet Crank
Manley H-beam rods with ARP2000 rod bolts
CP forged pistons with coated skirts
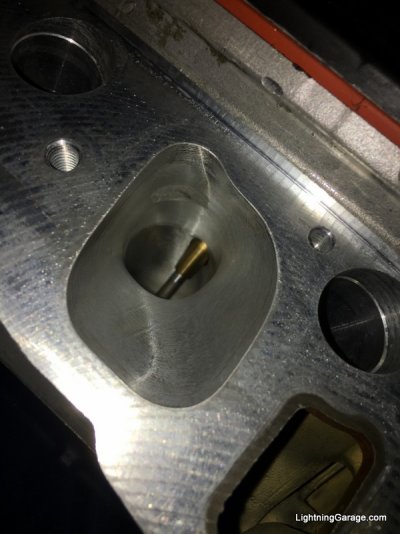
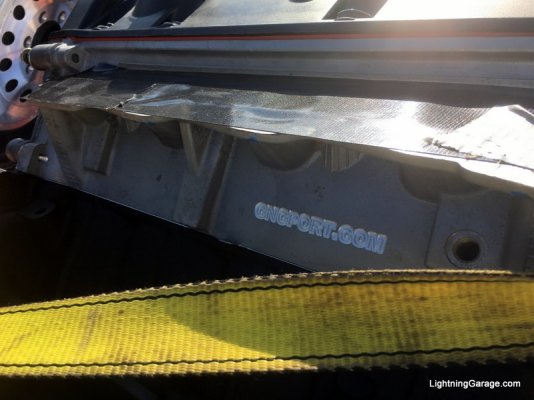
Romeo 8-thread ported PI heads
1mm oversize intake and exhaust valves
CNC ported by Performance CNC (cncport.com)
Crower springs and heavy duty retainers
Custom Bullet cams spec'd by Todd Warren
Moroso oil pan
Ford Racing oil pump (13-14GT500 spec) with Boundary billet steel oil pump gears
Ford OEM timing chains, guides, tensioners

Last edited:
MISTERgadget
Full Access Members
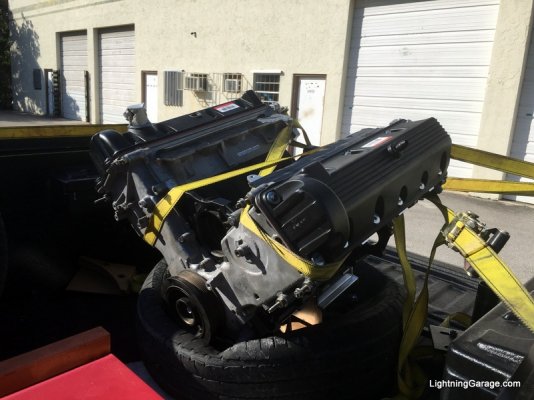
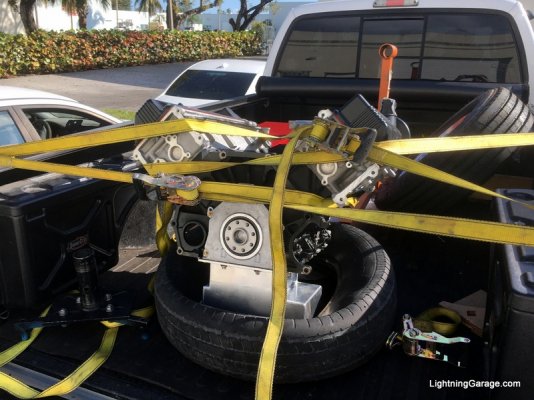
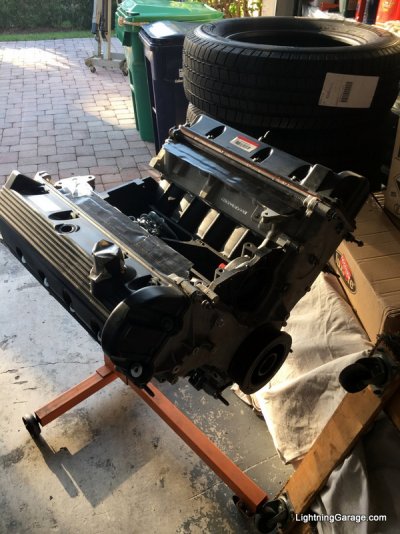
One in-between update before I get to more juicy stuff in the coming weeks. I will be picking up the motor this weekend!
The exhaust system had a some drone around 1700-1800 rpm that really wasn't bad from the driver's seat, barely noticeable. Unbeknownst to me - in the 2nd and 3rd rows, especially on the passenger side - oh wow, was the drone bad, it seemed to bounce off the glass and just kinda zonked your skull. I had never actually ridden in the backseat of the truck until the other day when my sister joined my wife and I in the truck and mentioned it, and yep it was bad. Off to Danny at SFMC to the rescue, of course I didn't want to mess up the gorgeous exhaust he built for the truck in the process of zappping the drone. I had him stainless TIG weld in two Vibrant 3" Ultra Quiet Resonators, the drone is gone and the tone smoothed out without making it too quiet, and as usual they are beautifully tucked in and integrated to the rest of the exhaust.
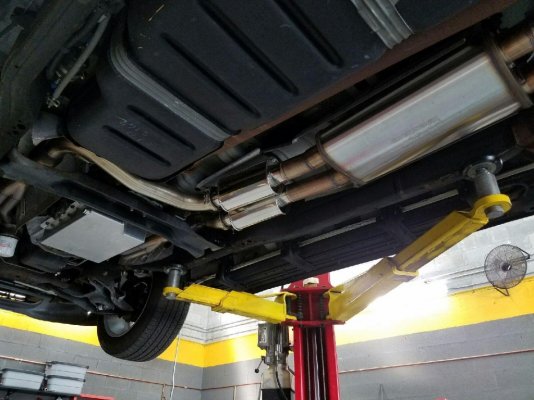
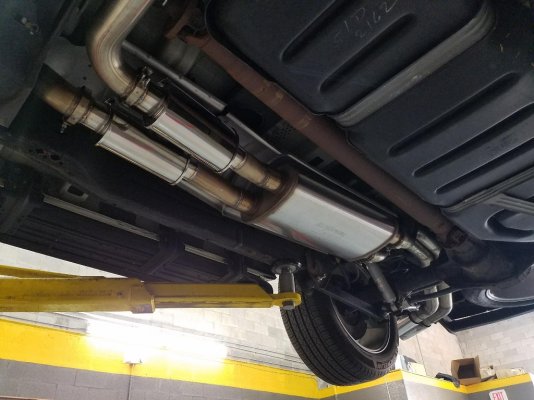
The exhaust system had a some drone around 1700-1800 rpm that really wasn't bad from the driver's seat, barely noticeable. Unbeknownst to me - in the 2nd and 3rd rows, especially on the passenger side - oh wow, was the drone bad, it seemed to bounce off the glass and just kinda zonked your skull. I had never actually ridden in the backseat of the truck until the other day when my sister joined my wife and I in the truck and mentioned it, and yep it was bad. Off to Danny at SFMC to the rescue, of course I didn't want to mess up the gorgeous exhaust he built for the truck in the process of zappping the drone. I had him stainless TIG weld in two Vibrant 3" Ultra Quiet Resonators, the drone is gone and the tone smoothed out without making it too quiet, and as usual they are beautifully tucked in and integrated to the rest of the exhaust.


Last edited:
MISTERgadget
Full Access Members
MISTERgadget
Full Access Members
MISTERgadget
Full Access Members
Had some other goodies arrive too, one of the ones I was most excited about are the custom Speedhut gauges. Fuel Pressure, Oil Pressure and Boost! These will be critical for monitoring the new motor and making sure everything is in tip top shape. All of them are electronic gauges with the ability to recall peak levels and set alerts if any of the parameters go above or below a certain level. For example, if boost gets too high or fuel pressure too low, they will light up to alert me, and all of them are electronic gauges, so I can use the 0-5v outputs to tie into the datalogger reading the OBD2 port and have boost and fuel pressure side by side with everything the stock ECU is seeing in my datalogs.
In addition to these, plans call for an Innovate dual wideband in a steering column pod to keep tabs on air-fuel ratio. I'll be installing everything either just before or at the same time as the motor to keep an eye on all vital signs.
They will be mounted in an MMCustomWorks 3 gauge radio surround pod, trying to keep it as clean and OEM looking as possible.
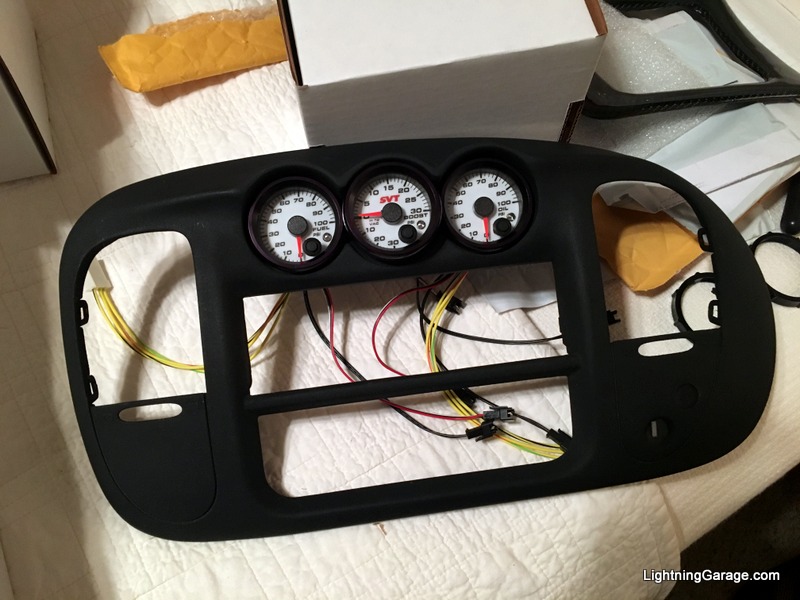

Last edited:
MISTERgadget
Full Access Members
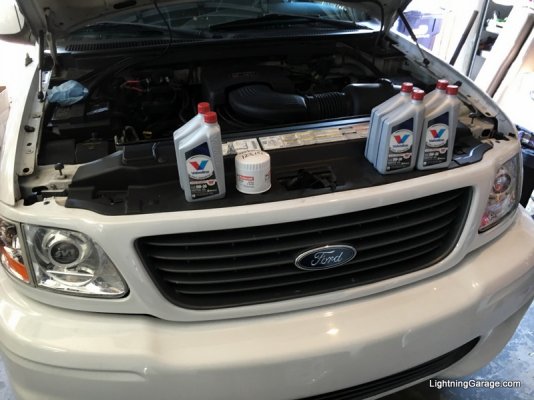
She got an oil change since it'll still be a little while till the new motor goes in. Burning some oil and replacing the PCV valve didn't fix it, so I'm trying the Valvoline Max Life to stretch out a little more from the NPI 5.4 in there now.
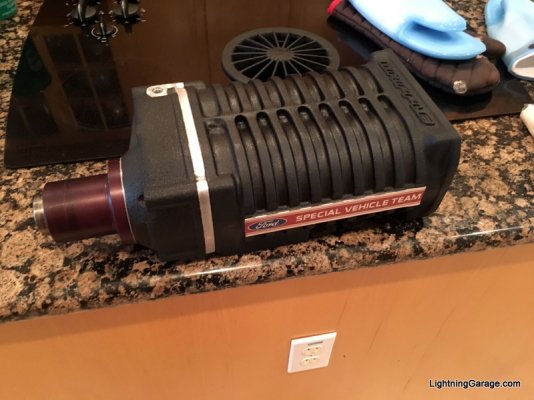
Of course I couldn't resist mocking up a bunch of the new motor on the engine stand. A lot of powdercoat, paint and detailing still to go into this before it's ready. You'll notice I did manage to trade the polished Whipple for a black one, with cash on top too which is nice for getting the project going along.
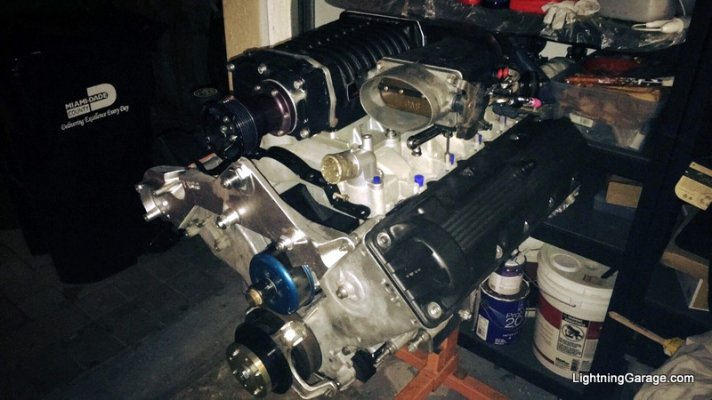

Of course I couldn't resist mocking up a bunch of the new motor on the engine stand. A lot of powdercoat, paint and detailing still to go into this before it's ready. You'll notice I did manage to trade the polished Whipple for a black one, with cash on top too which is nice for getting the project going along.

Last edited:
MISTERgadget
Full Access Members
Two big updates to post!
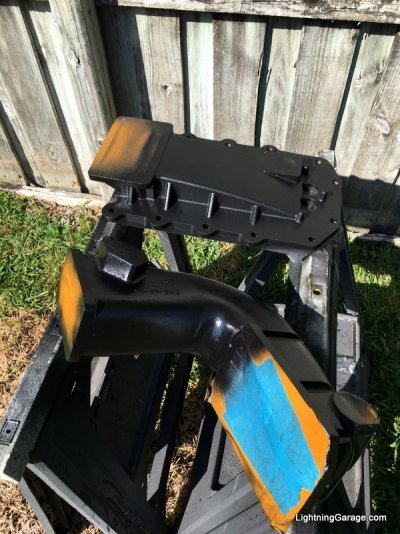
First, the slightly more boring stuff - took advantage of some down time to clean up and detail the top end now while it's all easy to reach.
After everything was cleaned up, hit with some NAPA aluminum brightener to etch the surface and masked, it got a coat of VHT self etching primer and then VHT Wrinkle Plus in fairly light coats to try and keep it more on the "texture" side of wrinkly.
Unfortunately the last two pictures of it all mocked up are kind of dark, I'll get some better ones!
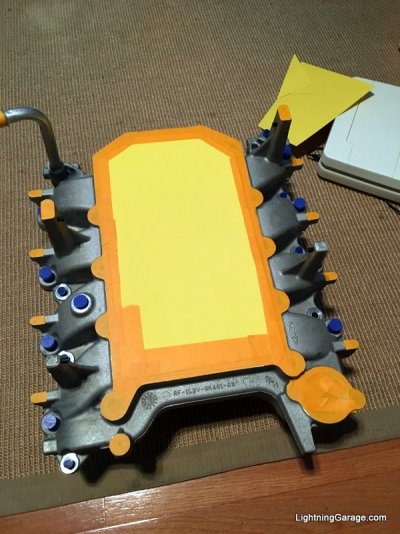
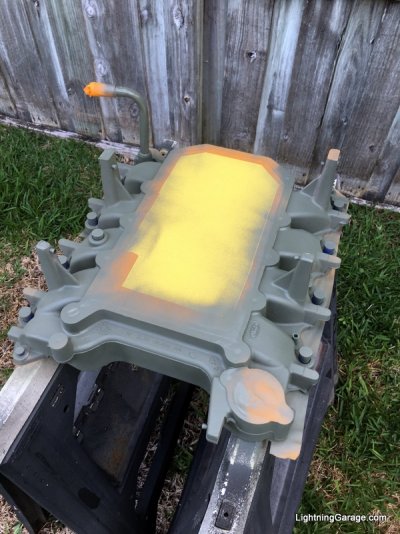
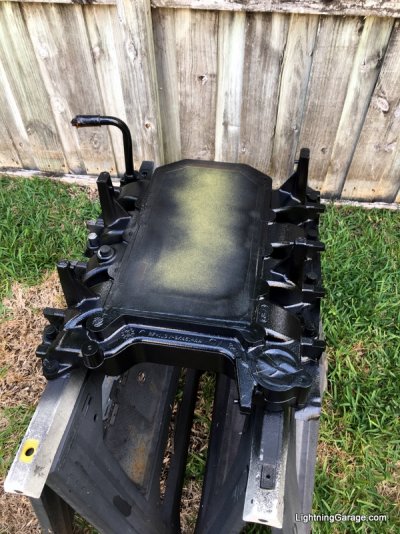
The finished product!
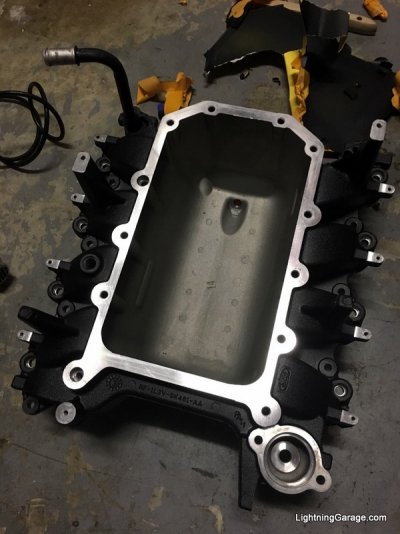
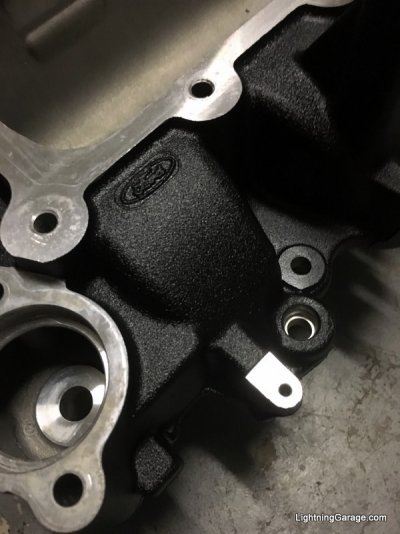
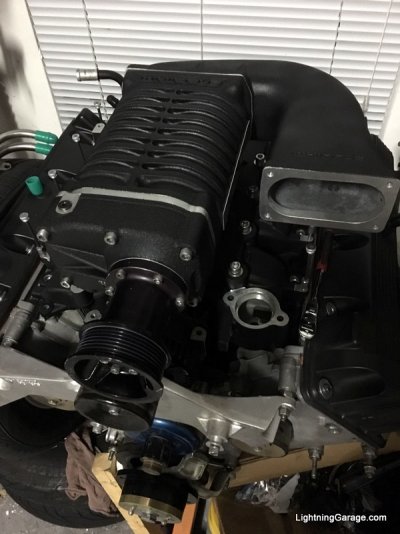
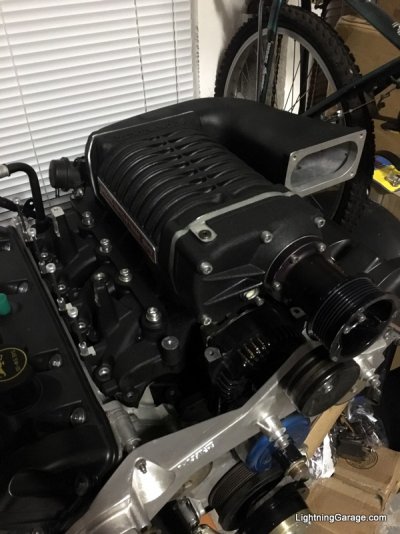
First, the slightly more boring stuff - took advantage of some down time to clean up and detail the top end now while it's all easy to reach.
After everything was cleaned up, hit with some NAPA aluminum brightener to etch the surface and masked, it got a coat of VHT self etching primer and then VHT Wrinkle Plus in fairly light coats to try and keep it more on the "texture" side of wrinkly.
Unfortunately the last two pictures of it all mocked up are kind of dark, I'll get some better ones!


The finished product!


Last edited:
MISTERgadget
Full Access Members
WTF? That was it? Call me.
There’s a bunch more coming, that’s what all the blank posts holding space are for.
Similar threads
- Replies
- 8
- Views
- 760
- Replies
- 1
- Views
- 2K
- Replies
- 1
- Views
- 1K
- Replies
- 11
- Views
- 1K
Latest posts
-
-
-
-
-
2006 EB Rear HVAC Inoperable / Fuse, Relay, Resistor Good
- Latest: 2006Overlander
Members online
Total: 909 (members: 4, guests: 905)


