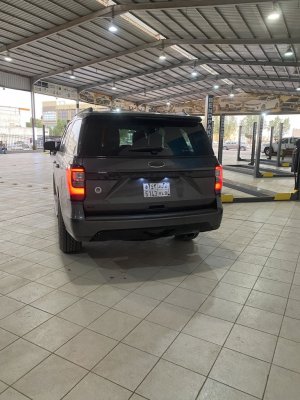
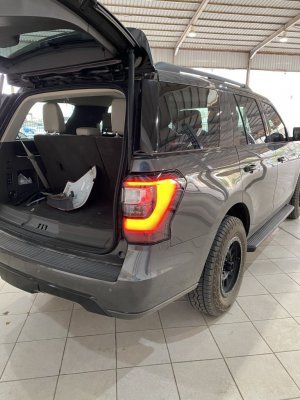
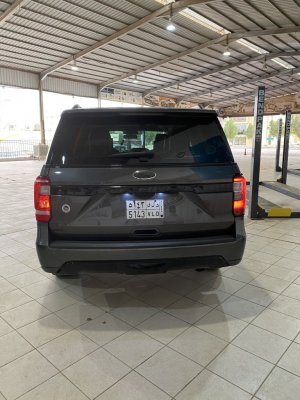
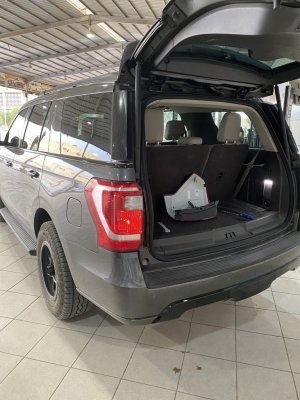
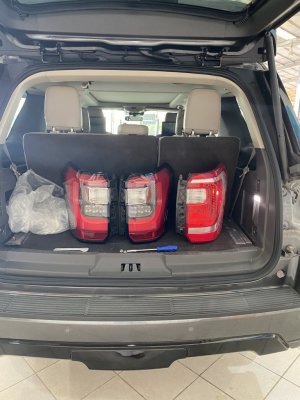
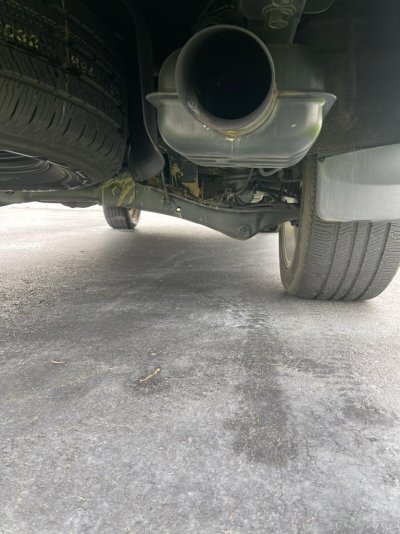
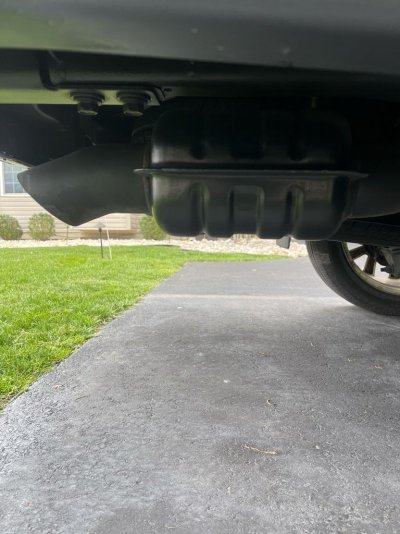
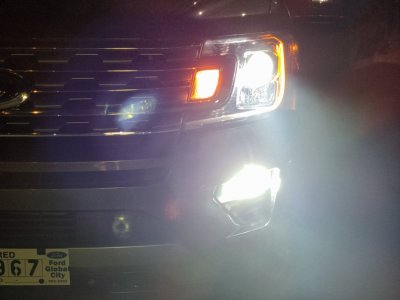
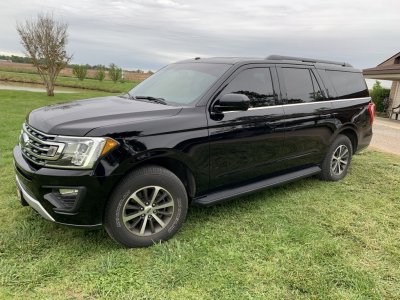
So my company decided to have a "Earth day" day off Friday. So I decided to use my time hanging out underneath my Expy all day. I managed to get a lot done, considering I was doing it all solo the entire day. I spent the day installing the SPD turbo adapters, downpipes, and a Magnaflow stainless cat back (part number 19424). Now I will say, as with everything I'm seeing, the price of the MF kit is like $200 more than I paid for it. And if you talk to the SPD folks, they are running ragged right now with the new EPA requirements just spit out by the new admin. Essentially, all aftermarket companies that touch exhaust systems are screwed... New certification requirements, new part requirements, everything will go up in price and take 2-3x as long to design.
------Debatable Factoid-------------Sorry folks, all of us that love the internal combustion engine are going to be paying a lot more, and funding a crap ton of programs we may or may not even agree with.
Anyway, the day was pretty tough, exhaust work under a vehicle not on a lift is always a pain in the rear but in general it went pretty well. I will also say that Jacob @ SPD was super insightful, you can tell he's actually worked on a lot of these, not just designing and/or selling.
- Started off get the front on ramps and the rear on jack stands
- I let it warm up a tad to hopefully help the studs on the turbos come out a little easier
- Crawled under and removed all of my RCI skids
- Started by disconnecting all of the O2 sensors and making sure their wires were freely hanging. The passenger side, upper one had to tricky plastic loops you had to pull the wire loom out of, really hard to see so I just had to feel around and you can feel where the clamp opens, just pull it apart with your fingers and pull the loom out. This is critical, if you drop the downpipes with the wire still in the clips, you risk damaging the O2 sensor
- removed the nuts holding up the downpipes and the bolts connecting the flex joint with the muffler
- removed the cross member and supported the tranny housing via another jack. I originally used a bottle jack and a 2x4, but it wasn't stable enough and I knew I would likely bump into it, so I used a standard jack to hold it up. Checking it every hour or so to make sure it wasn't sagging. Also removed the hanger bracket from the tranny, these bolts are massive and a little tricky to get around. Also before you remove the cross member, remember to remove the heatshield bolts
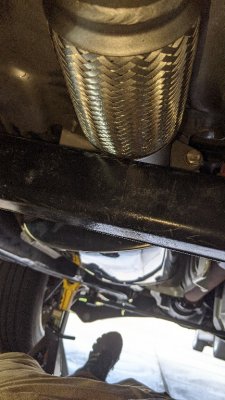
- Getting the factory downpipe out by myself was pretty tricky, trying very hard not to damage the O2 sensors. The trick for me was to bend the flex joint to 90 degrees, towards the drivers side, then I could slide it down and out. It was heavy and very awkward.
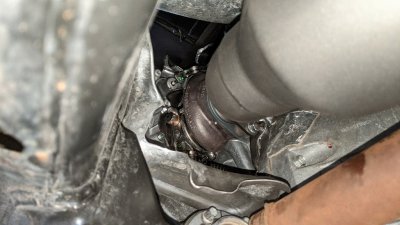
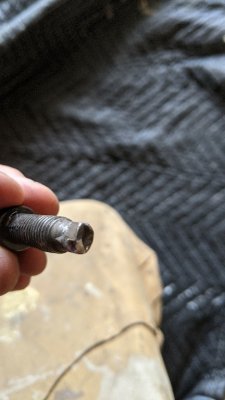
- Set the downpipe aside, and started on the turbos. Luckily, I bought both the stud remove tool from SPD and the suggested MAC stud extraction tool. 3 of the 4 studs came out super easy, luckily both turbos were just replaced so I don't think the studs were seized like they normally are after a lot of driving, but one of the heads on a stud did completely strip out, this is where the MAC extractor did some magic, it was perfect!
- Managed to be able to reuse 3 of the 4 studs, but I did buy the whole set of new ones.
- I then put the new gaskets and turbo adapters in place, torqued the studs to 35ftlbs and used the ford specified anti-seize compound.
- I then transferred the O2 sensors between the parts, leaving them in exactly the same spots
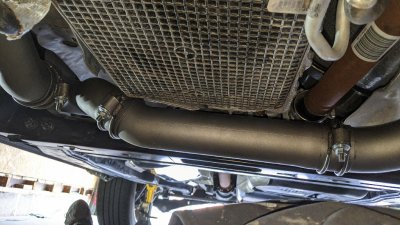
- I then started on the new downpipes, and I left the factory cat back in place so I could line things up as I went. I started (per Jacob at SPD) on the drivers side, putting together the upper drivers side, then the cross pipe, the passenger upper, and finally the flex pipe. Loosely putting together the piece so I can rotate and move them.
- Got it all lined up and started tightening all clamps. Jacob said to basically tighten them till you start to see deformation in the pipe, then loosen them, and rotate them about an inch or so, and clamp them down again.
- Then I went to work on the cat back section - what a pain this was.
- Removed the resonator and tailpipe assembly
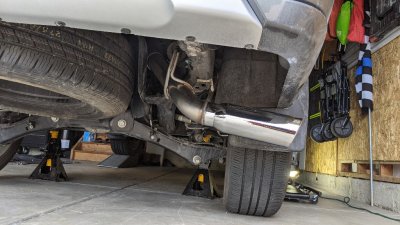
- Lubricated the hangers and started pulling them out. This was where things got nasty. The over axle piece is one solid piece, and with the weight of the muffler and shape of everything, I couldn't figure out a way (definitely not by myself) to get it over the axle and out, And sadly, I realized just at the last second that the brake lines are on top of the frame, which is where the pipe was hitting and wedged in. Instead of forcing things and risking damage to the brake line, I decided to take a reciprocating saw to the pipe near the factory muffler. That made it much easier.
- installation was much easier, got it all in quick.
- Put everything back together and then started the vehicle. This took some time, starting, crawling under, feeling around for any leaks, shutting it off, and tightening/twisting clamps till all the leaks were gone, making sure I didn't burn myself either.
- After getting it all back together, I started the cat break in procedure, worked great.
- Put the skids back in place and I'll take it apart again in a day or two to double check that everything is tight.
----------------------- immediate reviews --------------------------
First, I love the SPD parts, they are perfect, well made and super nice.
As for the magnaflow parts, I love the way they look, the side ejecting tip looks great, so much better than the stock. However, I'm not happy with the sound, and I reached out to MF to see if they have an identical sized muffler that may sound different. I bought this kit specifically because the website says it has mild interior noise and moderate outside noise. But let me tell you, it's loud inside. There is a lot of vibration in the car, and tons of drone noise. When not on the accelerator, its fine, but say cruising at 65 in 7th or 8th, it's so loud it drowns out the stereo. Can't imagine how bad it is in the back seats. If anyone has advice on a better muffler, would love to know, this is super disappointing, everything else was great! The sound is embarrassing kind of.
I will say this, between the CAI and the turbo adapters/downpipes, the turbos sound so beautiful it's insane! And it does feel better, noticeably better zip. I can only image what it would be like with a tune.
W


