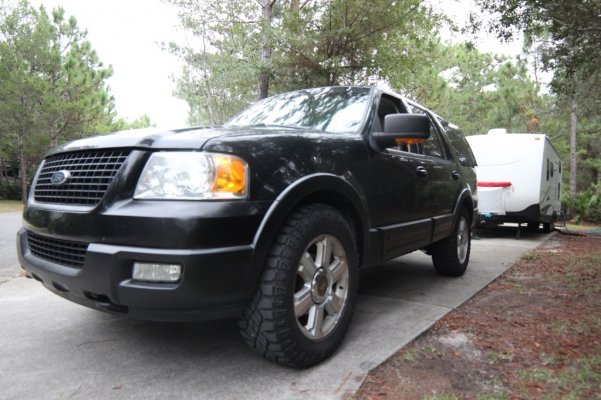
How do I remove cladding?

Disclaimer: Links on this page pointing to Amazon, eBay and other sites may include affiliate code. If you click them and make a purchase, we may earn a small commission.

OP
OP
Gruz7

Gruz7

Supporting Member
Supporting Member
Joined
Jul 9, 2014
Posts
1,631
Reaction score
257
Location
North Smithfield, RI
removing the molding will leave holes in ur doors


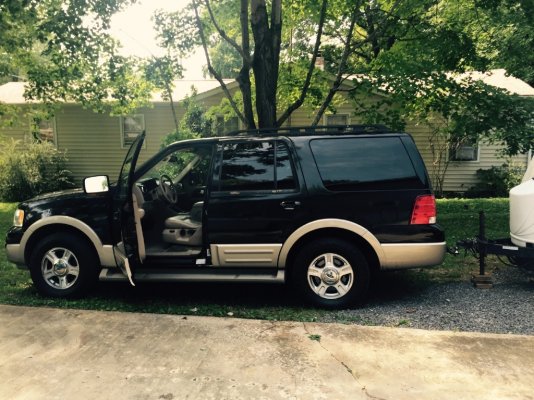
I just need to reclip the molding back on as its hanging off where the drivers door corner is... Prev owner must've kicked it and bent it on the way out of the truck of something


Sent from my iPhone using Tapatalk
 

jdecker

Well-Known Member
Joined
Feb 16, 2010
Posts
61
Reaction score
6
Location
Lawrence, KS
"I'll also add that when I google the 4-door cladding repair kit part numbers mentioned below, I am shocked at how cheap they are. 4L1Z-78465K00-AAA for example. So not sure whats up with that or what the part number actually includes."

The repair kit is simply 3 foam blocks approximately 3" x 1" with adhesive on one side. You stick them to the cladding to keep it from rattling on the body.
 

Flexpedition

Full Access Members
Joined
May 26, 2015
Posts
1,339
Reaction score
662
Location
midwest
The repair kit is simply 3 foam blocks approximately 3" x 1" with adhesive on one side. You stick them to the cladding to keep it from rattling on the body.

Wow do I feel dumb. Makes perfect sense now, thanks.
 
OP
OP
Gruz7

Gruz7

Supporting Member
Supporting Member
Joined
Jul 9, 2014
Posts
1,631
Reaction score
257
Location
North Smithfield, RI
Wow do I feel dumb. Makes perfect sense now, thanks.


I just bought the tool kit is the repair kit with the block something j should consider too or just make something up myself to hold the panels back on the doors?


Sent from my iPhone using Tapatalk
 

86scotty

Member
Joined
Aug 27, 2015
Posts
13
Reaction score
4
Location
Knoxville Tn
How much was the tool? I need to pop my cladding to clean, prep, and paint it.


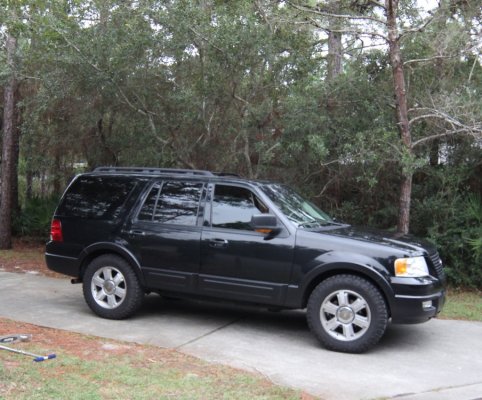
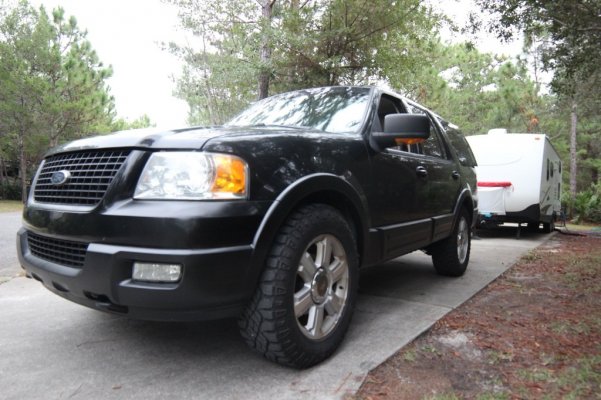
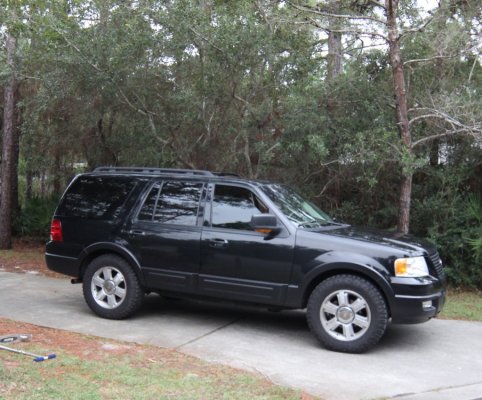
You don't really need the tool. Just lay on the ground and carefully pop one or two of the clips working up from the bottom, then you'll be able to easily see where you need to pry and pull to get the rest of them. I just did all of my trim and didn't break a clip, using a few pry bars of different sizes. You may scratch the paint under there a little but you'll be covering it back up so it's no big deal. Once you have all the trim off and see the shape of the doors you'll realize you'll never be driving an Expedition around with the trim removed. Lots of holes and the door is shaped for the trim. The fender trim and front bumper cover are pretty straight forward too. I removed everything but my rear bumper cover, just popping the top tread cover off it and taping it off. It came out great.

Before:
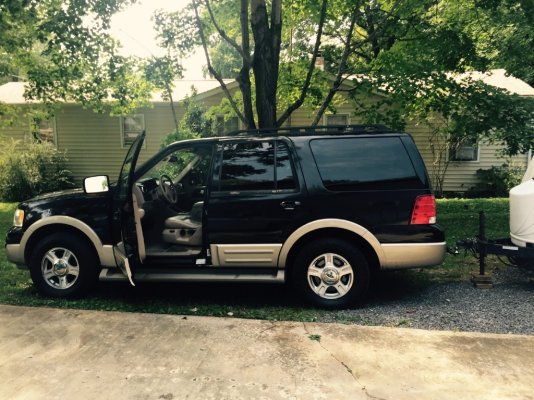
dd05eb52b47199538b08c80b7ae19719.jpg

After:
06bc830d65a817bc86862600bdcbbd31.jpgf391feae89cc4c13670ae987d913eb7d.jpg
 
Last edited:
OP
OP
Gruz7

Gruz7

Supporting Member
Supporting Member
Joined
Jul 9, 2014
Posts
1,631
Reaction score
257
Location
North Smithfield, RI
You don't really need the tool. Just lay on the ground and carefully pop one or two of the clips working up from the bottom, then you'll be able to easily see where you need to pry and pull to get the rest of them. I just did all of my trim and didn't break a clip, using a few pry bars of different sizes. You may scratch the paint under there a little but you'll be covering it back up so it's no big deal. Once you have all the trim off and see the shape of the doors you'll realize you'll never be driving an Expedition around with the trim removed. Lots of holes and the door is shaped for the trim. The fender trim and front bumper cover are pretty straight forward too. I removed everything but my rear bumper cover, just popping the top tread cover off it and taping it off. It came out great.

Before:
dd05eb52b47199538b08c80b7ae19719.jpg

After:
06bc830d65a817bc86862600bdcbbd31.jpgf391feae89cc4c13670ae987d913eb7d.jpg


Looks terrific nice work!


Sent from my iPhone using Tapatalk
 

86scotty

Member
Joined
Aug 27, 2015
Posts
13
Reaction score
4
Location
Knoxville Tn
Hey Scotty what did you use for paint and how is it holding up?

I had to fill some deep scratches on one side from the previous owner and after filler I sanded everything down with 400 grit, primed with automotive primer (RustOleum I think) and then used Krylon Satin spray bomb paint. It took 2-3 coats to get the finish nice and even. It's holding up fine but I would definitely advise you to go with several light coats instead of trying to get it done in a hurry. I had to fix one or two runs when I first started. That particular paint seems to run easily but I love the finish.

Good luck
 
OP
OP
Gruz7

Gruz7

Supporting Member
Supporting Member
Joined
Jul 9, 2014
Posts
1,631
Reaction score
257
Location
North Smithfield, RI
I had to fill some deep scratches on one side from the previous owner and after filler I sanded everything down with 400 grit, primed with automotive primer (RustOleum I think) and then used Krylon Satin spray bomb paint. It took 2-3 coats to get the finish nice and even. It's holding up fine but I would definitely advise you to go with several light coats instead of trying to get it done in a hurry. I had to fix one or two runs when I first started. That particular paint seems to run easily but I love the finish.


Good luck


Kind of off topic based on the thread but what size tired you got there and any lift?


Sent from my iPhone using Tapatalk
 
Top