


Reman’d 5.4L 2v installation

Disclaimer: Links on this page pointing to Amazon, eBay and other sites may include affiliate code. If you click them and make a purchase, we may earn a small commission.

kep5niner

Full Access Members
Army
Joined
May 6, 2023
Posts
225
Reaction score
189
Location
MO
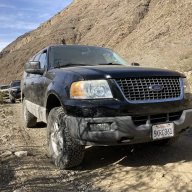
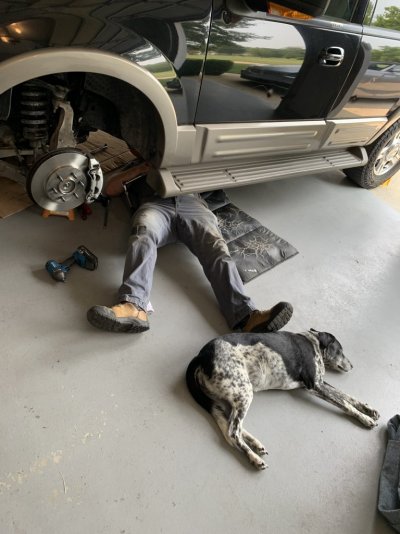
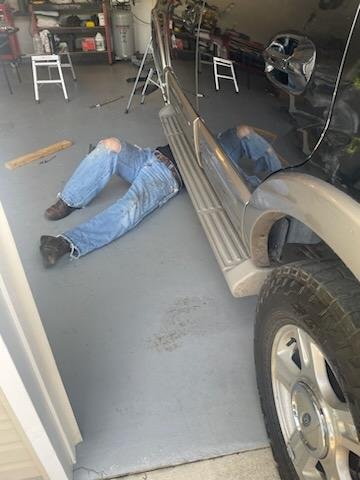
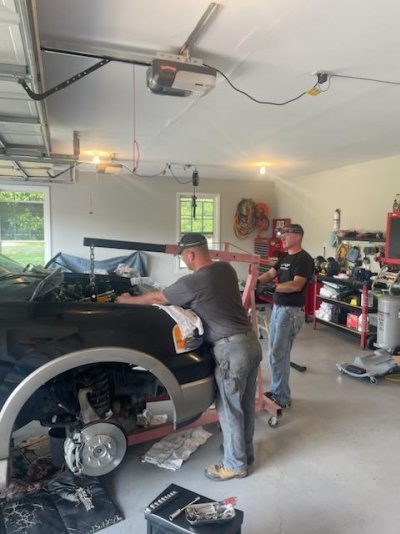
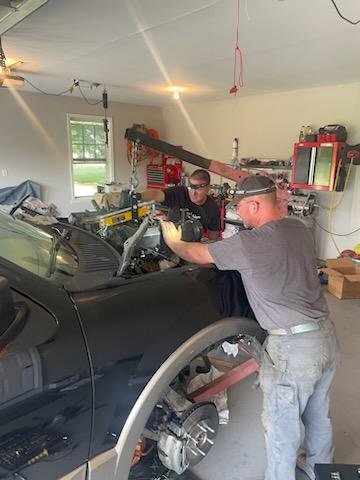
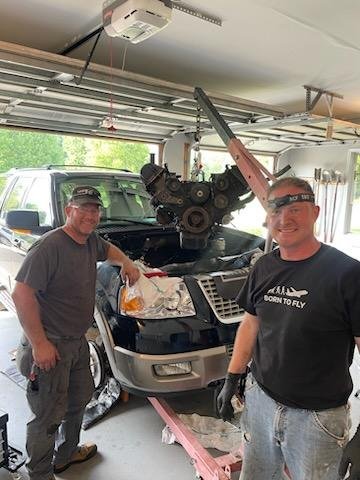
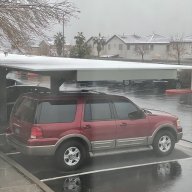
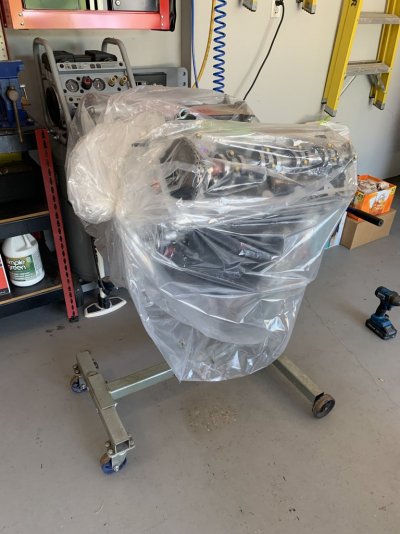
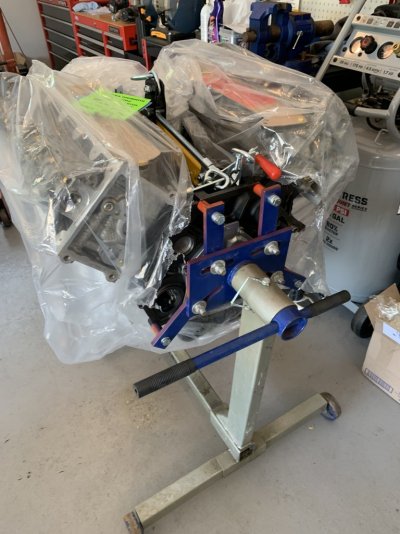
I’m installing a reman’d 5.4 2v in my 2003 EB. I’ll capture the process in this thread for those that may be interested. I went with an AER engine retailed through Power Source. AER remanufactures engines for Ford dealers, so I figured it was a solid choice.

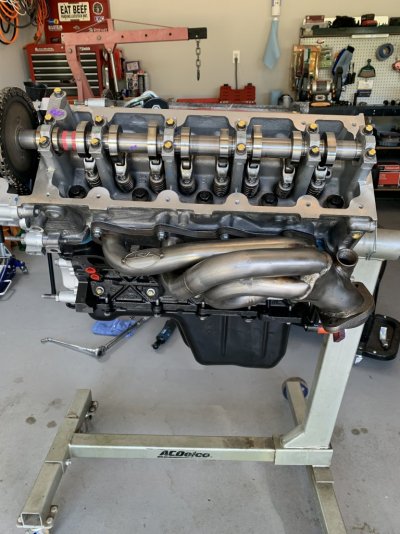
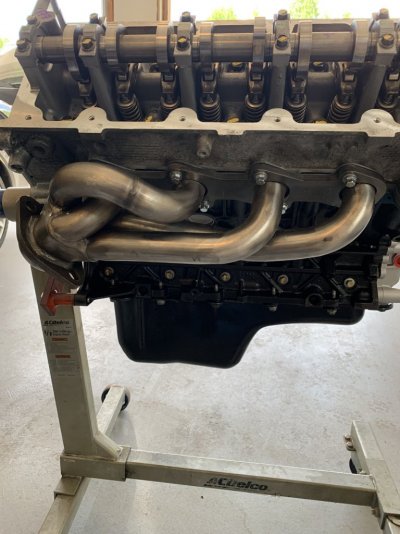
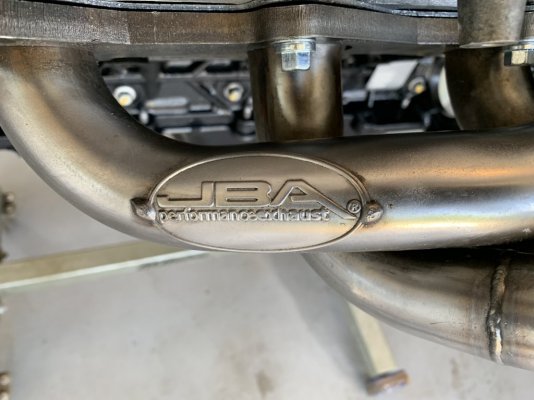
Quick question: I’ll be going back together with JBA shorty headers model 1679-S, and I’d like to install the headers while it’s on the stand before dropping the engine back in. Should I expect any fitment issues? I’d hate to have to do the headers after the fact. If anyone has any ideas or experience with those headers, it would be greatly appreciated!
IMG_4364.jpeg

IMG_4365.jpeg
 

Vincent Vega

Full Access Members
Joined
Jan 21, 2021
Posts
224
Reaction score
137
Location
Huntington Beach, CA
If you don't get much response on this forum regarding the headers, you might try some of the Facebook pages for Expeditions and F150s. Seems to be more interest about modifications like that on these pages. I have seen posts on one of these from a guy saying he has done alot of 5.4 swaps and always does them with the exh manifolds still attached, for what that is worth. Try these if you are interested:
5.4 Ford Nation
Ford Expedition Troubleshooting and Repairs
2004-2008 F150 11th Gen
Ford Modular 2v/3v/4v Mods, Upgrades, and Maintenance
 
OP
OP
kep5niner

kep5niner

Full Access Members
Army
Joined
May 6, 2023
Posts
225
Reaction score
189
Location
MO
Thanks for the input Vince, and fair point. For the most part, the JBA headers will be the only significant mod to the otherwise stock 5.4 swap.

Again, happy to document this engine swap for those interested on the forum.
 
OP
OP
kep5niner

kep5niner

Full Access Members
Army
Joined
May 6, 2023
Posts
225
Reaction score
189
Location
MO
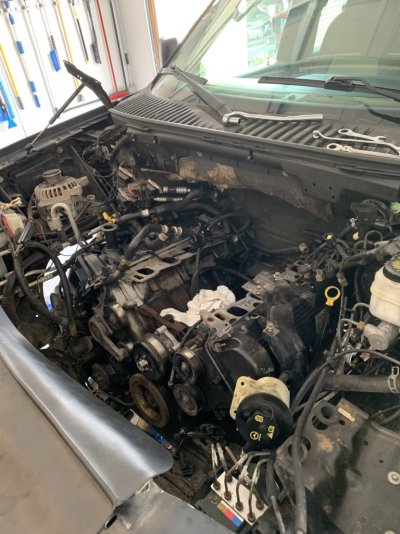
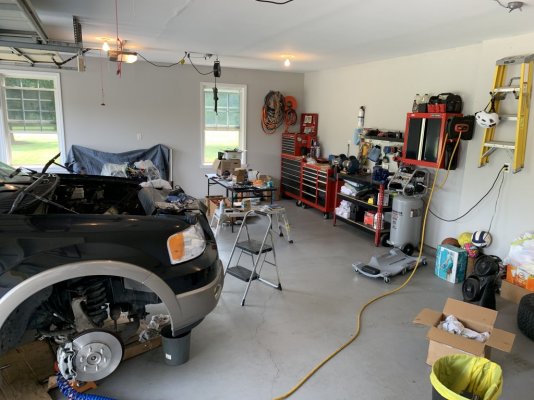
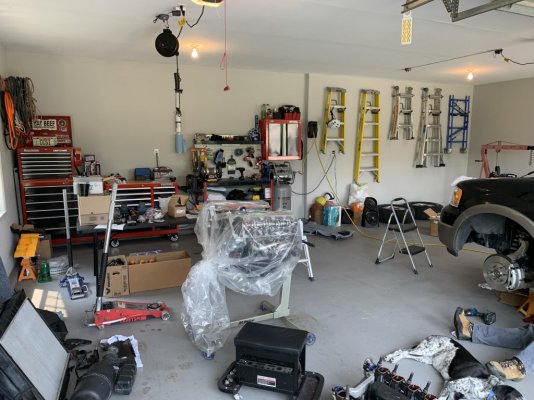
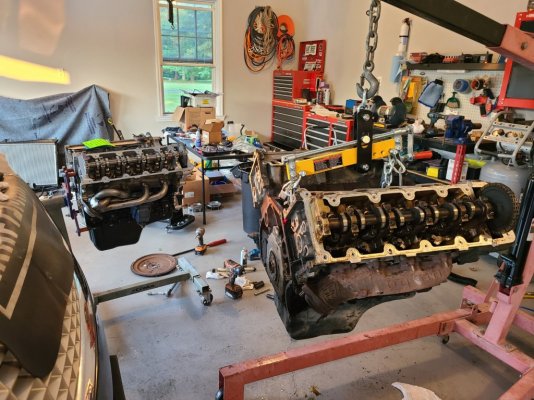
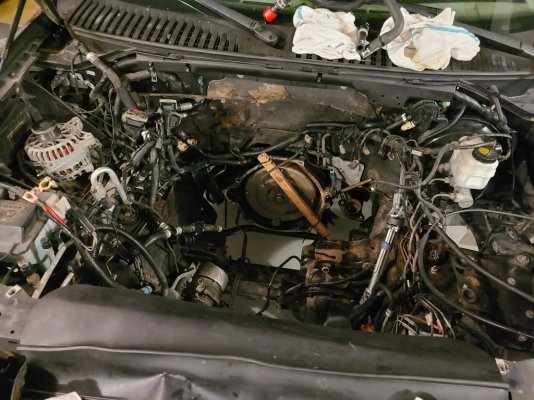
After spending a few days with the engine swap, got it out at least. Ran into the typical issues pulling out a 20 year old engine. Broken fasteners, stripped exhaust manifold-to-exhaust nut, and more deteriorated parts, hoses identified once the engine was out. I’m trying to go back together with all Motorcraft parts, as they seem the most reliable bet with all of the other cheap junk on the market. Most proving to be long-lead items, but can be found. By no means is this a tutorial, but here are a few pics for your viewing pleasure. IMG_4474.jpeg
IMG_4472.jpeg
IMG_4478.jpeg
IMG_4480.jpegIMG_8197.jpeg
 
OP
OP
kep5niner

kep5niner

Full Access Members
Army
Joined
May 6, 2023
Posts
225
Reaction score
189
Location
MO
Got all the items moved over from the old engine to the re-man’d long block. Should have it wrapped up in the next week or so. Really looking forward to 1) no oil leaks, and 2) a truck that’s reliable and starts every time I turn the key. The bitter-sweet part of this deal is once this project is complete, off to the airport she goes; hence Airport Car II.
 
OP
OP
kep5niner

kep5niner

Full Access Members
Army
Joined
May 6, 2023
Posts
225
Reaction score
189
Location
MO
A little short on pics for now, but engine install complete. She started right up and all is well. It was a great opportunity to replace with OEM all of the vacuum lines associated with the engine too. Went back together with new PS pump and motor mounts as well.

Interesting little find: I serviced the trans while I was at it, dropped the pan and replaced the filter. Found the tell-tale little plastic plug in the trans pan. So this was the first time that trans pan (ergo filter change) has been dropped in 20 years.
 

BigRed2004

Well-Known Member
Joined
Sep 8, 2021
Posts
64
Reaction score
31
Location
Las Vegas, NV
@kep5niner, fantastic work on what you were able to accomplish,:happy107:!

I would like to do something like this in the future as well where I can put on some better exhaust manifolds and other engine parts (metal timing chain guides, cast iron tensioners, etc.).

What did you use to connect the engine hoist to the block? I’ve seen brackets you can buy that mount up on the block. I’ve also wondered if you could use the lift plate that is common for 4.6L on the 5.4L, never found a definitive answer on that.

Did you use a site like FordPartsGiant to get the various vacuum hoses?

How difficult was it to remove the bolts connecting the transmission to the block? Those top bolts aren’t exactly giving you a lot of clearance/room under the vehicle.

And your statement about the 4R70W having its first job after 20 years could be viewed as a testament to the durability of these transmissions. I think that for all the “issues” people have claimed to have with the modular motors (all valve counts) and 4R70Ws, these things were some of the best products Ford has produced. If they are taken care of they seem to be near indestructible.
 
OP
OP
kep5niner

kep5niner

Full Access Members
Army
Joined
May 6, 2023
Posts
225
Reaction score
189
Location
MO
@kep5niner, fantastic work on what you were able to accomplish,:happy107:!

I would like to do something like this in the future as well where I can put on some better exhaust manifolds and other engine parts (metal timing chain guides, cast iron tensioners, etc.).

What did you use to connect the engine hoist to the block? I’ve seen brackets you can buy that mount up on the block. I’ve also wondered if you could use the lift plate that is common for 4.6L on the 5.4L, never found a definitive answer on that.

Did you use a site like FordPartsGiant to get the various vacuum hoses?

How difficult was it to remove the bolts connecting the transmission to the block? Those top bolts aren’t exactly giving you a lot of clearance/room under the vehicle.

And your statement about the 4R70W having its first job after 20 years could be viewed as a testament to the durability of these transmissions. I think that for all the “issues” people have claimed to have with the modular motors (all valve counts) and 4R70Ws, these things were some of the best products Ford has produced. If they are taken care of they seem to be near indestructible.
Thank you sir! For the engine hoist, I just used a HF leveler, and used M10x1.5 x 50mm bolts. For the back of the block, I came in through the forward side of the top 2 bolt holes for the bell housing. Up front, there are 3 threaded holes in the block that serve no other purpose than for attaching a leveler. I did have to run a tap through those threads, even on the new engine, as again, the holes aren’t used for anything else.

For upgrades to the engine, AER was the remanufacturer I went with - they’re the same company that supplies long-blocks for all Ford dealerships. They were very easy to work with and even waived the core charge if I got it back to them within 30 days. The long-block 5.4 2v came with heads, timing chains and cover installed. I’ve timed a 3v before, so that was fun I’m glad I missed. AER claims to address all of the known deficiencies in the 2v (timing chain guides, tensioners, oil pump, etc.). The only upgrade I did to the motor was JBA shorty headers. They were cheaper than OEM, and I didn’t have to deal with the issues with removing the old exhaust manifolds, broken studs, etc.

As far as acquiring all of the OEM / Motorcraft replacement parts, that was an art. I used FordPartsGiant, Tasca, Amazon, eBay, local dealerships, and probably some others I forgot. No such thing as a one-stop-shop for a 20 year old truck!

The top two bell-housing bolts were a 2-man job. We had to lower the trans by removing the trans support bracket, to use a plethora of extensions, wobbles, and u-joints, while I was in the engine bay guiding the socket onto the bolts. Not fun, but doable.
 
Last edited:

BigRed2004

Well-Known Member
Joined
Sep 8, 2021
Posts
64
Reaction score
31
Location
Las Vegas, NV
@kep5niner, thank you for the information. Not something I plan anytime soon, but good to have the information for when it happens. Great job again on the build.
 
OP
OP
kep5niner

kep5niner

Full Access Members
Army
Joined
May 6, 2023
Posts
225
Reaction score
189
Location
MO
Kept the original injectors. Upon disassembly, I kept the fuel rail secured to the intake manifold, so I didn’t even disturb the original injector O-rings. There were no issues with any injector leaks, so I figured if it ain’t broke, don’t fix it.
 
OP
OP
kep5niner

kep5niner

Full Access Members
Army
Joined
May 6, 2023
Posts
225
Reaction score
189
Location
MO
Thought I would drop in for a quick update. I’ve put 10,000 miles on the new engine, and it hasn’t skipped a beat. I did run through a couple of idler pulleys, as they kept spilling their guts. Figured out I needed to chase the thread of the bolt hole in the timing cover in order to get the idler pulley to fully seat properly. Otherwise, the engine has been great. I really have enjoyed driving it, and have been looking at performance adders. Still have a pending e-fan install, addressed in another thread.

At some point I’ll be “done” with this truck, and she’ll get parked at the airport. But not yet :cool:
 

blacktail

Active Member
Joined
Jul 9, 2020
Posts
44
Reaction score
8
Location
Floribama
Excellent write up and great information.

Is this the link to the company you sourced the engine from?

 
OP
OP
kep5niner

kep5niner

Full Access Members
Army
Joined
May 6, 2023
Posts
225
Reaction score
189
Location
MO
Affirmative. Also, their 3 year / 100,000 warranty is standard now. You pay for it whether you want it or not. But all-in, it’s still a great deal.
 
Top